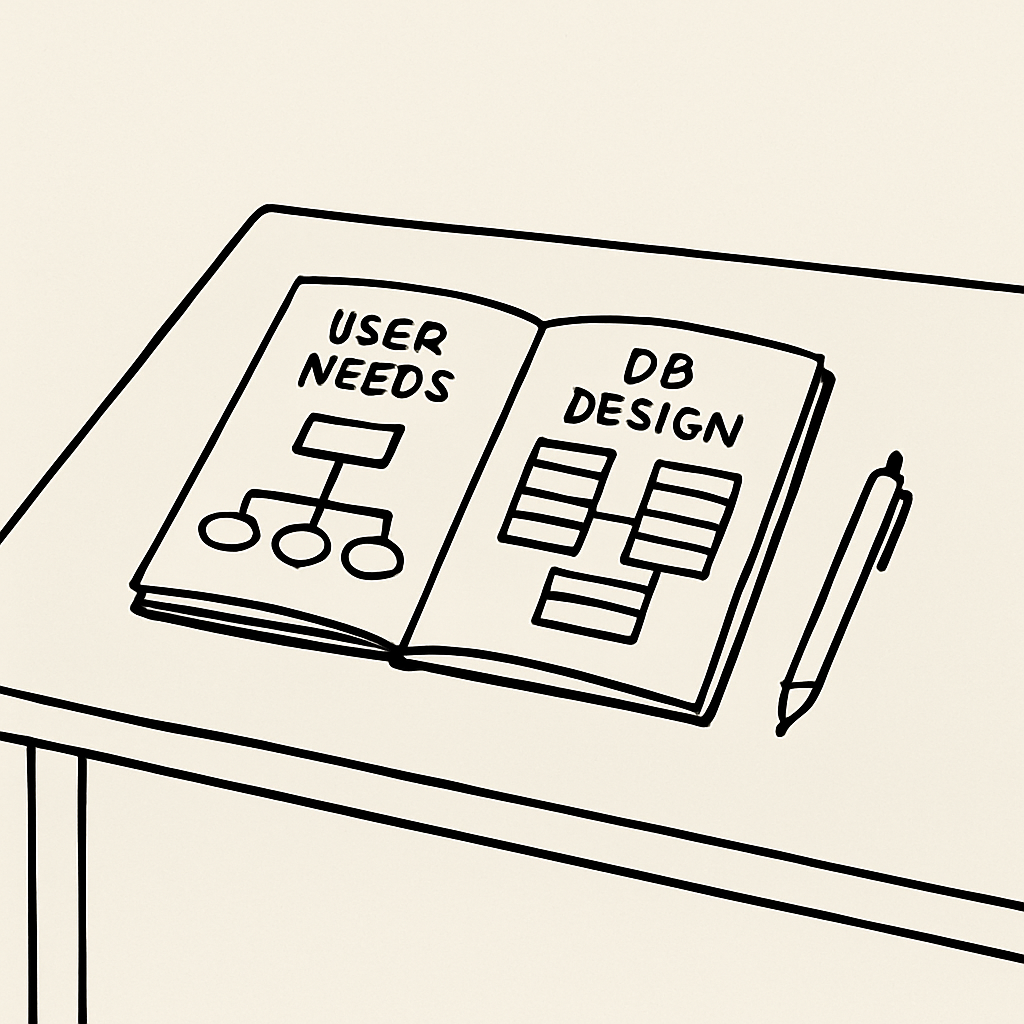
 In this lesson, you'll learn how to identify user needs using user-centered design principles, which put the user at the center of everything. You'll also plan your database schema, assign team roles, discuss ethical considerations, and create an initial plan document.
This lesson is designed to build your skills in creating an effective interactive information system. It should span several sessions, allowing you time to think deeply and collaborate with your team.
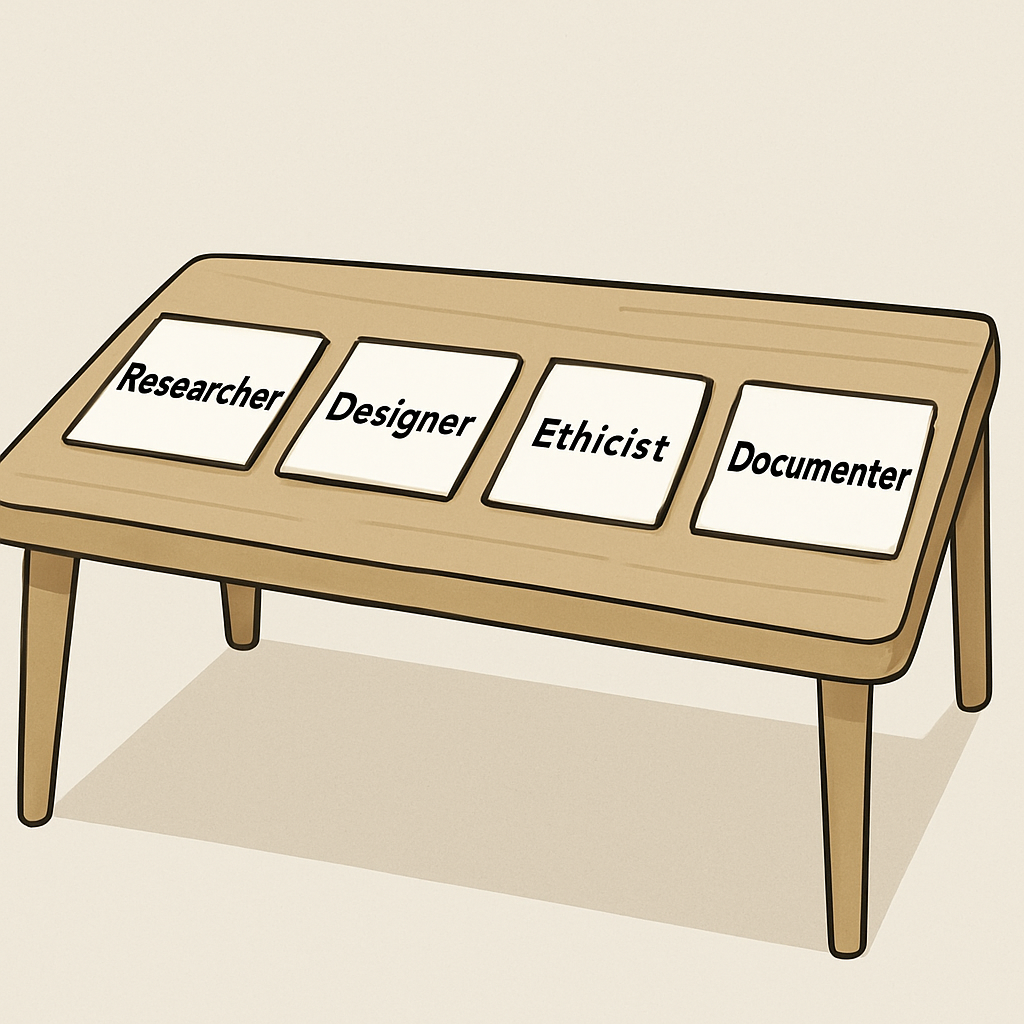 Work with your team to assign roles for this planning phase. This builds on the team formation from the overview lesson.
Roles could include:
Discuss strengths: If someone excelled in the Databases unit, assign them schema planning.
 User-centered design focuses on putting the user at the heart of the development process. This means identifying who your users are, what problems they face, and how your system can solve them effectively.
Key principles include:
For example, in your interactive system, consider users like students needing to search a library database – design for ease of use, not just functionality.
The user-centered design process is a cycle that includes the following stages:
You can use this cycle in your project by starting with user research, moving through each stage, and then looping back to research or any other stage as needed to refine your design. Abstraction comes in here by simplifying complex user data into manageable models during the definition and ideation stages.
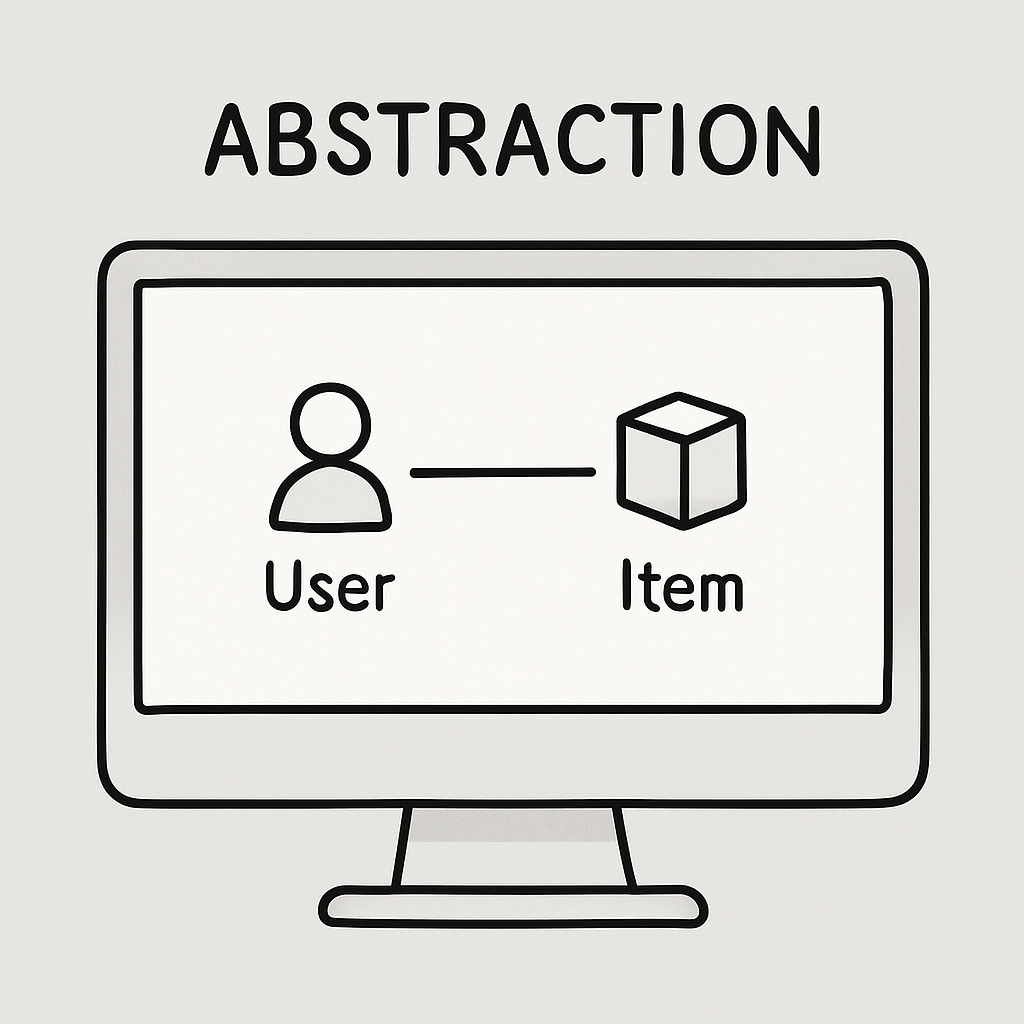 Now, let's define the needs for your interactive information system. This step is crucial for abstraction – you're representing real-world data in a simplified way. By focusing on what users truly require, you'll ensure your database is efficient and relevant, avoiding unnecessary complexity.
For instance, if building a library system, a student user might need to search for books by title or author, so you'd abstract book data into attributes like Title, Author, ISBN, and Availability.
Here is an example table for a library system :
| User Type | Needs | Data Required |
|---|---|---|
| Student | Search for books, check availability, reserve items | Book Title, Author, ISBN, Availability Status |
| Teacher | Update book records, generate reports on loans | Book ID, Loan History, User ID |
| Administrator | Manage user accounts, ensure system security | User Name, Email, Role, Access Logs |
 With user needs defined, it's time to plan your database schema. A database schema is like a blueprint for how your data will be structured and organised. This step involves abstraction: you're modelling real-world data into simplified tables, fields, and relationships, focusing only on the essential details to make your system efficient and effective.
Planning the schema helps ensure that your interactive information system can store, retrieve, and manage data in a way that meets user needs without unnecessary complexity. Let's break it down step by step.
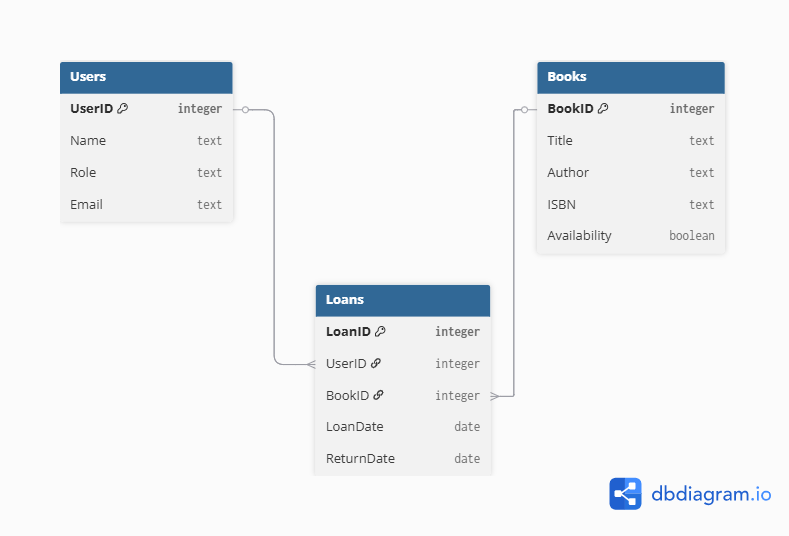
Here's an example schema for a simple school library system. We'll represent it textually using tables for clarity. Imagine this as a basic ERD: entities as tables, with relationships described below.
Example Entity: Books
| Field | Data Type | Description |
|---|---|---|
| BookID | Integer | Primary Key – Unique ID for each book |
| Title | Text | The book's title |
| Author | Text | The author's name |
| ISBN | Text | International Standard Book Number |
| Availability | Boolean | True if available, False if on loan |
Example Entity: Users
| Field | Data Type | Description |
|---|---|---|
| UserID | Integer | Primary Key – Unique ID for each user |
| Name | Text | User's full name |
| Role | Text | e.g., Student, Teacher, Admin |
| Text | User's email address |
Example Entity: Loans (Junction Table for Many-to-Many Relationship)
| Field | Data Type | Description |
|---|---|---|
| LoanID | Integer | Primary Key – Unique ID for each loan |
| UserID | Integer | Foreign Key – Links to Users table |
| BookID | Integer | Foreign Key – Links to Books table |
| LoanDate | Date | Date the book was borrowed |
| ReturnDate | Date | Date the book is due back |
Relationships in this ERD Example:
