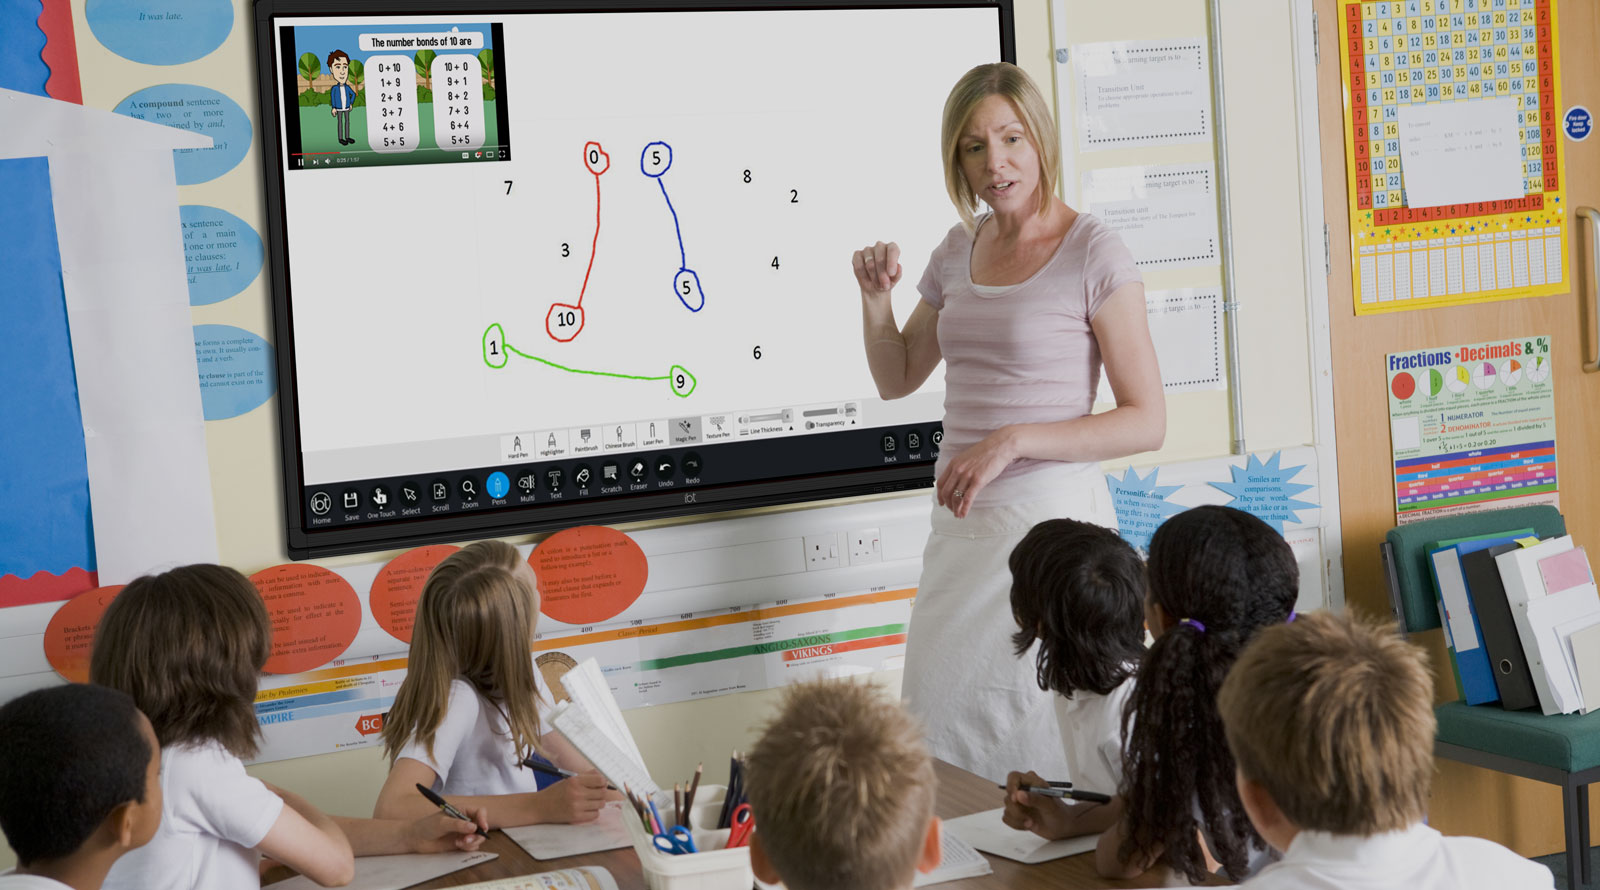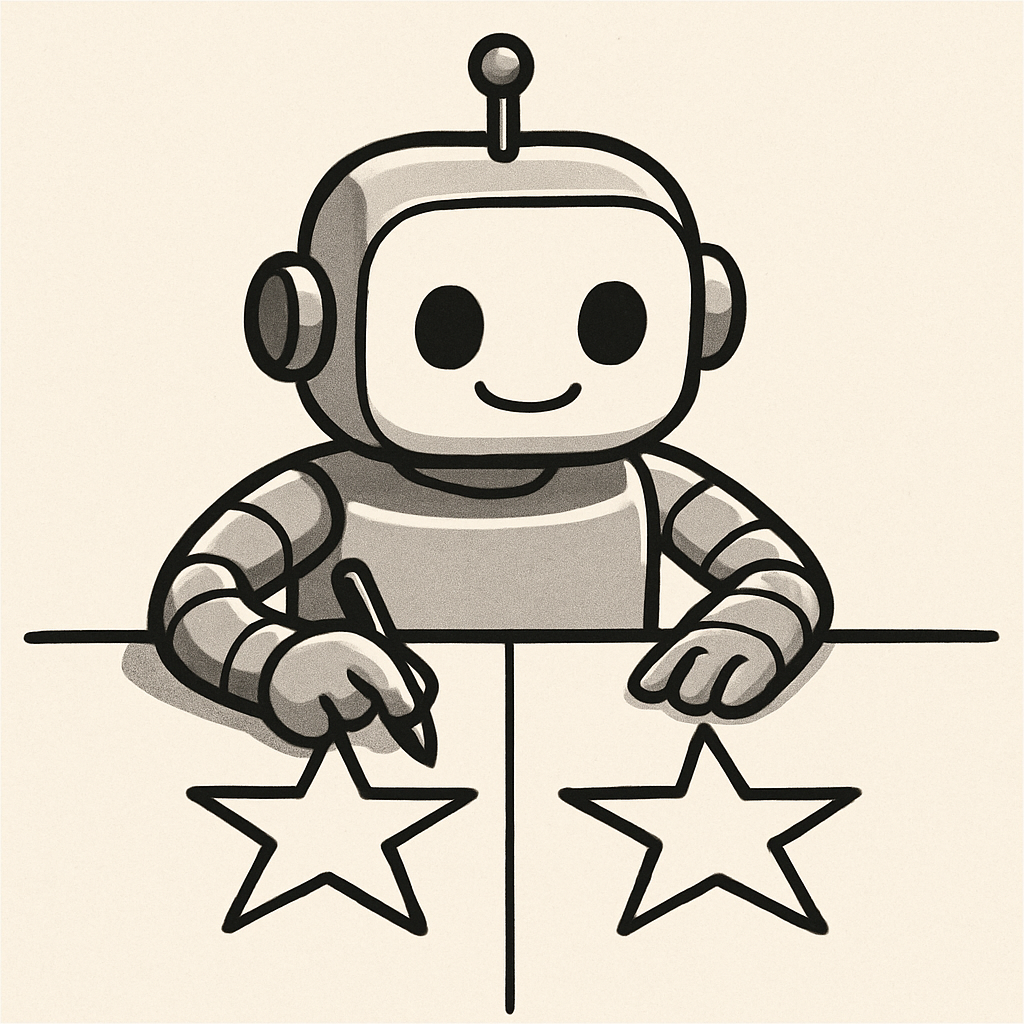
Today, we're going to build on what we learned last time about being a "drawing robot." Remember how we followed a set of instructions, or code, to connect the dots and draw a picture? Today, we're going to take our coding skills to the next level. We're going to create a mirror image by following a set of commands and then reversing them.
Materials Needed:
Drawing Tools: A marker for each student.
Worksheet: A handout with a series of numbered dots on one side of a vertical line. The dots will form a simple shape like a half-house or a half-tree.
Instruction Cards: A set of cards with simple, direct icons:
An arrow pointing right ➡️
means "Draw a line to the next dot."
A down arrow ⬇️
means "Draw a line to the next dot."
An up arrow ⬆️
means "Draw a line to the next dot."
A left arrow ⬅️
means "Draw a line to the next dot."
Begin the lesson by telling the students they're going to be a "robot artist."
Explain that a robot can't make up its own pictures; it can only draw what its code tells it to. "Today, our code will help us draw a picture that's a perfect mirror!"
Introduce the word symmetry.
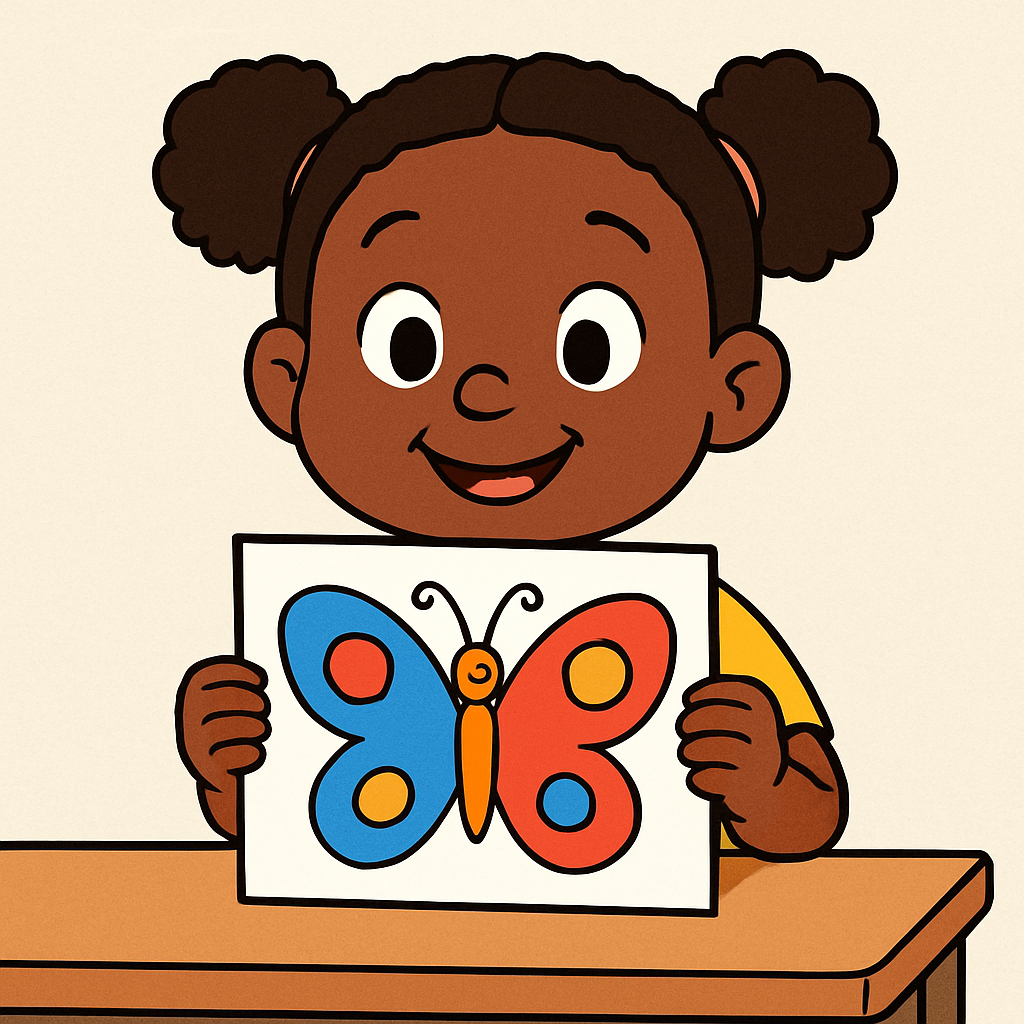
Tell the students that a mirror image is a special kind of picture where both sides are exactly the same, like looking in a mirror.
Give them simple examples they can relate to, like a butterfly's wings, a leaf, or even their own face. "One side of a butterfly is a perfect mirror of the other side!"
Give each student a copy of the worksheet.
The worksheet has the first set of dots on the left side of a line. Lay out a simple sequence of instruction cards on the floor or a table.
Guide the students to follow the algorithm on their worksheet.
As you point to each card, they perform the action, drawing a line from one dot to the next.
They will finish with a half-picture.
Now, introduce the new challenge.
"For our picture to be a perfect mirror, we have to draw our code in reverse!"
As a class, discuss how you might lay out the same instruction cards, but this time in the opposite order to complete the reverse image.