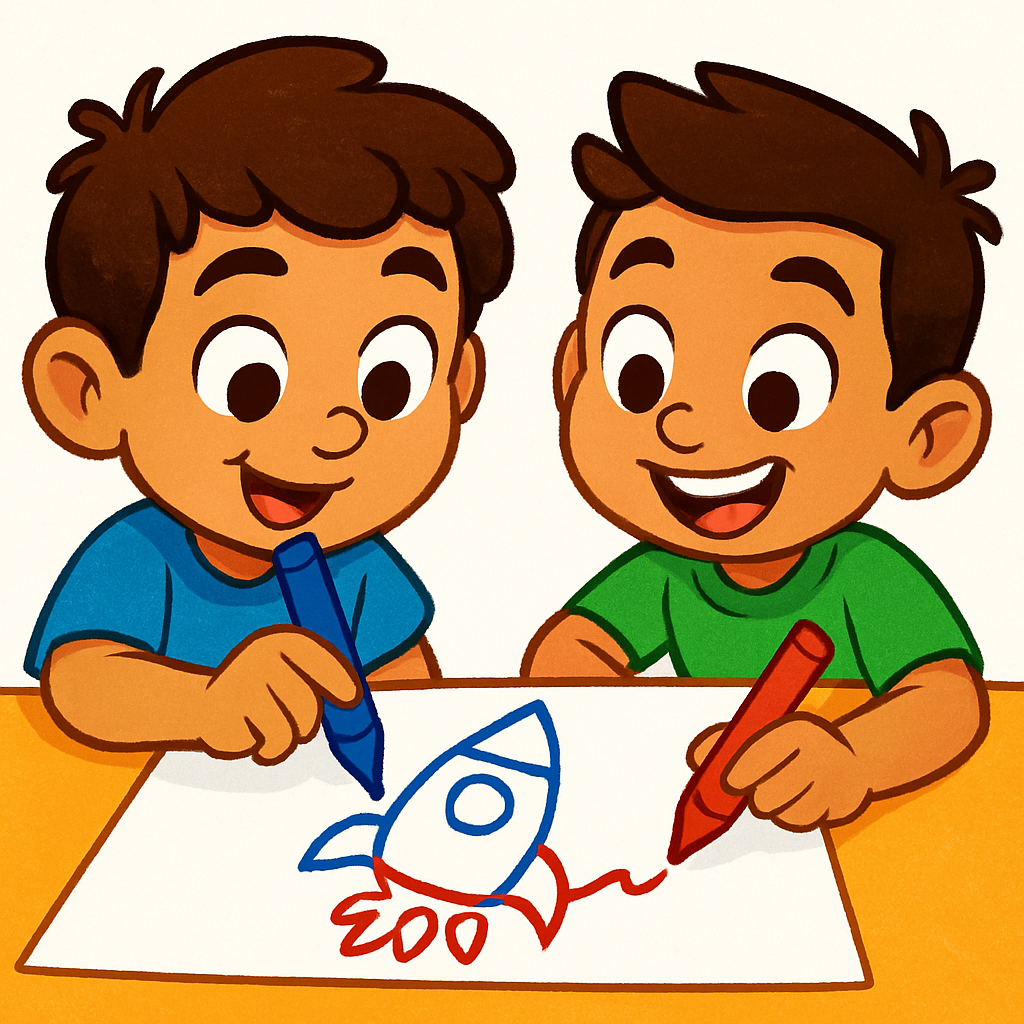
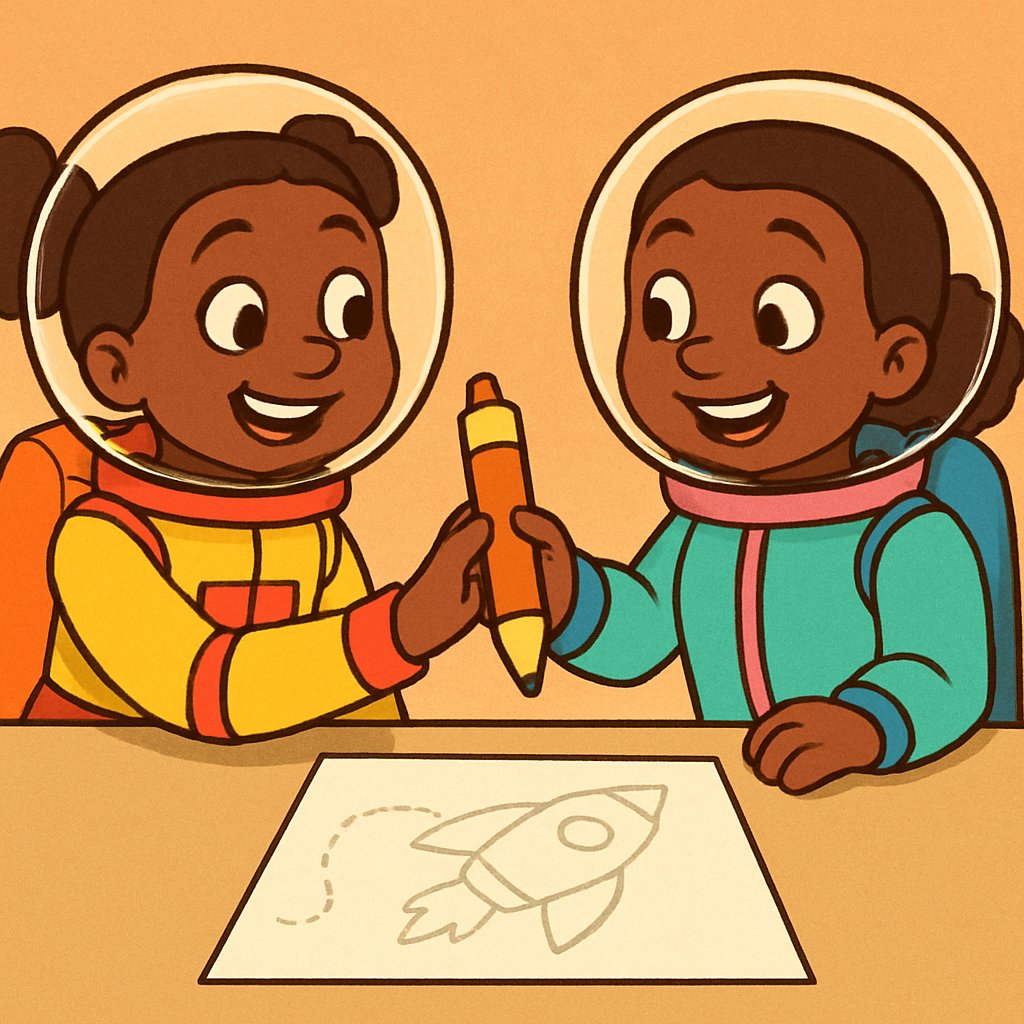
 Today we’re blasting off as a robot crew. We’ve already learned how to be robot artists on our own by following code in order and repeating steps.
Now we’ll work like real space robots that build rockets together. We’ll practise collaborating by following our own special set of instructions to make one picture as a team: a spaceship.
Give each pair one worksheet with numbered dots that make a simple two-part rocket.
One student will draw the bottom half (boosters and body). The other will draw the top half (nose cone and fins).
Hand each student a different coloured marker so it’s easy to see who did which part.
Begin the lesson by telling the students that they are going to work in pairs.
Explain that in this game, they will be a team of robots and must work together to create one picture.
Each person has a special job and their own code to follow.
Give each team a worksheet.
Click through the following activity to show the code for the first Student to draw.
As you point to each arrow, they perform the action, drawing a line from one dot to the next.
 When the first robot finishes the bottom of the rocket, call “handover!” and have them pass the marker to their crewmate like a space baton.
Explain that this is how real space robots work—one robot completes its task, then hands the job to the next so the mission can continue.
Say, “Your teammate now takes over from this dot and follows the next arrows to build the rest of the spaceship.”
Give a quick countdown—“3, 2, 1… handoff!”—so the swap is calm and clear.
Now, lets display the code for the second student in the team.
This code will connect to the first part and finish the picture.
Guide the second student to follow the new algorithm, drawing a line from one dot to the next.