Microbit Python Computer Science
Advanced
40 mins
Teacher/Student led
What you need:
Chromebook/Laptop/PC or Microbit

Swing Force Logger

In this lesson, you'll create a project to measure swing force using your Micro:bit's accelerometer. Follow step-by-step instructions to build a logger, store data, calculate key stats, and display results, enhancing your coding skills for real-world use.
Learning Goals Learning Outcomes Teacher Notes Lesson Files

Live Class Feed

This is a live feed of the latest activity by your students on this lesson. It will update in real-time as they work on the lesson.
Load previous activity

    1 - Introduction to the Swing Force Logger Project

    In this lesson, you'll build a swing force logger using your Micro:bit's accelerometer to measure acceleration as a proxy for force during swings or kicks, like in sports such as golf or football. You'll store readings in a list, calculate the maximum and average force using functions and loops, and display the results with string formatting. This project reinforces variables for thresholds, control structures for detection, and data handling for real-world applications.

    By the end, your Micro:bit will log acceleration during a detected swing, compute stats, and show them on the display. Open the Micro:bit Python editor at python.microbit.org and start a new project.

    Test your code in the simulator. Use the accelerometer controls in the editor to simulate movements. This project works with any Micro:bit version that has an accelerometer.

    2 - Import Modules and Basic Setup

    Start by importing the necessary modules. We'll need the microbit module to access the hardware, including the accelerometer and display. We'll also import the log module to handle data logging for our swing readings later in the project.

    Add the following complete code to your editor:

    from microbit import *
    import log
    This imports everything from the microbit module. Run the code; nothing visible will happen yet, but it should execute without errors.

    3 - Read Accelerometer Data

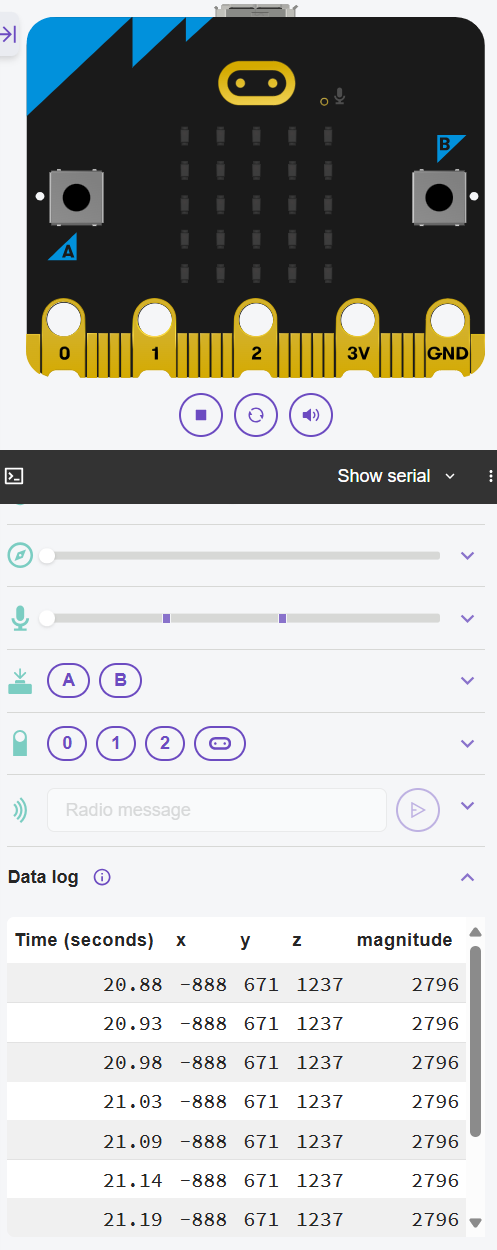
    Let's read the acceleration from the accelerometer and display it. The accelerometer measures acceleration in three directions: x (left-right), y (forward-backward), and z (up-down).

    The functions accelerometer.get_x(), get_y(), and get_z() return these values in milli-g (around -2000 to 2000), where positive and negative indicate direction.

    We'll calculate a simple magnitude, which is a single value representing the overall strength of the acceleration regardless of direction, by using abs(x) + abs(y) + abs(z) as a proxy for force, and scroll it in a loop.

    Update your code to this complete version:

    from microbit import *
    import log
    
    while True:
        x = accelerometer.get_x()
        y = accelerometer.get_y()
        z = accelerometer.get_z()
        magnitude = abs(x) + abs(y) + abs(z)
        display.scroll(str(magnitude))
        sleep(500)
    Avoid copy-pasting the code. Type each line to understand the logic and structure. This will help with exams and real coding tasks.
    Run the code. It scrolls the current acceleration magnitude every half second. Use the sliders in the Accelerometer segment, underneath the virtual microbit, to simulate the forces.
    We use abs() to get positive values and sum them for a simple magnitude proxy. The while True loop makes it continuous.

    4 - Set Threshold and Detect Swing

    Now, set a threshold (e.g., 2000) to detect a swing. Use an if statement inside the loop to check if the magnitude exceeds the threshold, and if so, show an image like a happy face to indicate detection.

    Update your code to this complete version:

    from microbit import *
    import log
    
    threshold = 2000  # Adjust based on testing
    
    while True:
        x = accelerometer.get_x()
        y = accelerometer.get_y()
        z = accelerometer.get_z()
        magnitude = abs(x) + abs(y) + abs(z)
        if magnitude > threshold:
            display.show(Image.HAPPY)
        else:
            display.clear()
        sleep(100)
    Run the code. Simulate a strong shake (magnitude above 2000), and a happy face appears; otherwise, it clears. Test different thresholds.
    The if-else is a control structure. We use a shorter sleep for quicker response.

    5 - Log the Data

    To log the data during a detected swing, we'll use the log module. First, set up the logging labels outside the loop. When a swing is detected, clear any previous log, then take 10 quick readings (every 50ms) and log the x, y, z, and magnitude if still above threshold. After logging, scroll "Logged".

    Update your code to this complete version:

    from microbit import *
    import log
    
    threshold = 2000
    
    # Set up data logging with columns for x, y, z, and magnitude
    log.set_labels('x', 'y', 'z', 'magnitude')
    
    while True:
        x = accelerometer.get_x()
        y = accelerometer.get_y()
        z = accelerometer.get_z()
        magnitude = abs(x) + abs(y) + abs(z)
        
        if magnitude > threshold:
            display.show(Image.HAPPY)
            log.delete()  # Clear previous log for new swing
            for i in range(10):  # Log 10 readings during swing
                x = accelerometer.get_x()
                y = accelerometer.get_y()
                z = accelerometer.get_z()
                magnitude = abs(x) + abs(y) + abs(z)
                if magnitude > threshold:
                    log.add(x=x, y=y, z=z, magnitude=magnitude)  # Log all values
                sleep(50)
            display.scroll("Logged")  # Indicate logging is complete
        else:
            display.clear()
        sleep(100)
    Run the code. Simulate a swing by increasing the accelerometer values above the threshold. The happy face appears, it logs data, and then scrolls "Logged".
    The log module stores data in a way that can be downloaded from the Micro:bit later. We're logging multiple readings to capture the swing dynamics.

    Unlock the Full Learning Experience

    Get ready to embark on an incredible learning journey! Get access to this lesson and hundreds more in our Digital Skills Curriculum.

    Copyright Notice
    This lesson is copyright of DigitalSkills.org. Unauthorised use, copying or distribution is not allowed.
    🍪 Our website uses cookies to make your browsing experience better. By using our website you agree to our use of cookies. Learn more