 So far, you've probably mostly used online editors for coding, which are great for quick tasks. But for real web development, it's essential to set up a local environment on your computer. This allows you to work offline, manage files easily, and use powerful tools.
In this lesson, we'll introduce you to Visual Studio Code (VS Code), a popular code editor, and guide you through creating a simple web page with HTML and CSS to understand file structures.
By the end, you'll have a basic project setup and see how files interact in web development.
VS Code is a free, lightweight code editor from Microsoft that's perfect for web development. It supports HTML, CSS, JavaScript, Python and more, with features like syntax highlighting, auto-completion, and built-in version control. Version control is a system that records changes to files over time, allowing you to track your project's history, collaborate with others, and revert to previous versions if needed. VS Code has integrated support for Git, a popular version control system.
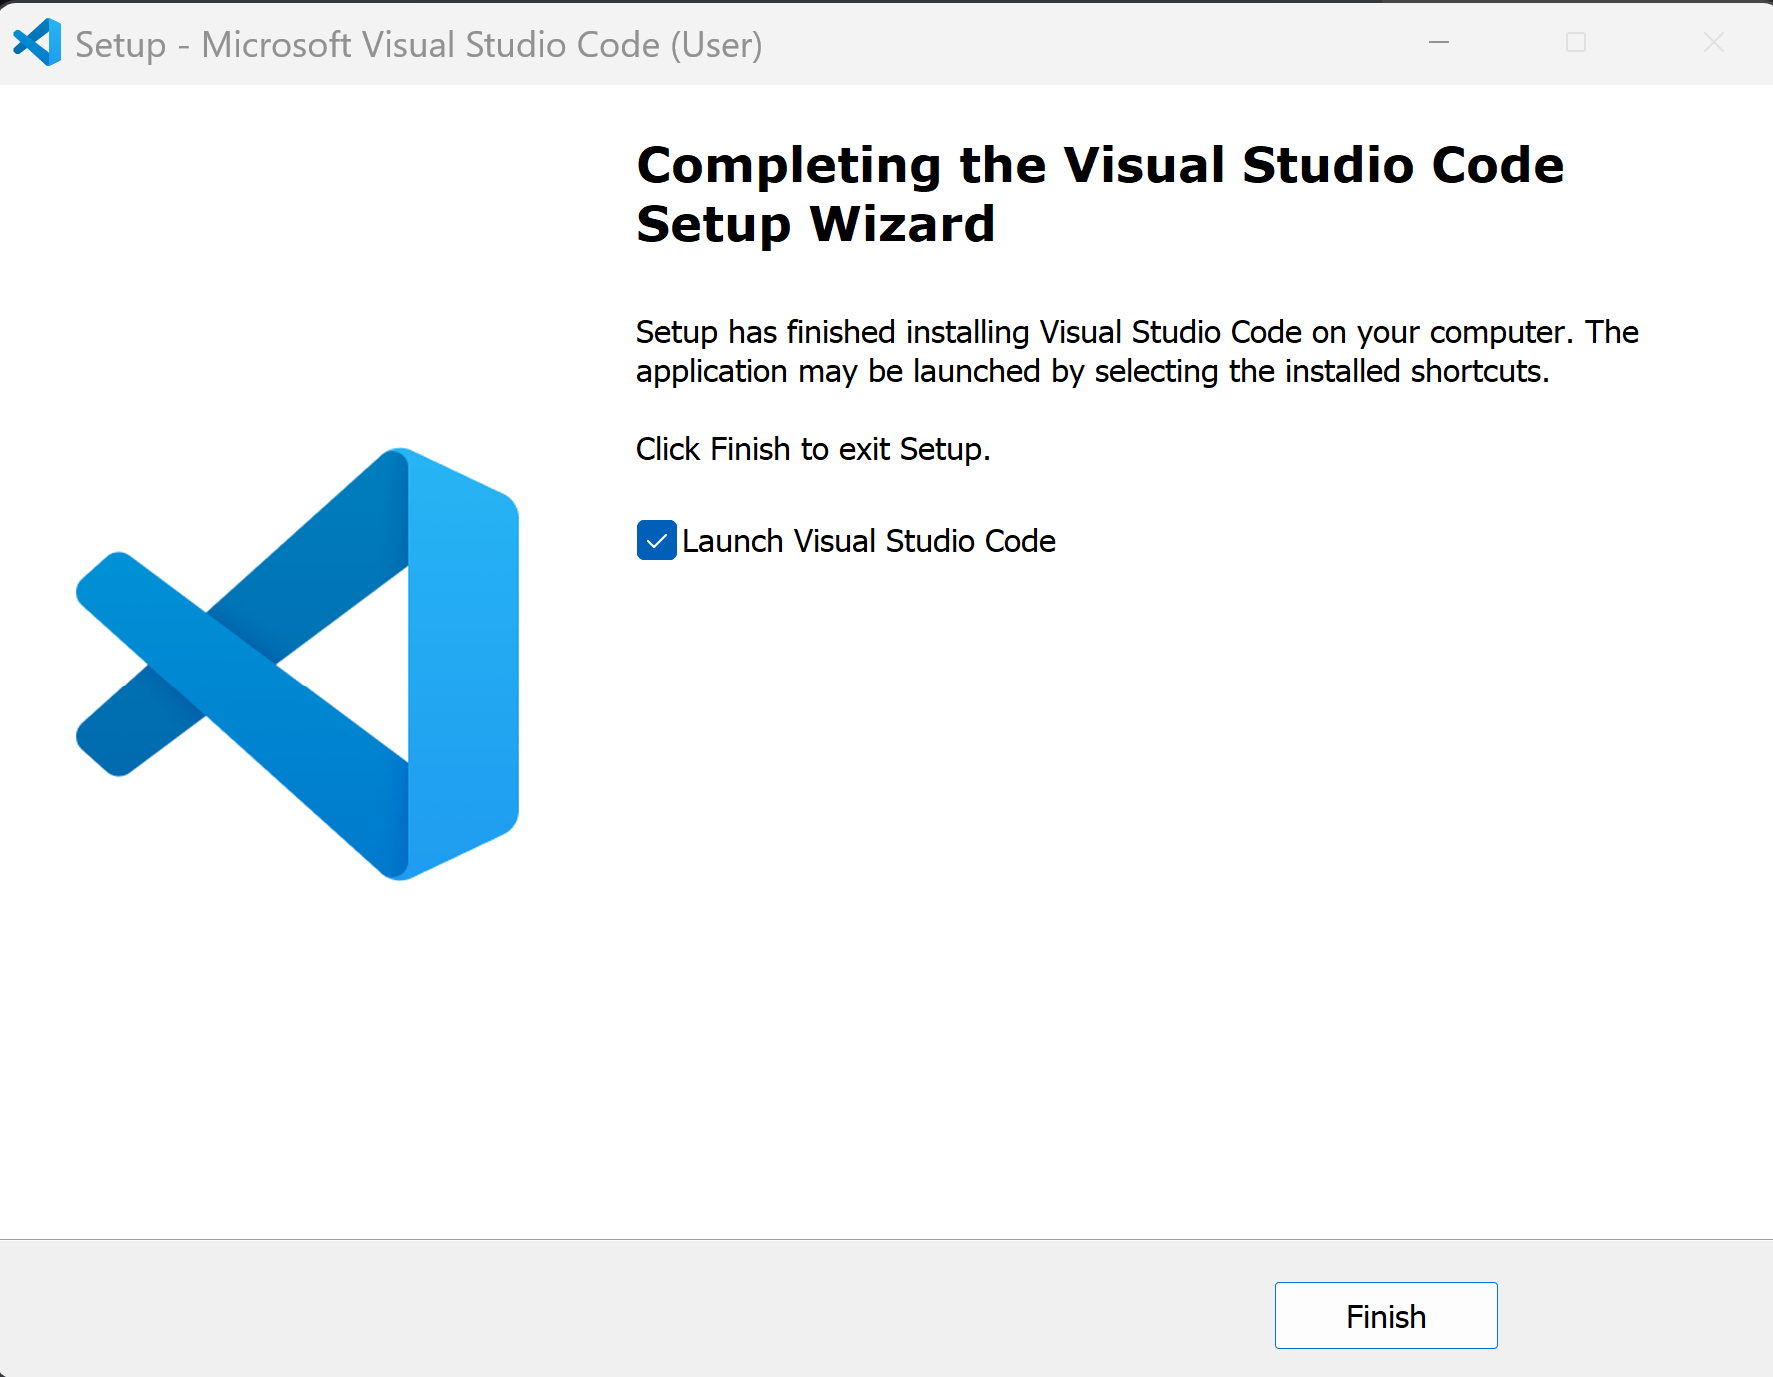
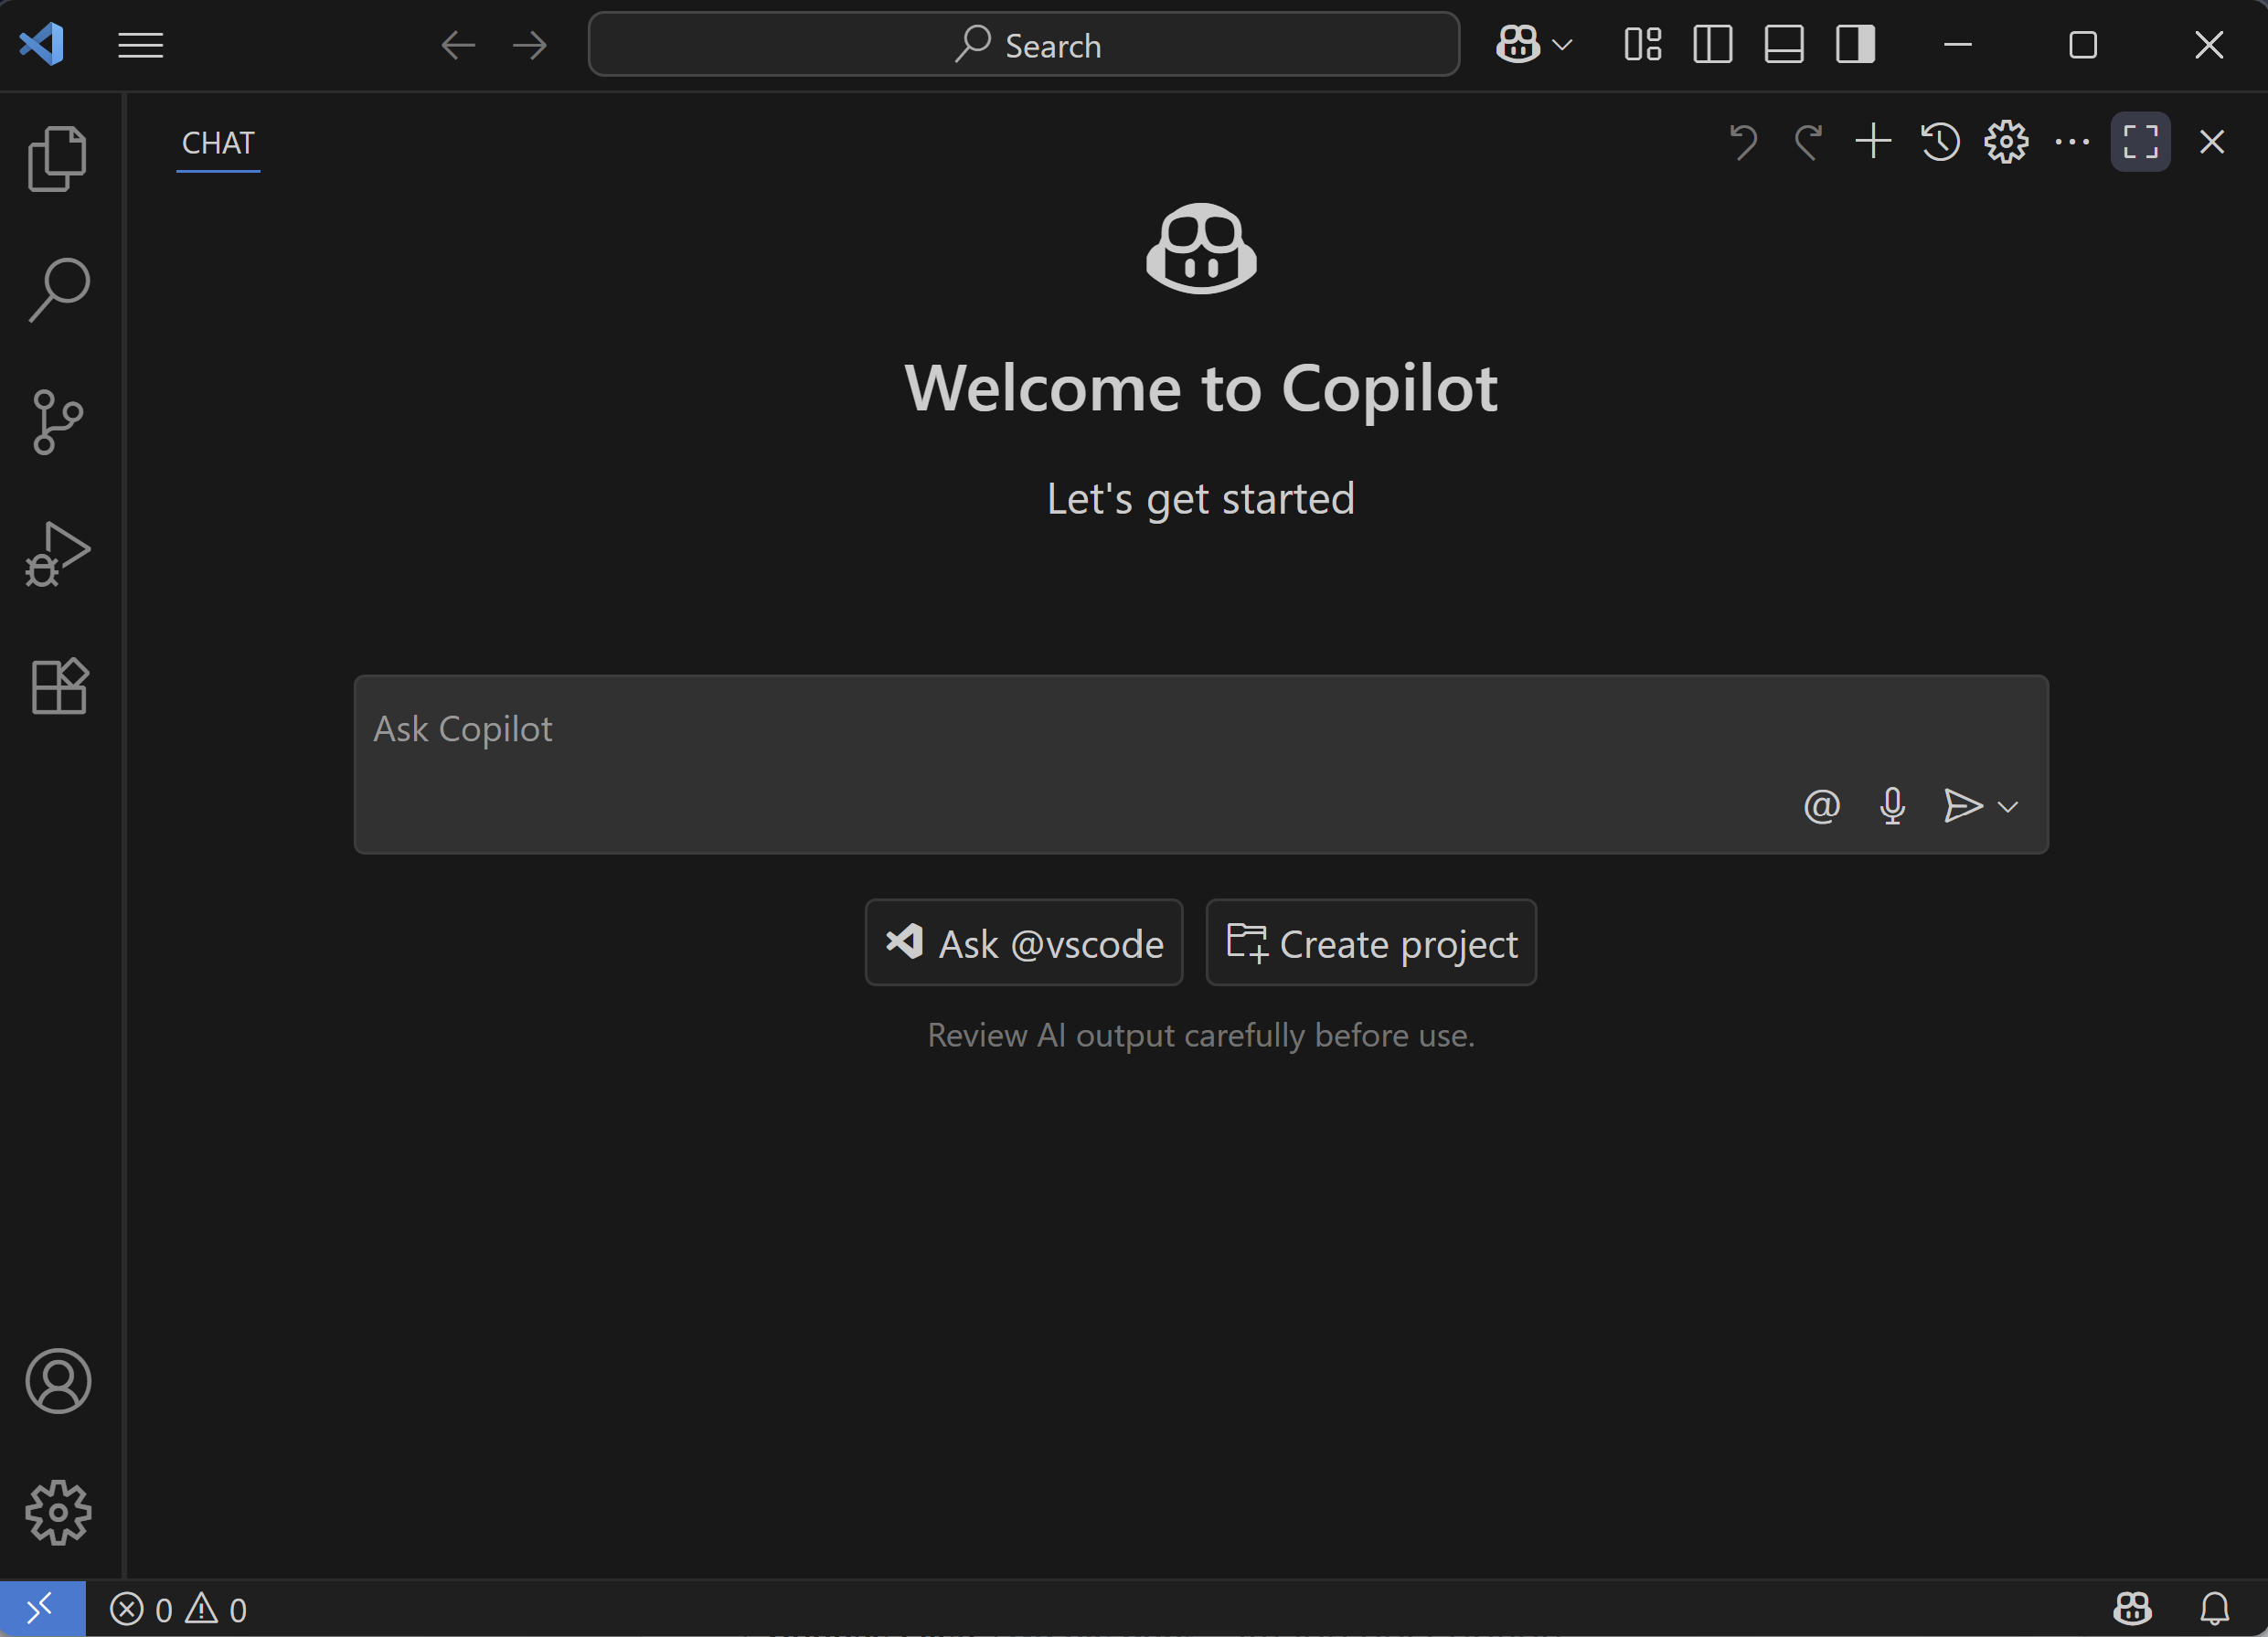
To get started:
Download' button for your operating system (Windows, macOS, or Linux).Web projects consist of multiple files like HTML, CSS, images, and JavaScript. We'll organise them in a folder.
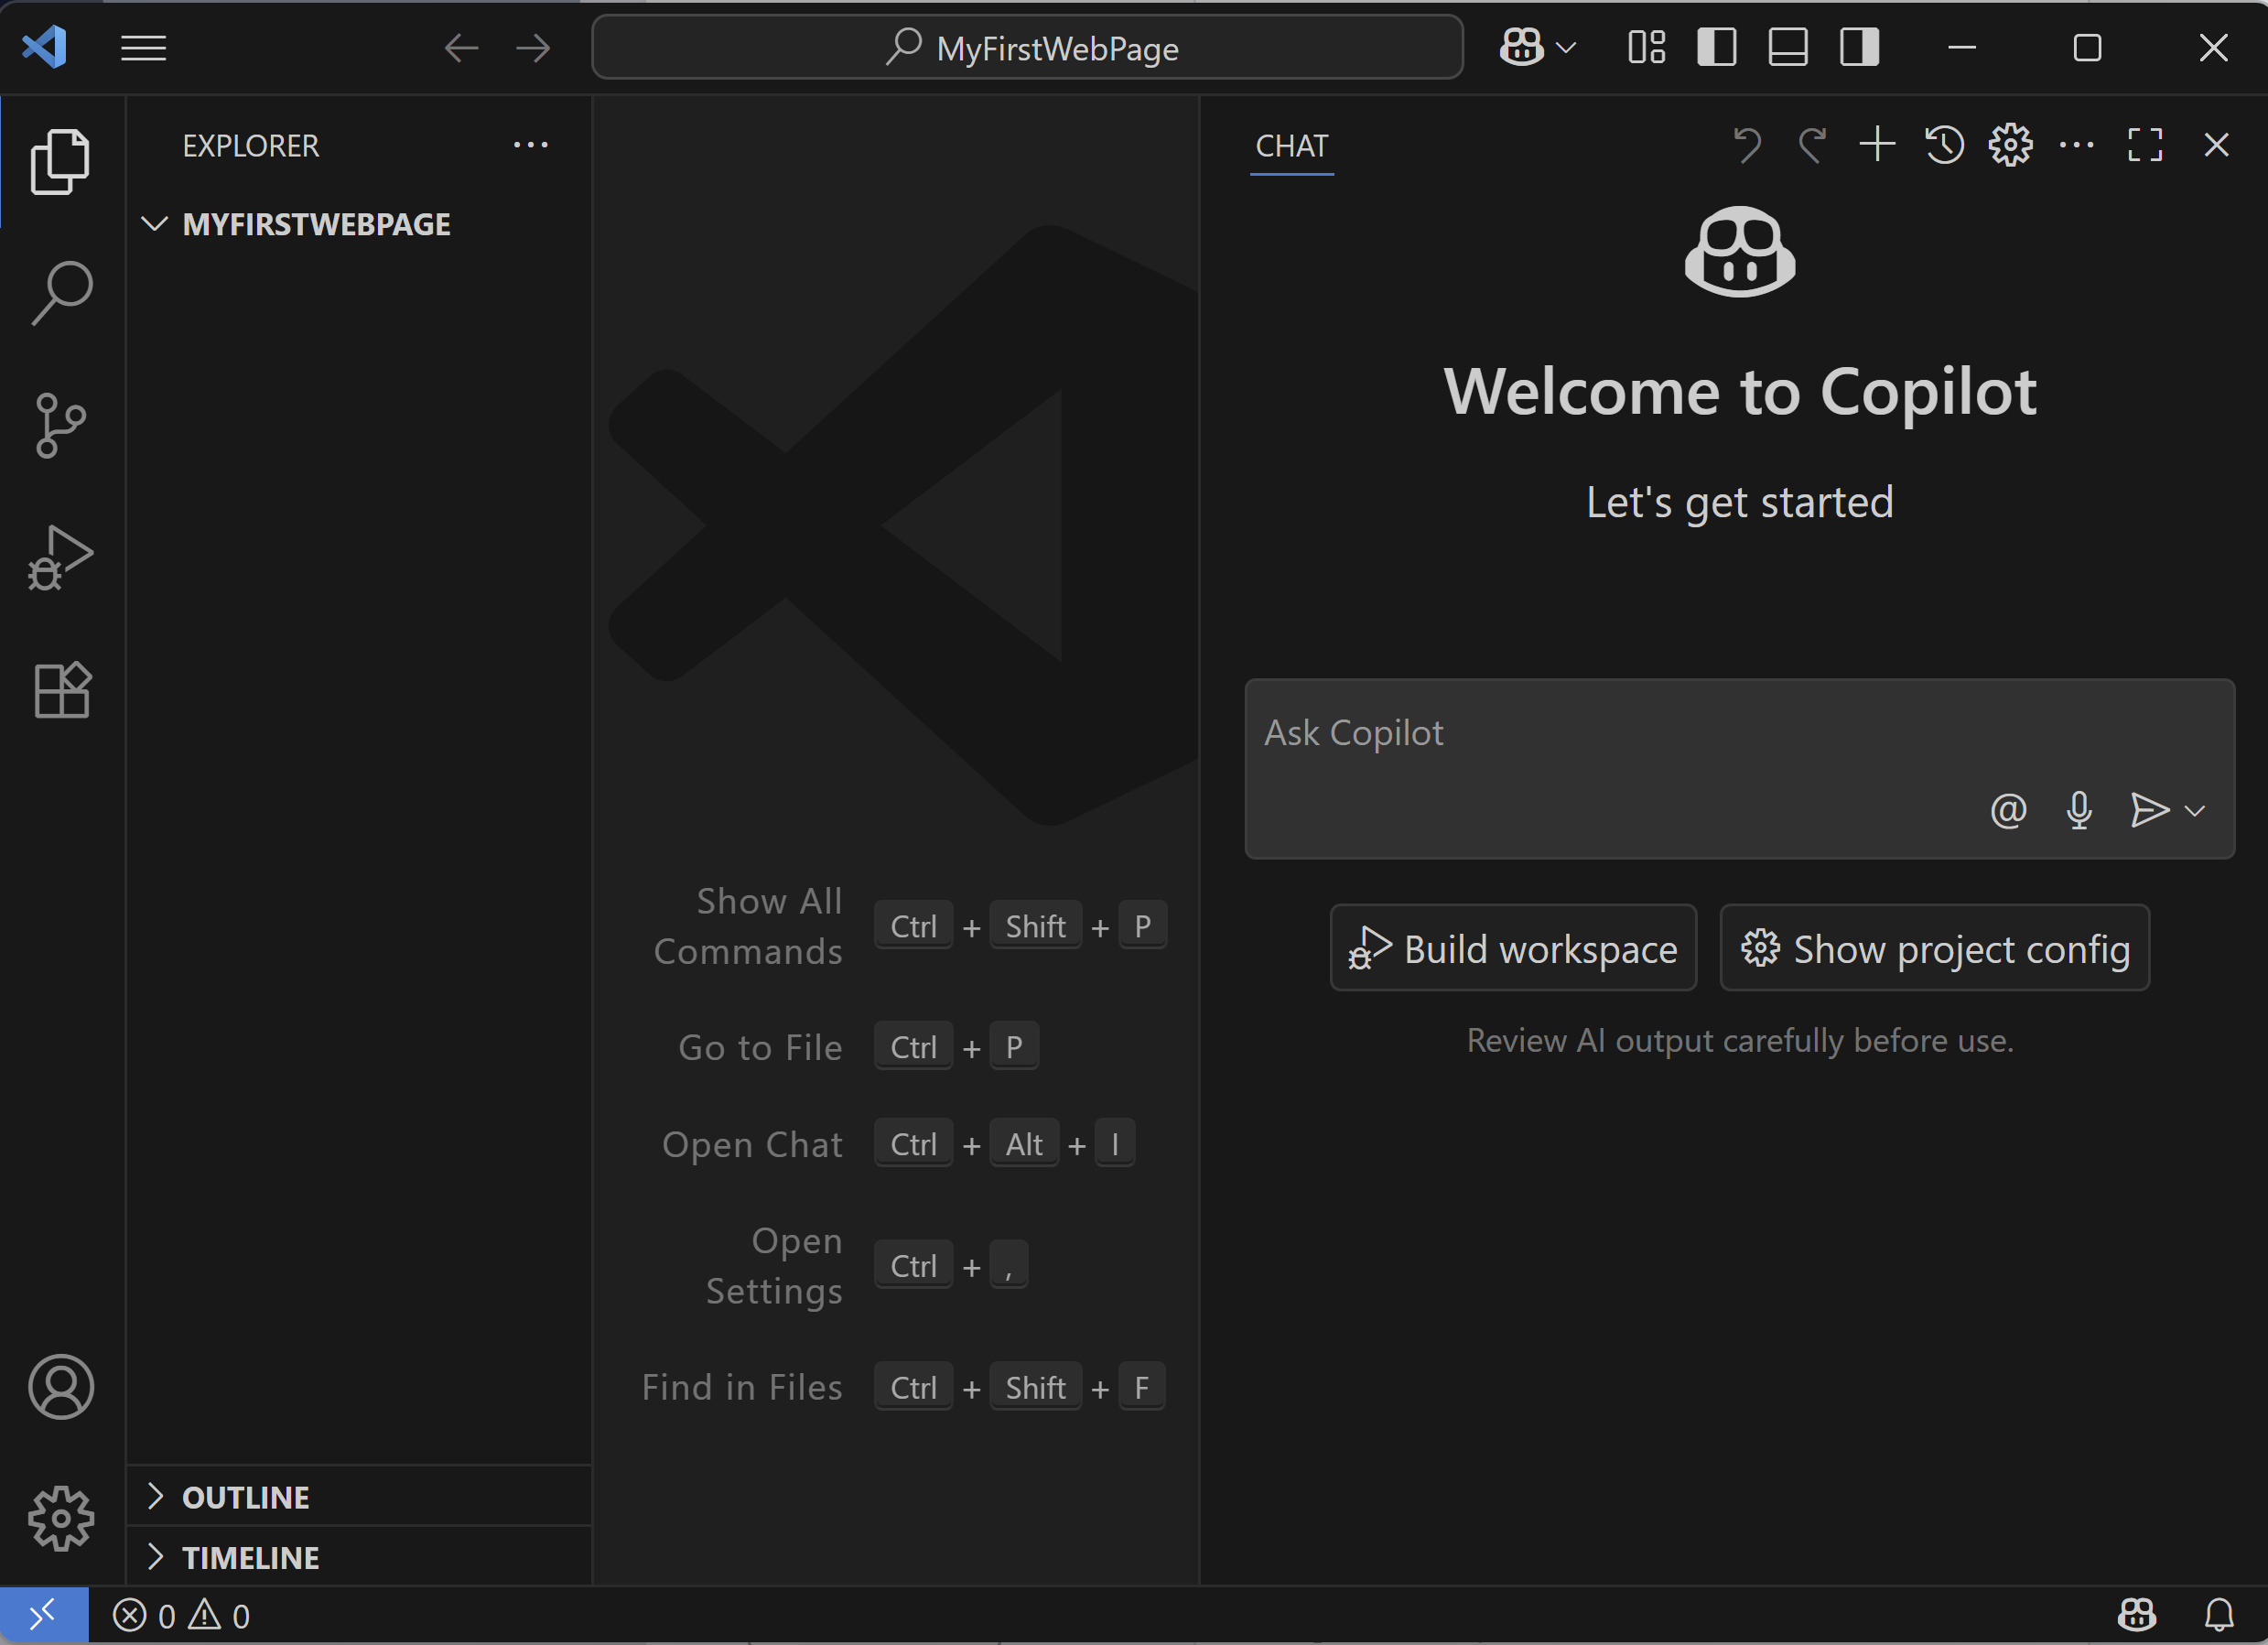
In VS Code:
You should see the folder name in the Explorer pane on the left. This is where you'll add files.
HTML is the structure of your web page. Let's create a basic one.
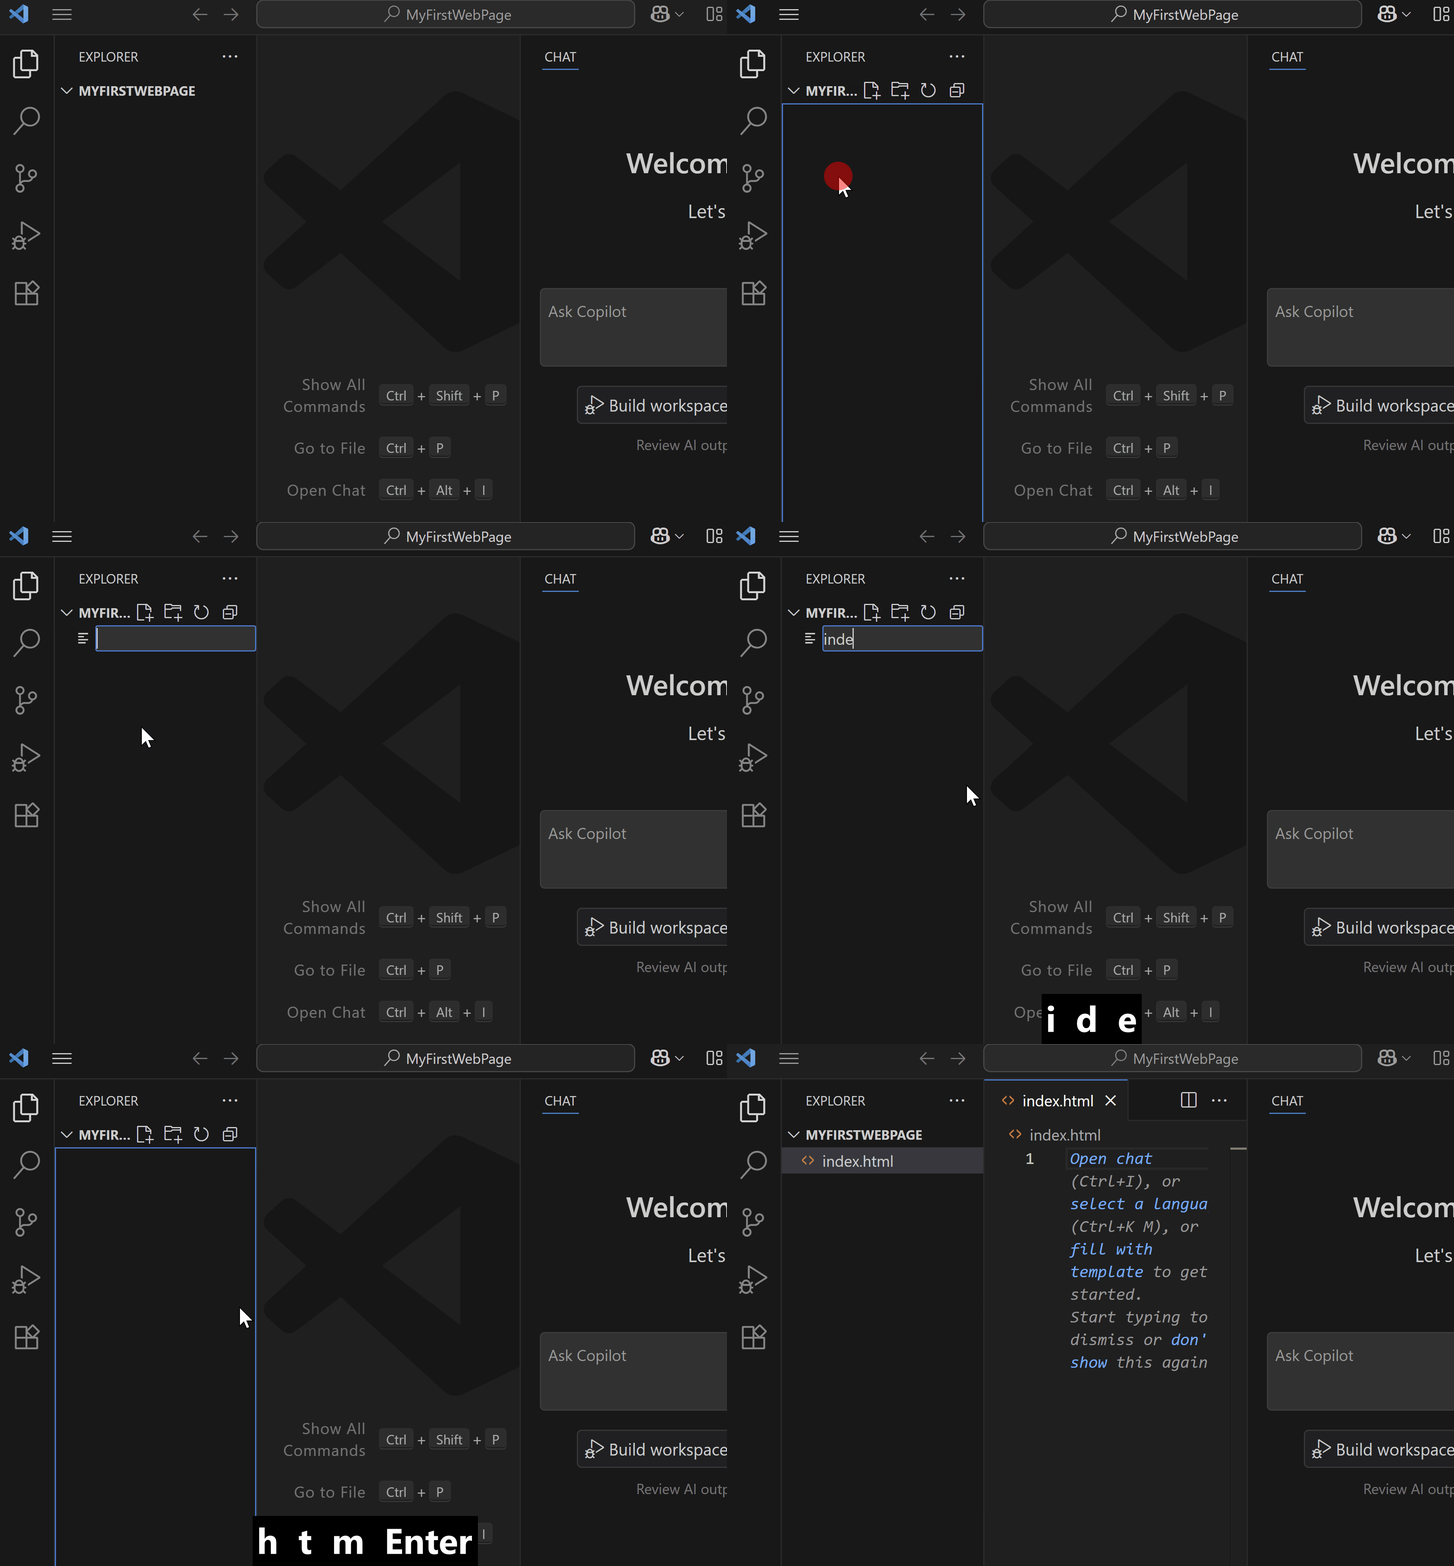
In VS Code, with your project folder open:
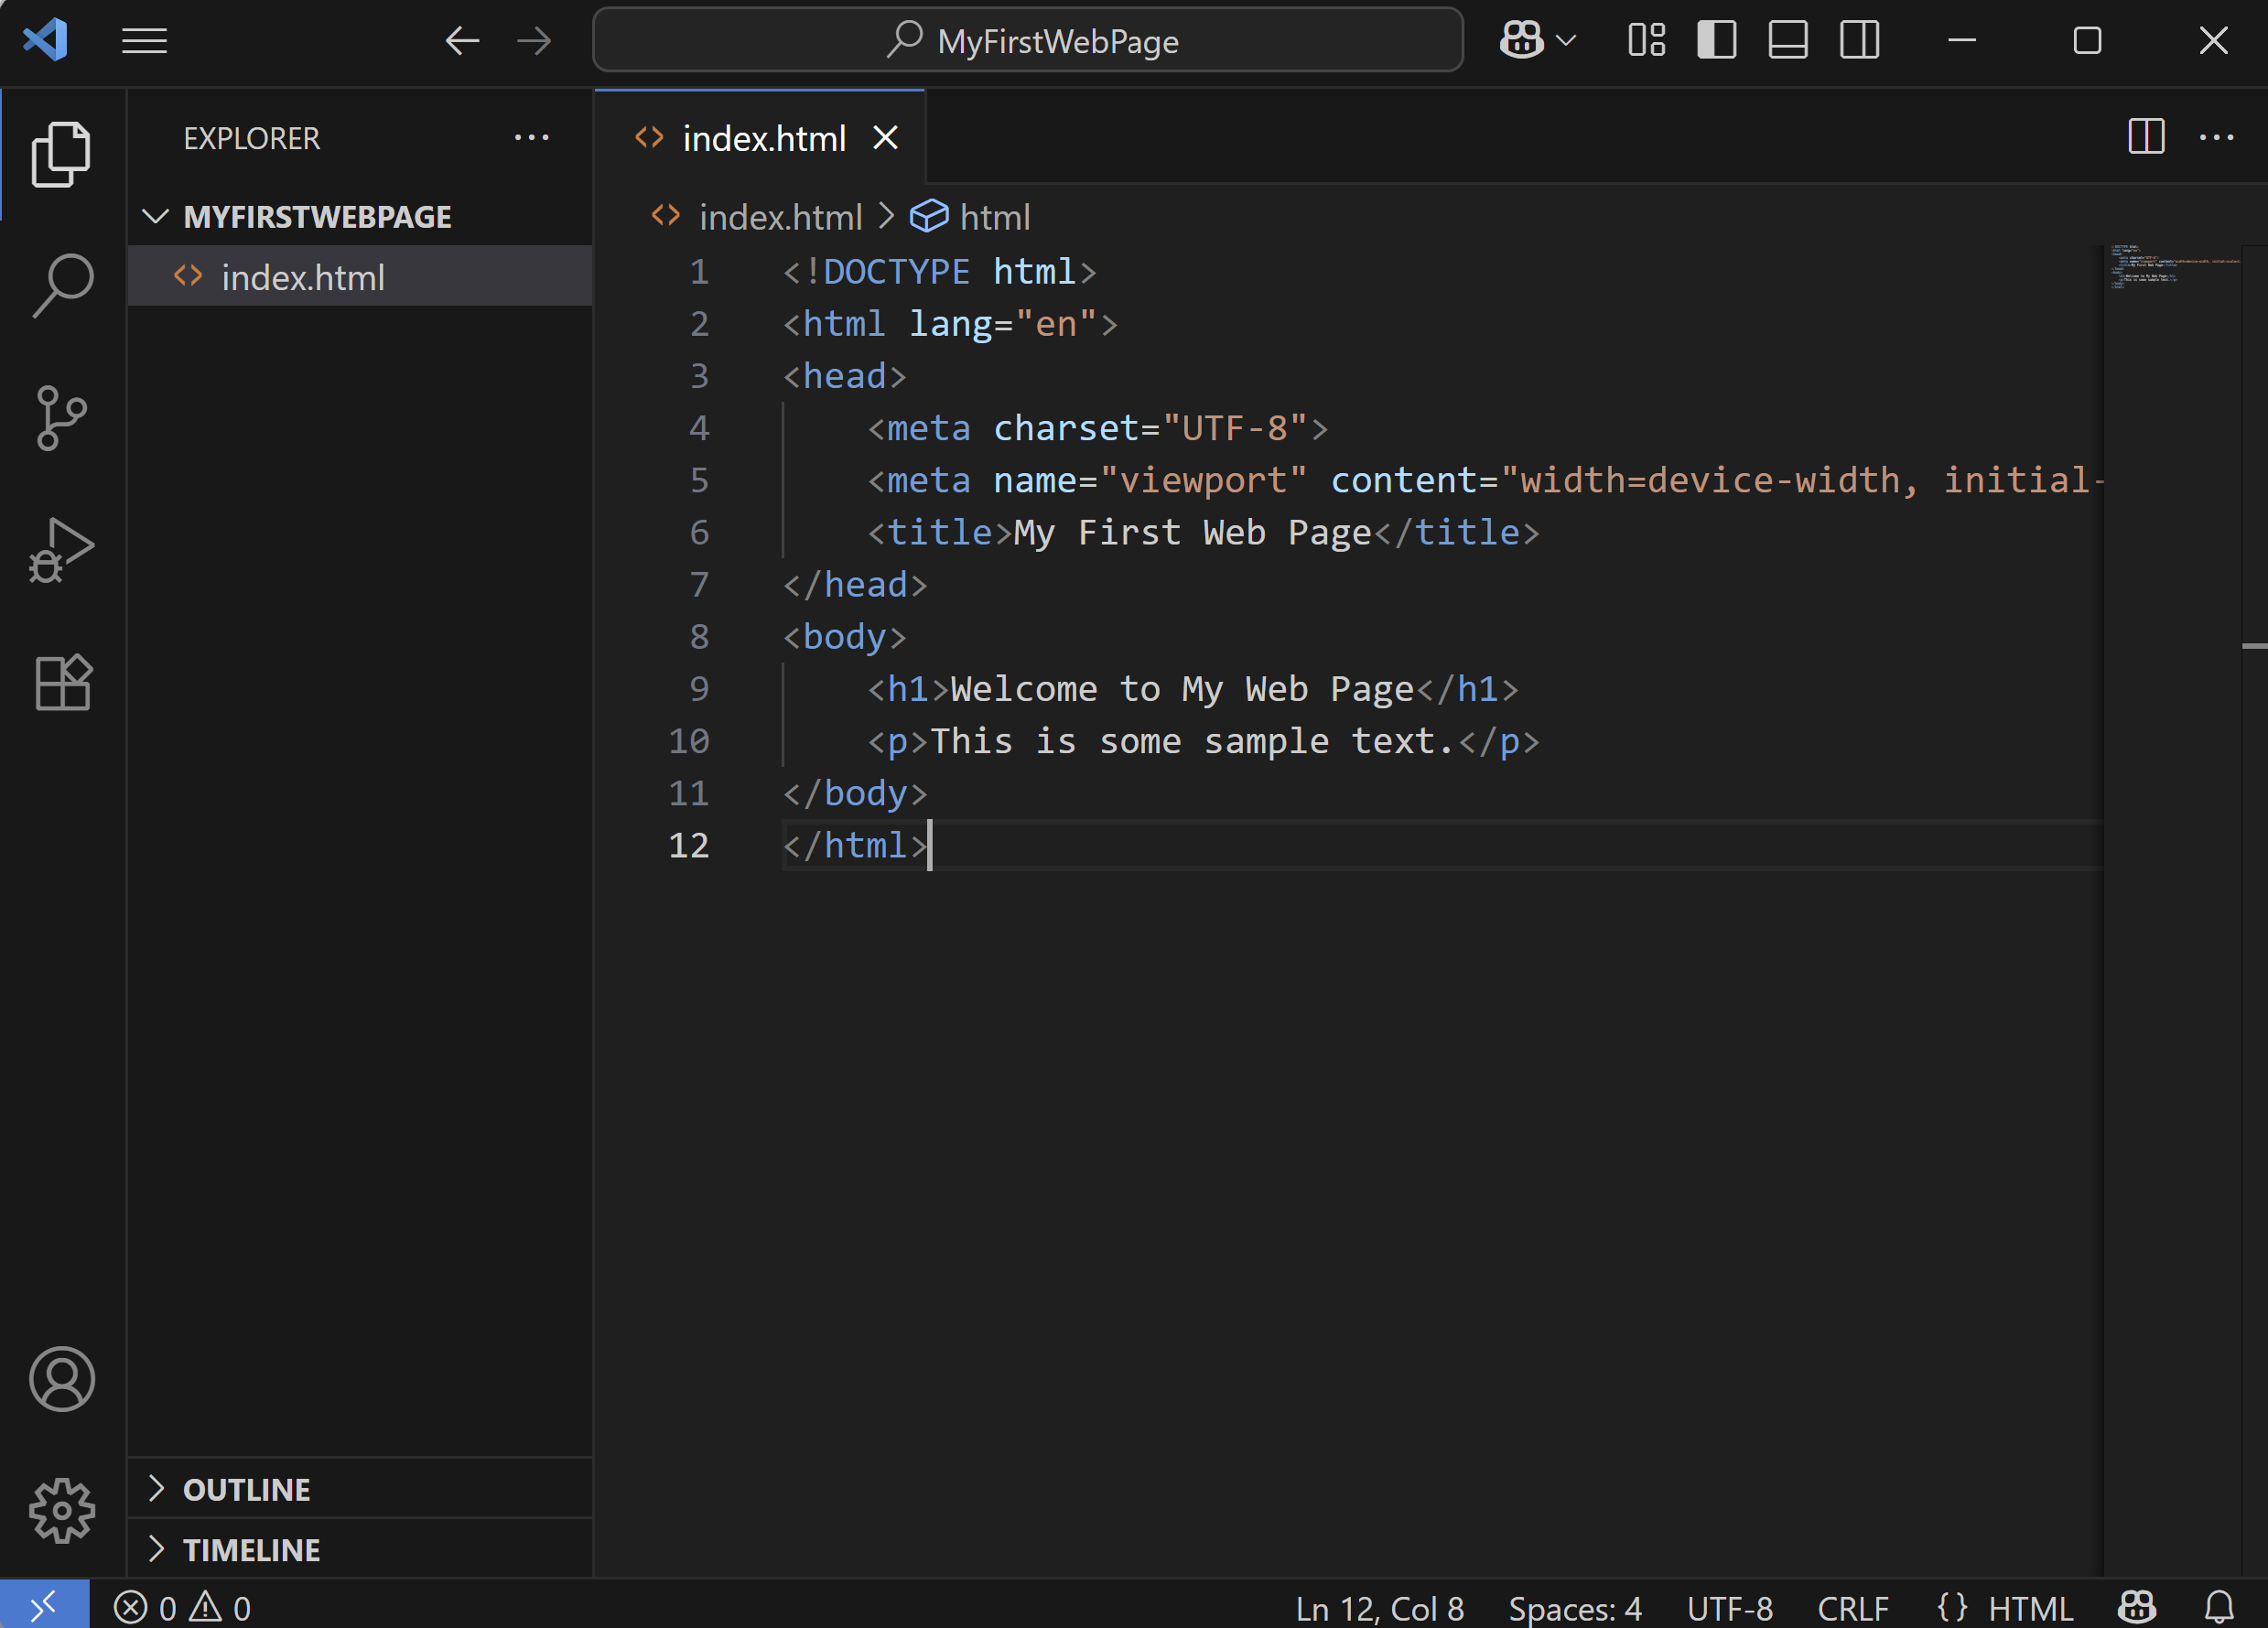
New File'.index.html' (this is the standard name for the main page).Add the following complete HTML code to 'index.html':
<!DOCTYPE html>
<html lang="en">
<head>
    <meta charset="UTF-8">
    <meta name="viewport" content="width=device-width, initial-scale=1.0">
    <title>My First Web Page</title>
</head>
<body>
    <h1>Welcome to My Web Page</h1>
    <p>This is some sample text.</p>
</body>
</html>
Save the file (Ctrl+S or Cmd+S).
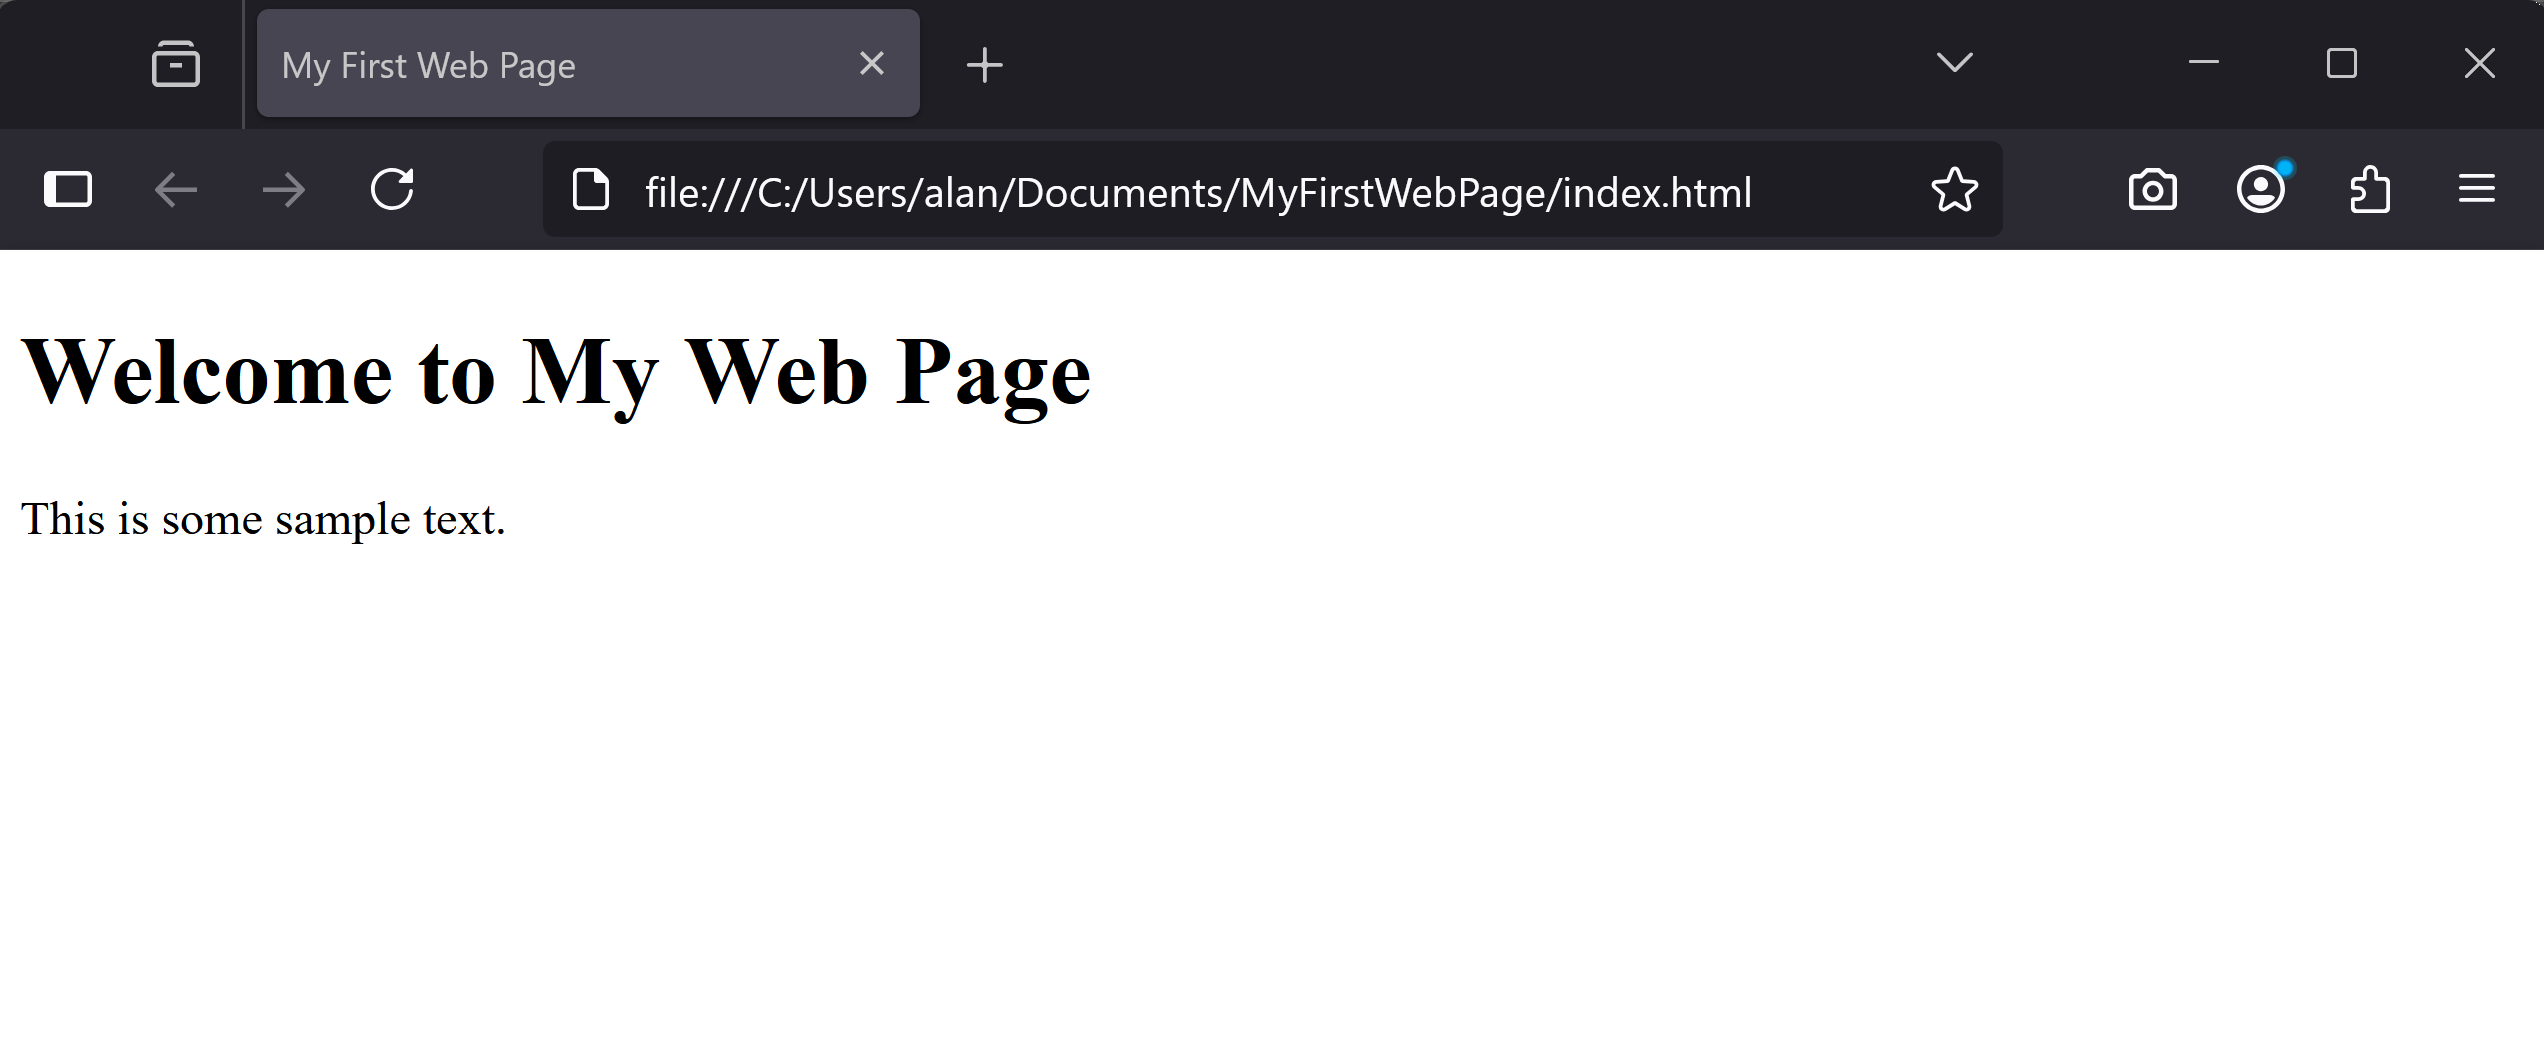
To view your web page in a browser, you need to open the 'index.html' file directly from your computer's file system.
Follow these steps using Windows Explorer:
Windows key + E).Documents\MyFirstWebPage.index.html' file inside the folder.index.html' file. This should open it in your default web browser.You should now see your styled web page with the heading, paragraph, image, and applied CSS styles.
If the file does not open in a browser automatically, right-click on 'index.html', select 'Open with', and choose a web browser like Chrome, Edge, or Firefox.
