HTML JavaScript CSS Computer Science
Intermediate
40 mins
Teacher/Student led
+15 XP
What you need:
Chromebook/Laptop/PC

Scripting and DOM Manipulation

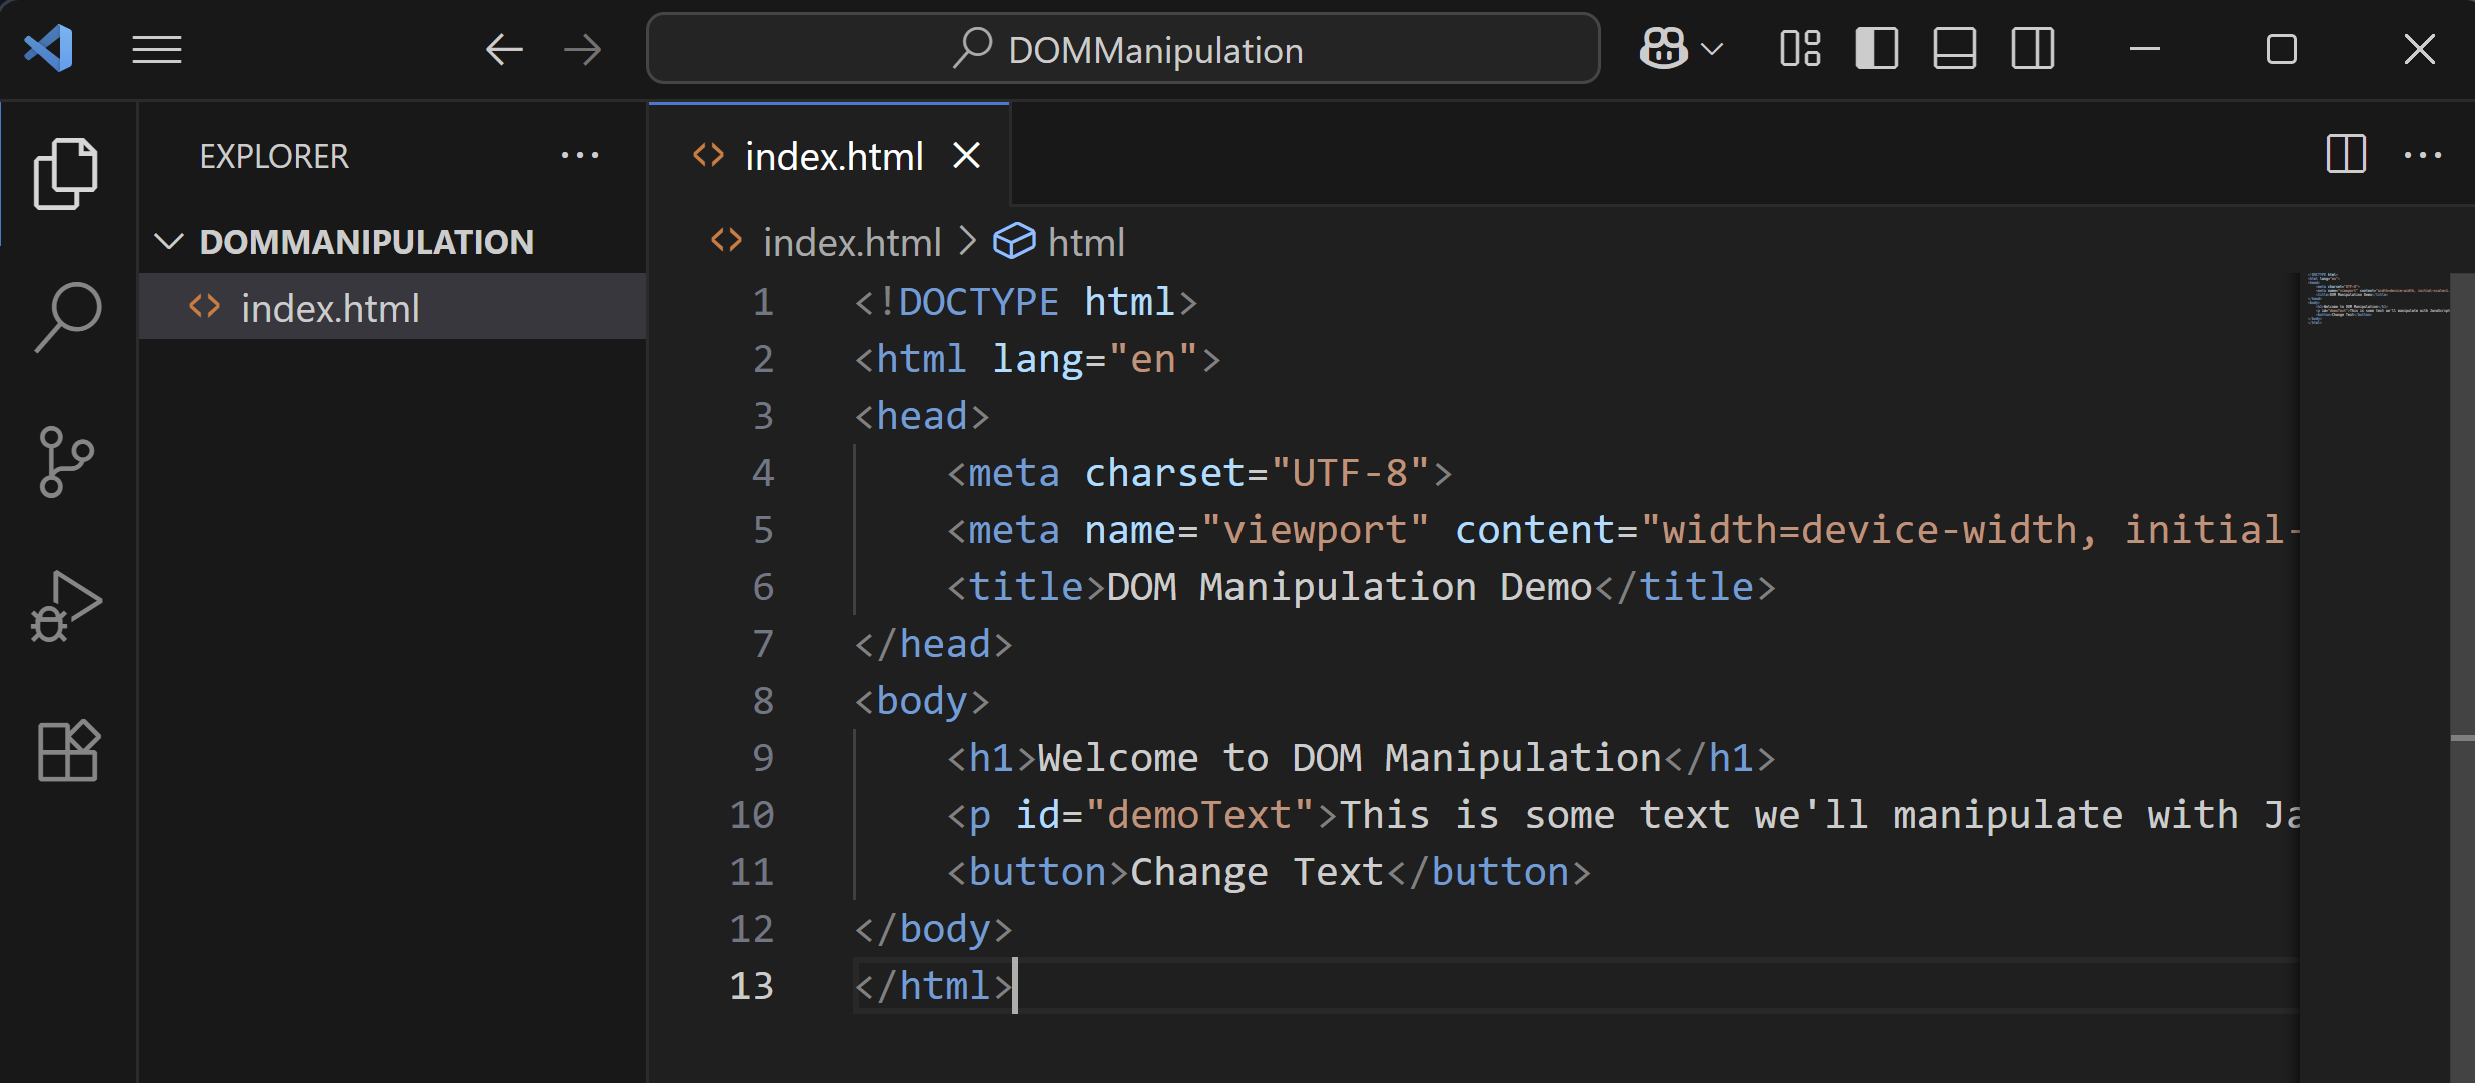
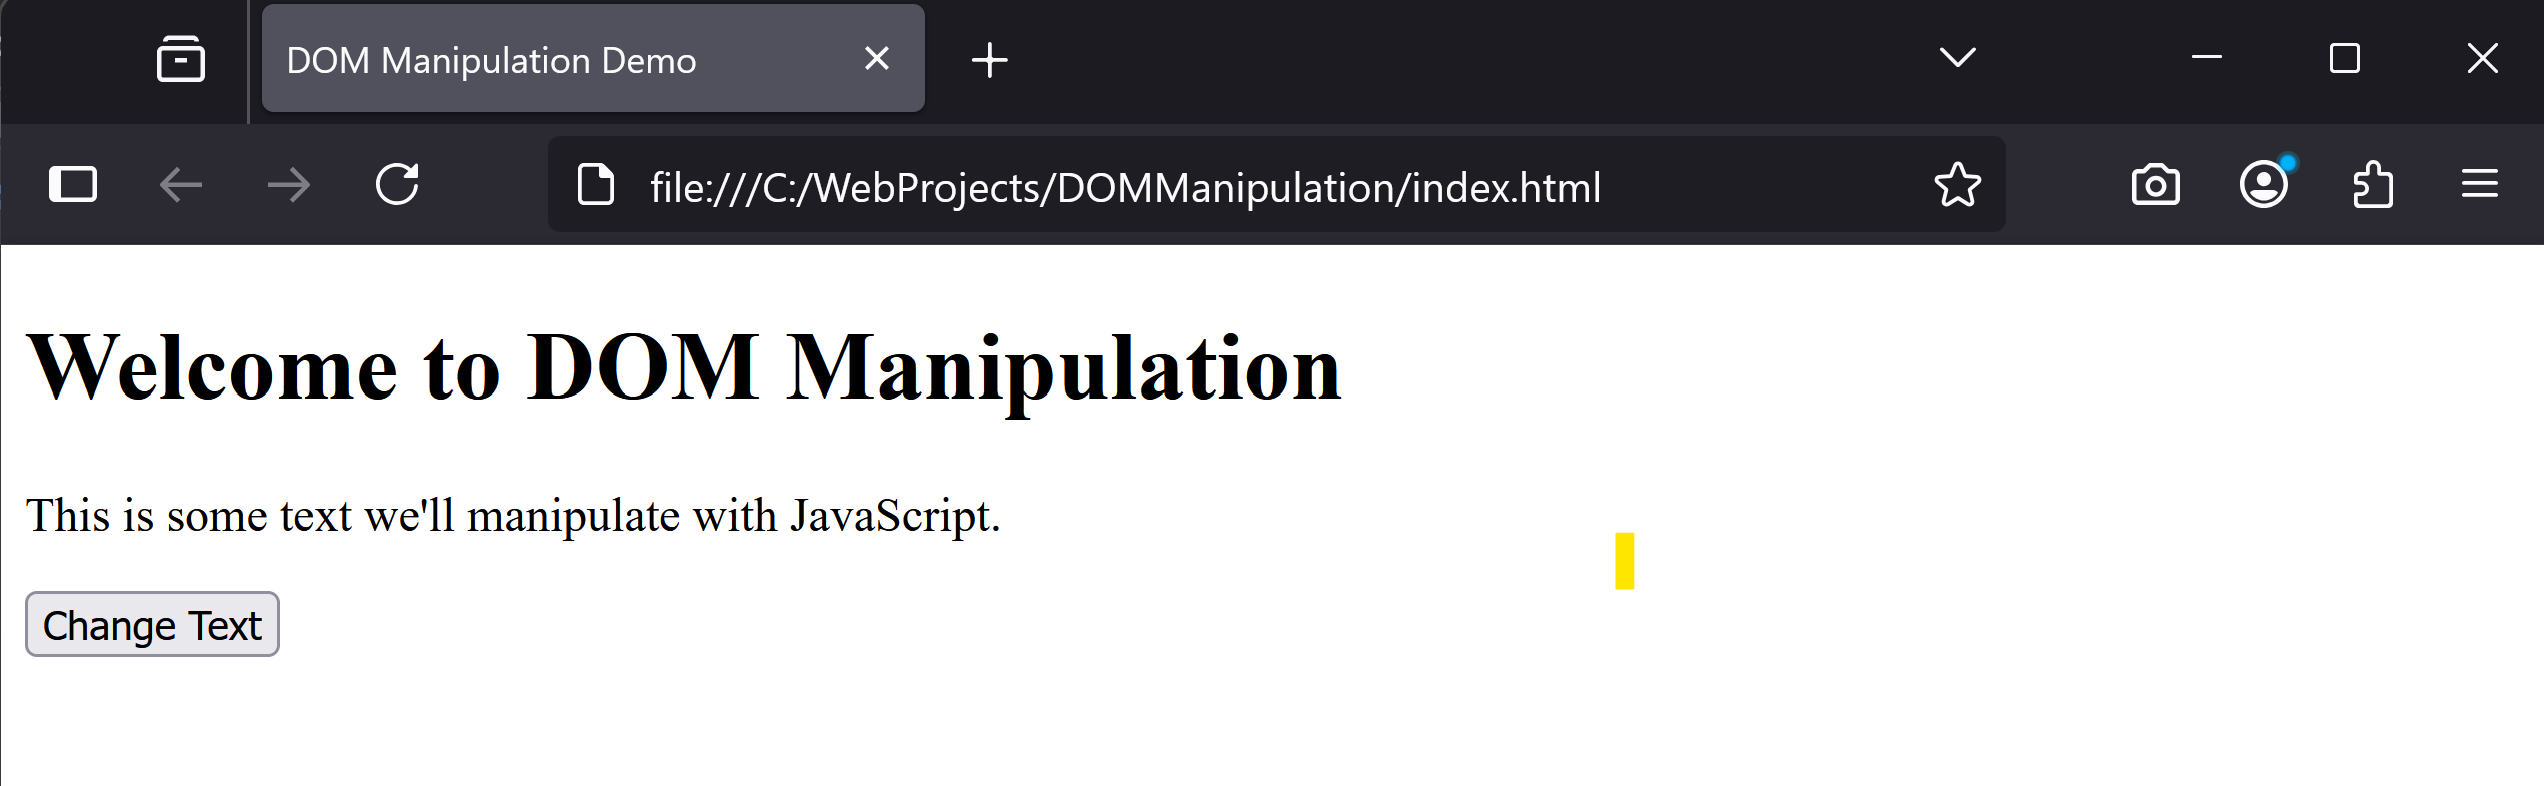
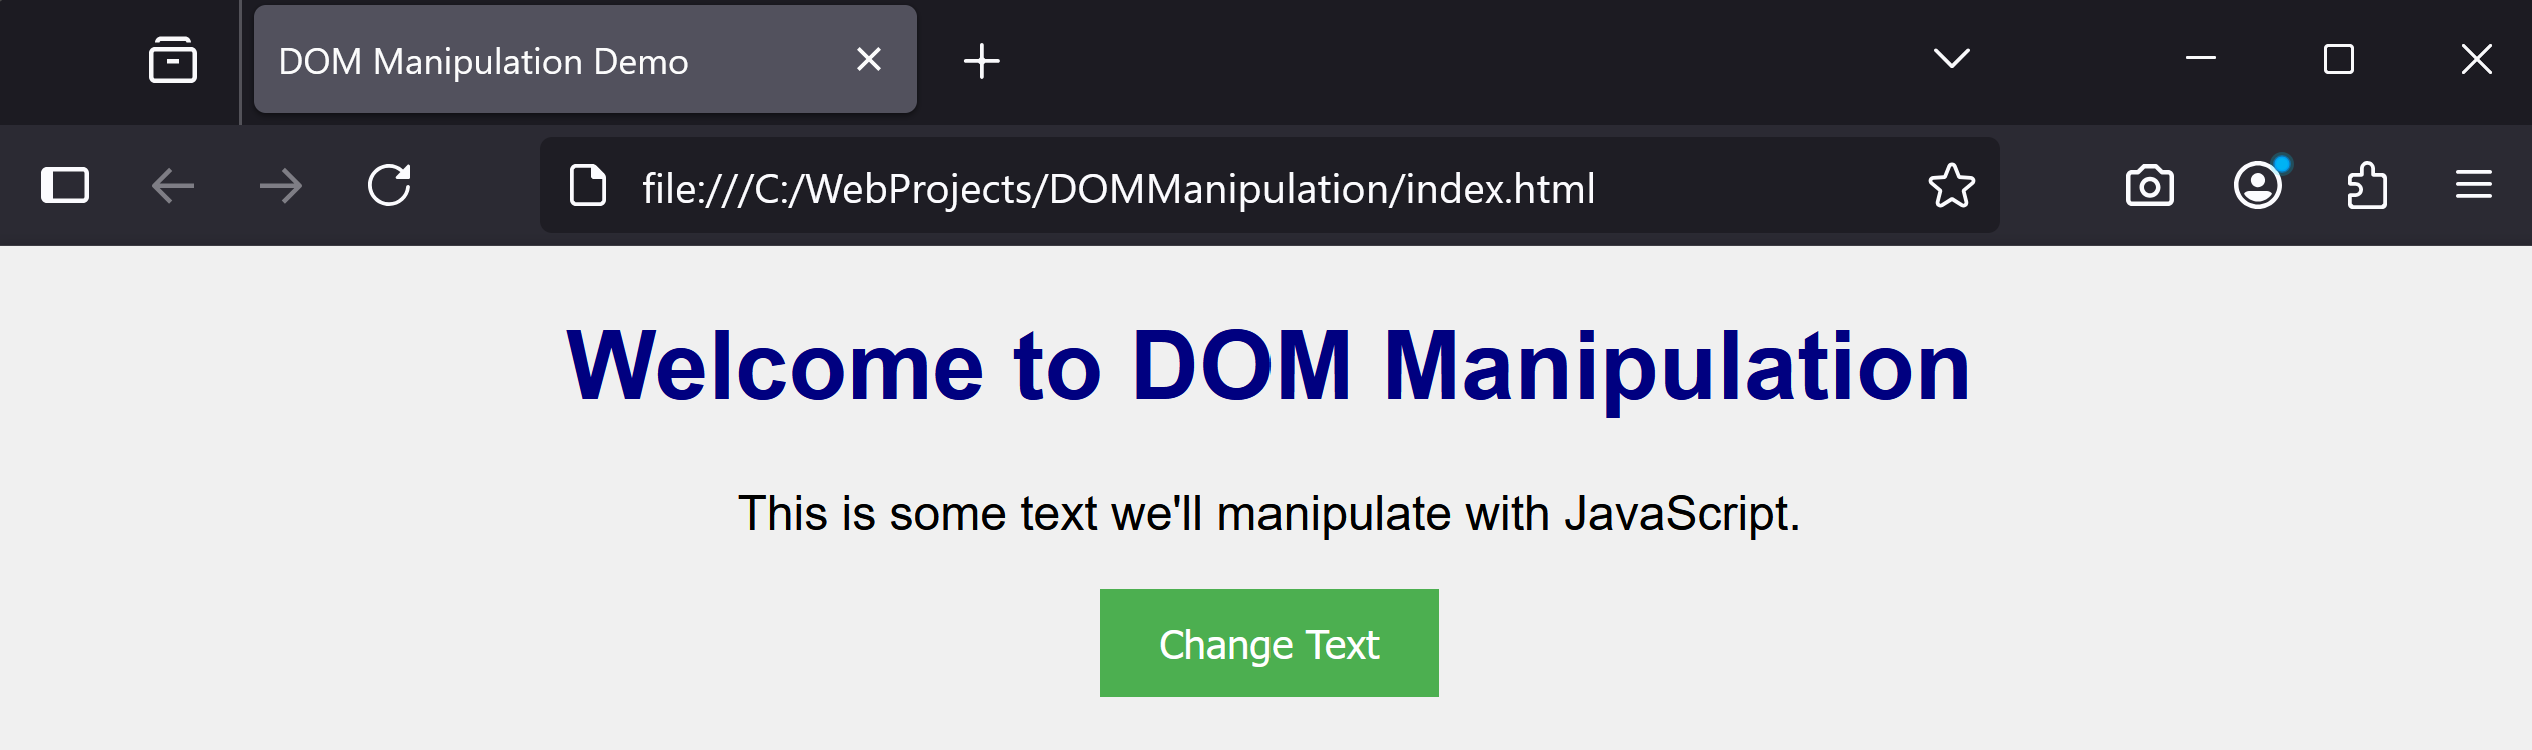
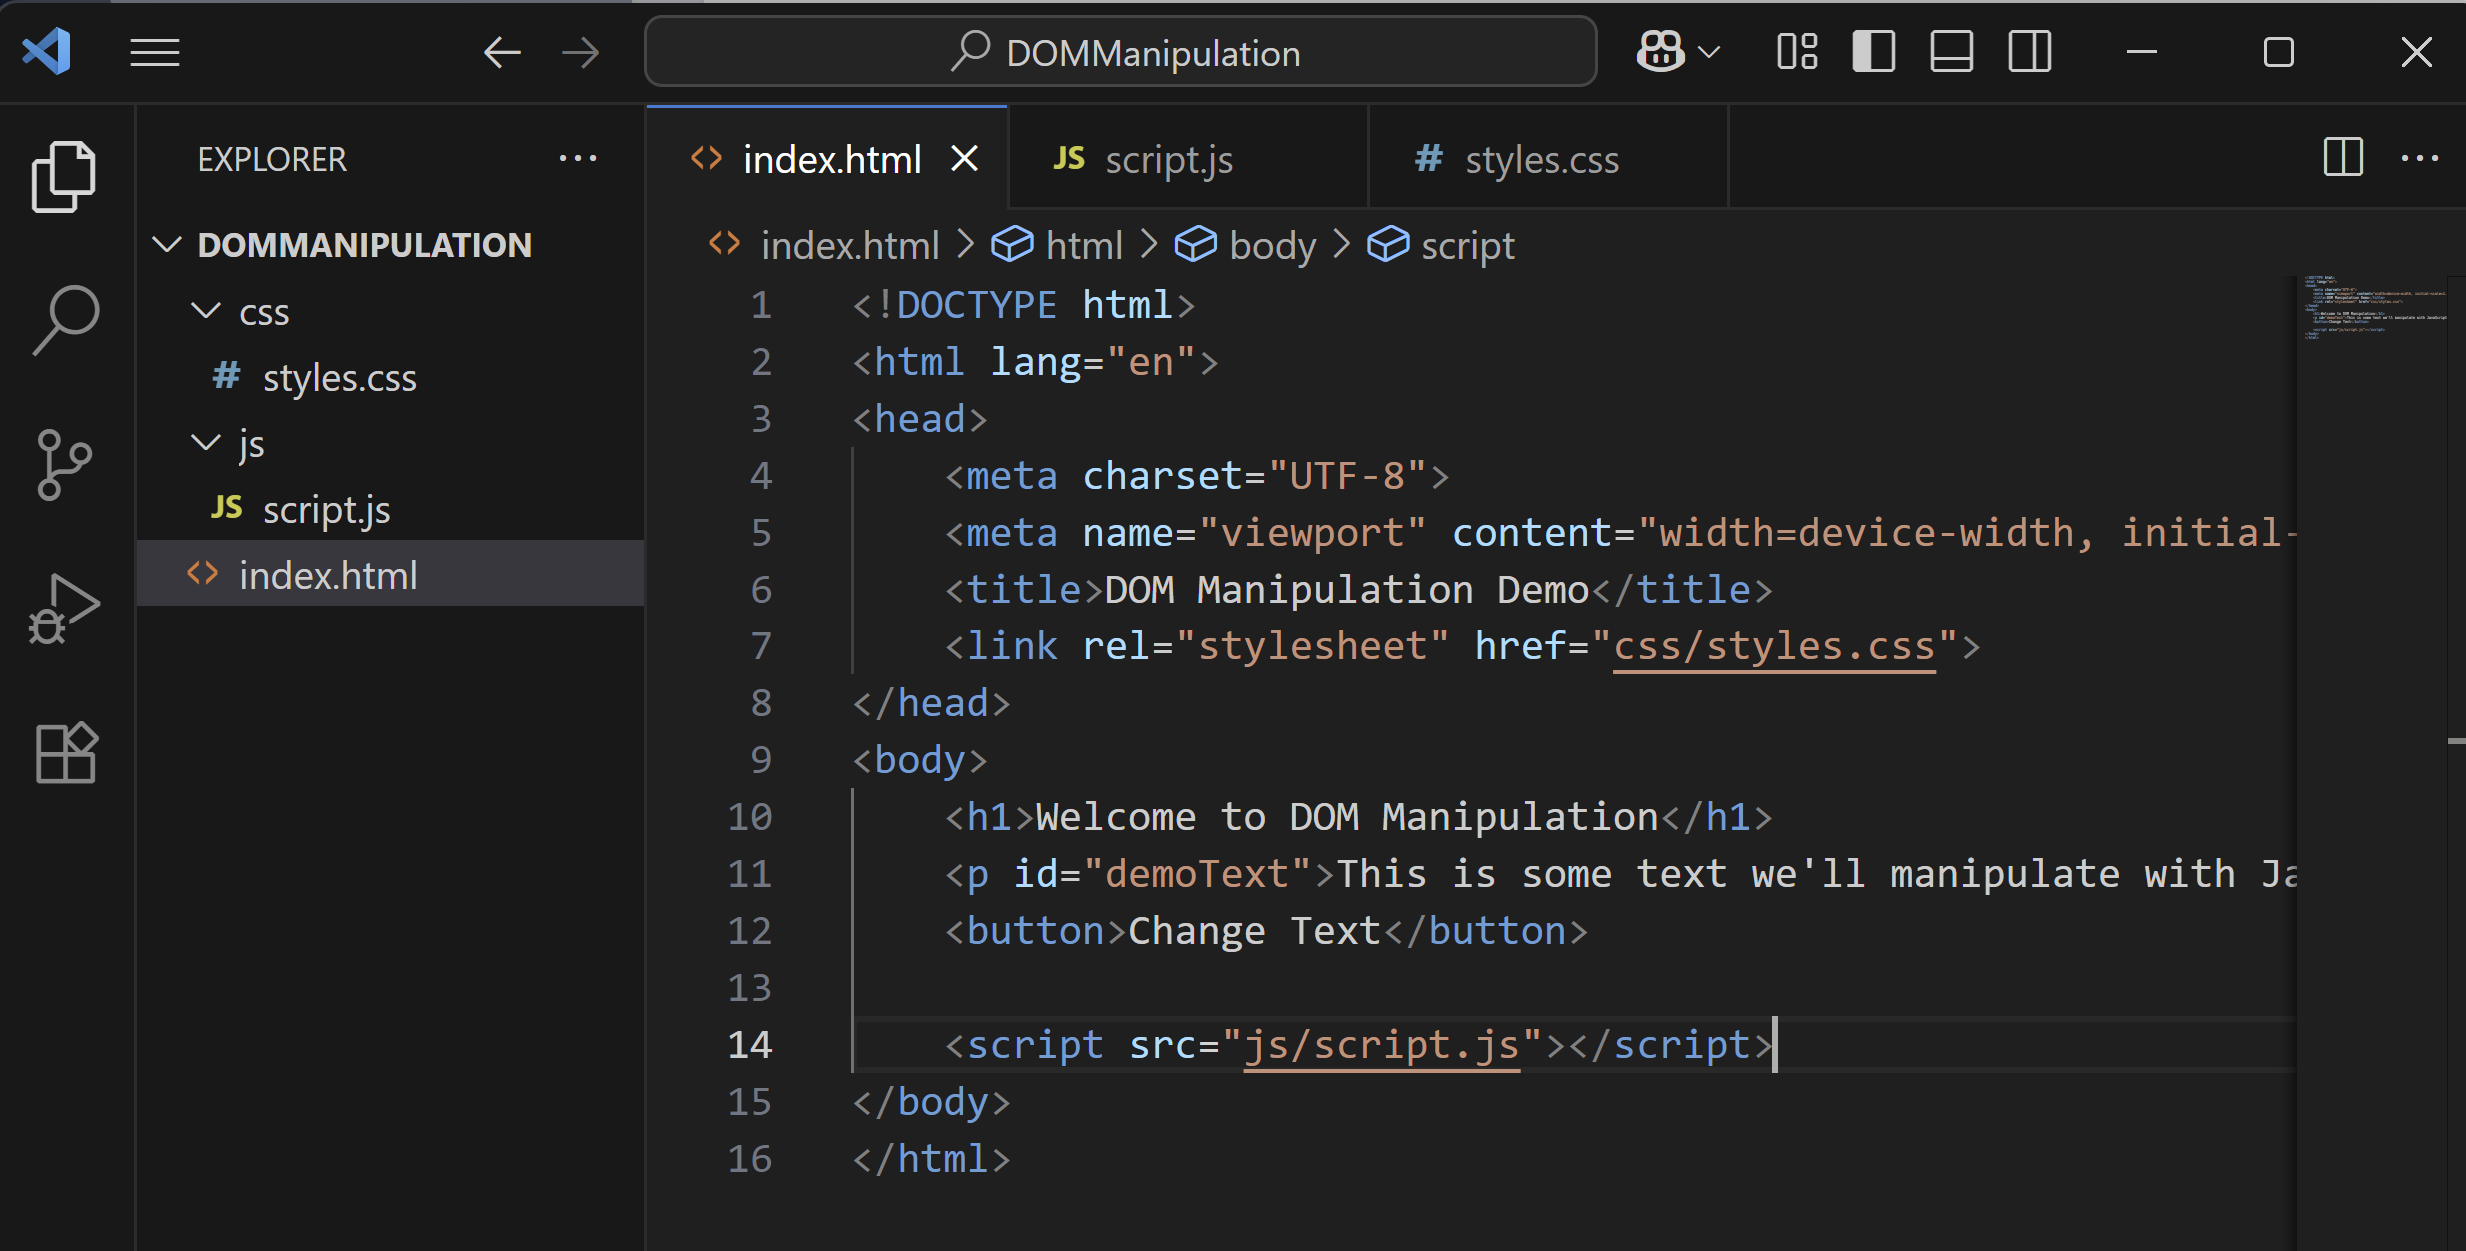
In this lesson, you'll learn the basics of scripting with JavaScript and manipulating the Document Object Model (DOM). Follow step-by-step instructions to set up a project, create HTML and CSS files, and use JavaScript to add interactivity to your web page.
Learning Goals Learning Outcomes Teacher Notes

Live Class Feed

This is a live feed of the latest activity by your students on this lesson. It will update in real-time as they work on the lesson.
Load previous activity

    1 - Introduction to Scripting and DOM

    In this lesson, you'll explore scripting with JavaScript and how to manipulate the Document Object Model (DOM). The DOM represents the structure of your HTML document, allowing JavaScript to change content, styles, and more dynamically.

    You'll set up a new project in VS Code, create an HTML page, add CSS for styling, and use JavaScript to add interactivity. By the end, you'll use onclick attributes, event listeners, and manipulate elements like text colour and size. 

    Make sure you have VS Code installed from the previous lesson. 

    2 - Creating Your Project Folder

    First, create a new workspace for this lesson in VS Code.

    Open VS Code and follow these steps:

    1. Click 'File' > 'Open Folder'.
    2. Create a new folder on your computer, for example, name it 'DOMManipulation' in your Documents folder.
    3. Select that folder in VS Code to set it as your workspace. 
    You should see the folder name in the Explorer pane on the left. This is where you'll add your files.

    3 - Creating the HTML File

    Now, create the basic HTML structure for your page.

    In VS Code, with your project folder open:

    1. Right-click in the Explorer pane and select 'New File'.
    2. Name it 'index.html'.
    3. The file will open in the editor.

    Add the following complete HTML code to 'index.html':

    <!DOCTYPE html>
    <html lang="en">
    <head>
        <meta charset="UTF-8">
        <meta name="viewport" content="width=device-width, initial-scale=1.0">
        <title>DOM Manipulation Demo</title>
    </head>
    <body>
        <h1>Welcome to DOM Manipulation</h1>
        <p id="demoText">This is some text we'll manipulate with JavaScript.</p>
        <button>Change Text</button>
    </body>
    </html>

    Save the file (Ctrl+S or Cmd+S). This sets up a simple page with a heading, paragraph, and button.

    To view it, double-click 'index.html' in your file explorer to open it in a web browser.


    4 - Adding CSS Folder and Stylesheet

    To style your page, create a CSS folder and file.

    In VS Code:

    1. Right-click on your project folder in the Explorer pane and select 'New Folder'.
    2. Name it 'css'.
    3. Right-click on the 'css' folder and select 'New File'.
    4. Name it 'styles.css'.

    Add the following complete CSS code to 'styles.css':

    body {
        font-family: Arial, sans-serif;
        background-color: #f0f0f0;
        text-align: center;
    }
    
    h1 {
        color: navy;
    }
    
    button {
        padding: 10px 20px;
        background-color: #4CAF50;
        color: white;
        border: none;
        cursor: pointer;
    }
    
    button:hover {
        background-color: #45a049;
    }

    Now, link the CSS to your HTML. Update 'index.html' with this complete code:

    <!DOCTYPE html>
    <html lang="en">
    <head>
        <meta charset="UTF-8">
        <meta name="viewport" content="width=device-width, initial-scale=1.0">
        <title>DOM Manipulation Demo</title>
        <link rel="stylesheet" href="css/styles.css">
    </head>
    <body>
        <h1>Welcome to DOM Manipulation</h1>
        <p id="demoText">This is some text we'll manipulate with JavaScript.</p>
        <button>Change Text</button>
    </body>
    </html>
    Save both your files and refresh your browser to see the styles applied.


    5 - Adding JS Folder and JavaScript File

    Next, create a folder for JavaScript and add a script file.

    In VS Code:

    1. Right-click on your project folder in the Explorer pane and select 'New Folder'.
    2. Name it 'js'.
    3. Right-click on the 'js' folder and select 'New File'.
    4. Name it 'script.js'.

    For now, leave 'script.js' empty. We'll add code soon.

    Link the JavaScript to your HTML. Update 'index.html' by adding in the new script tag at the end of the body tag:

    <!DOCTYPE html>
    <html lang="en">
    <head>
        <meta charset="UTF-8">
        <meta name="viewport" content="width=device-width, initial-scale=1.0">
        <title>DOM Manipulation Demo</title>
        <link rel="stylesheet" href="css/styles.css">
    </head>
    <body>
        <h1>Welcome to DOM Manipulation</h1>
        <p id="demoText">This is some text we'll manipulate with JavaScript.</p>
        <button>Change Text</button>
        <script src="js/script.js"></script>
    </body>
    </html>
    Save the file. Your project is now set up with HTML, CSS, and JS linked.


    Unlock the Full Learning Experience

    Get ready to embark on an incredible learning journey! Get access to this lesson and hundreds more in our Digital Skills Curriculum.

    Copyright Notice
    This lesson is copyright of DigitalSkills.org. Unauthorised use, copying or distribution is not allowed.
    🍪 Our website uses cookies to make your browsing experience better. By using our website you agree to our use of cookies. Learn more