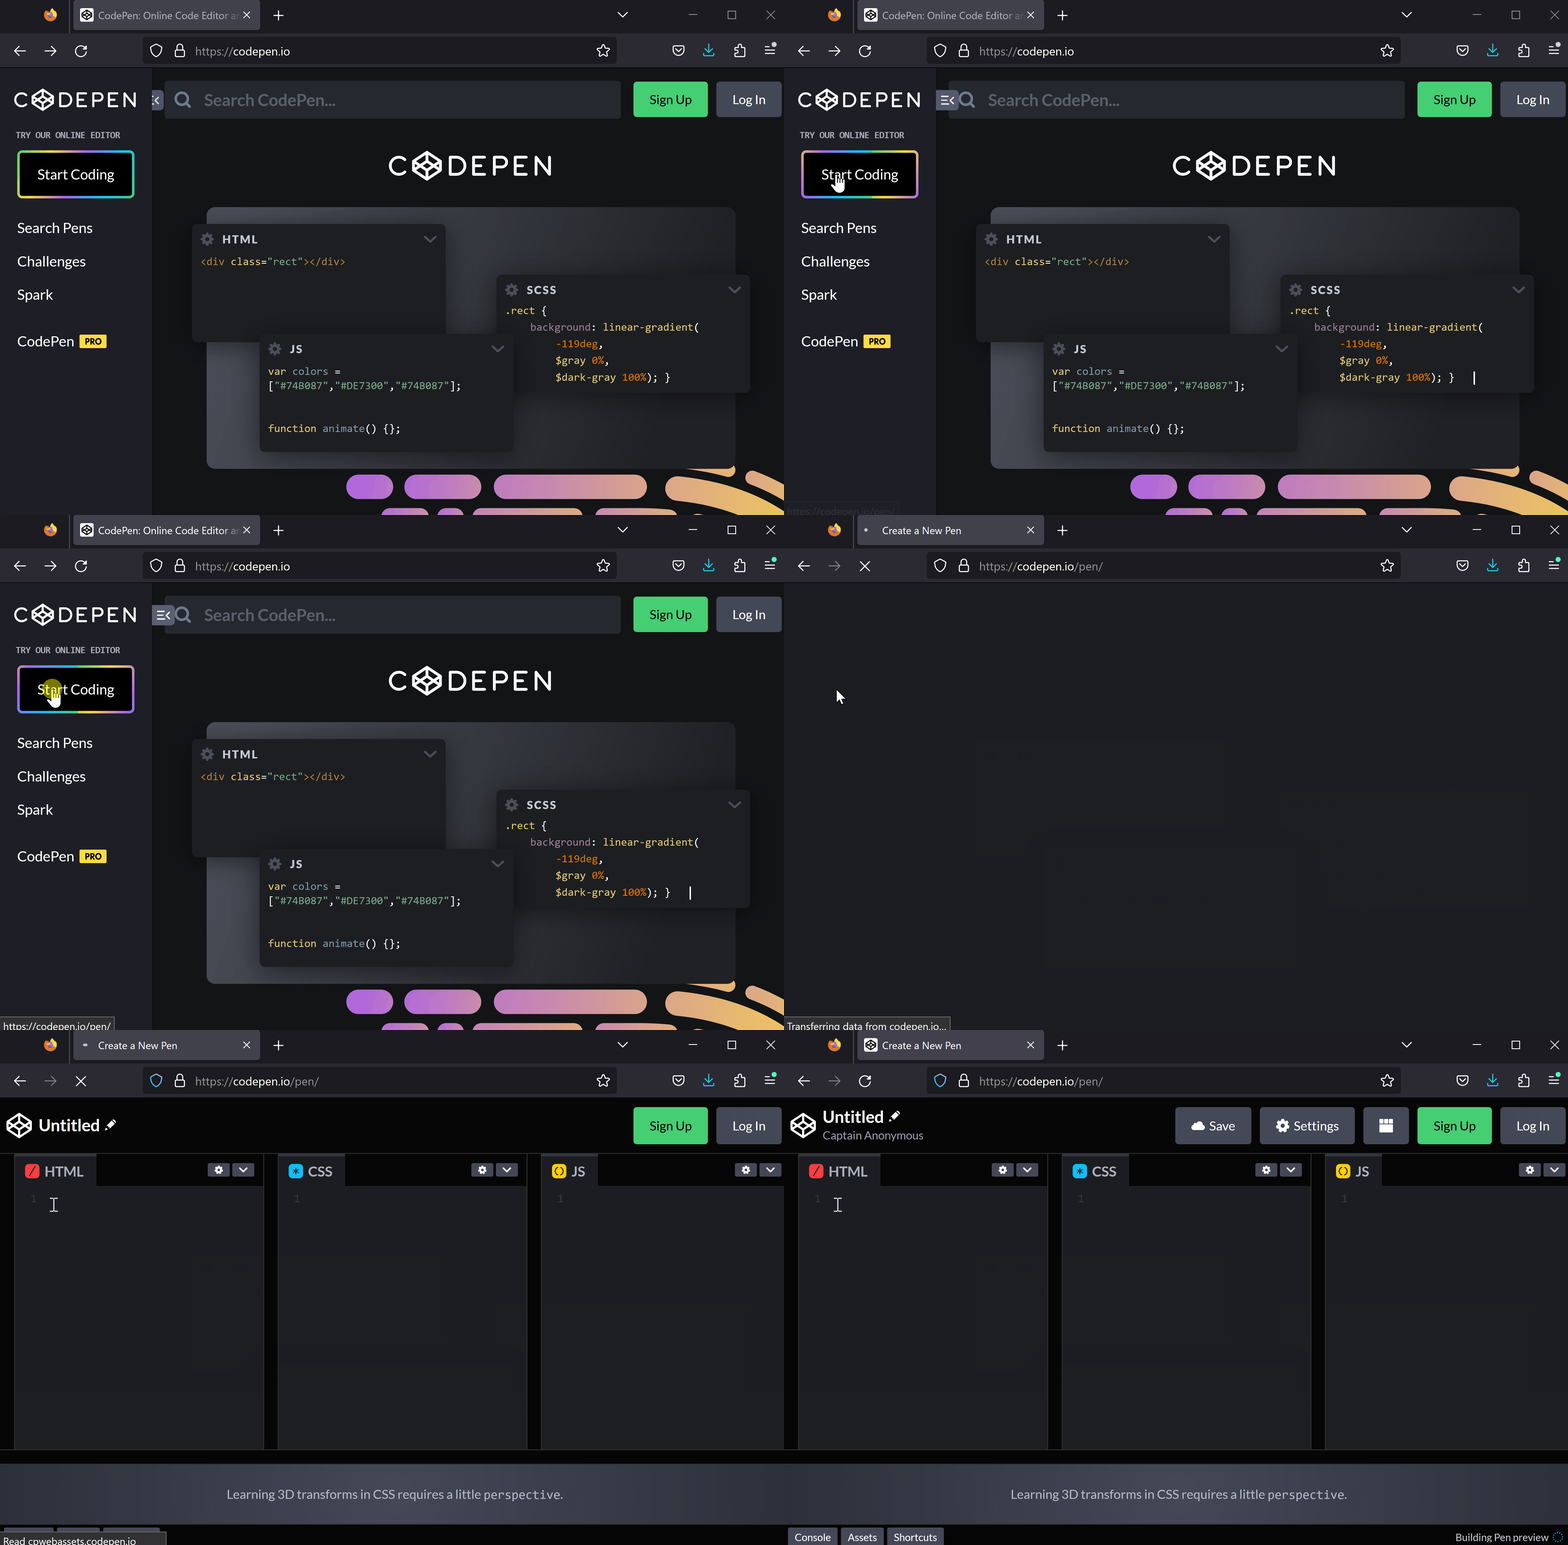
First, let's set up a CodePen project.
To create a new project or 'pen' in CodePen, open the website codepen.io and:
In this step, we will create a button and an empty div element. The button will have an onclick attribute that calls a function named addElement, which we will create in the next step. This function will be responsible for adding new elements to our page.
Add the following code to the HTML section of your CodePen:
<button id='btnAddElement' onclick='addElement()'>Add Element</button><br>
<div id='container'></div>In this step, we will create a JavaScript function that will create a new paragraph element, set its text content, and append it to the 'container' div. This function will be called when the button is clicked.
Let's break down the code:
const container = document.getElementById('container'); - This line selects the 'container' div using its ID and stores it in a variable called 'container'.const newElement = document.createElement('p'); - This line creates a new paragraph element and stores it in a variable called 'newElement'.newElement.textContent = 'New Element'; - This line sets the text content of the new paragraph element to 'New Element'.container.appendChild(newElement); - This line appends the new paragraph element to the 'container' div.Add the following code to the JavaScript section of your CodePen:
function addElement() {
  const container = document.getElementById('container');
  const newElement = document.createElement('p');
  newElement.textContent = 'New Element';
  container.appendChild(newElement);
}
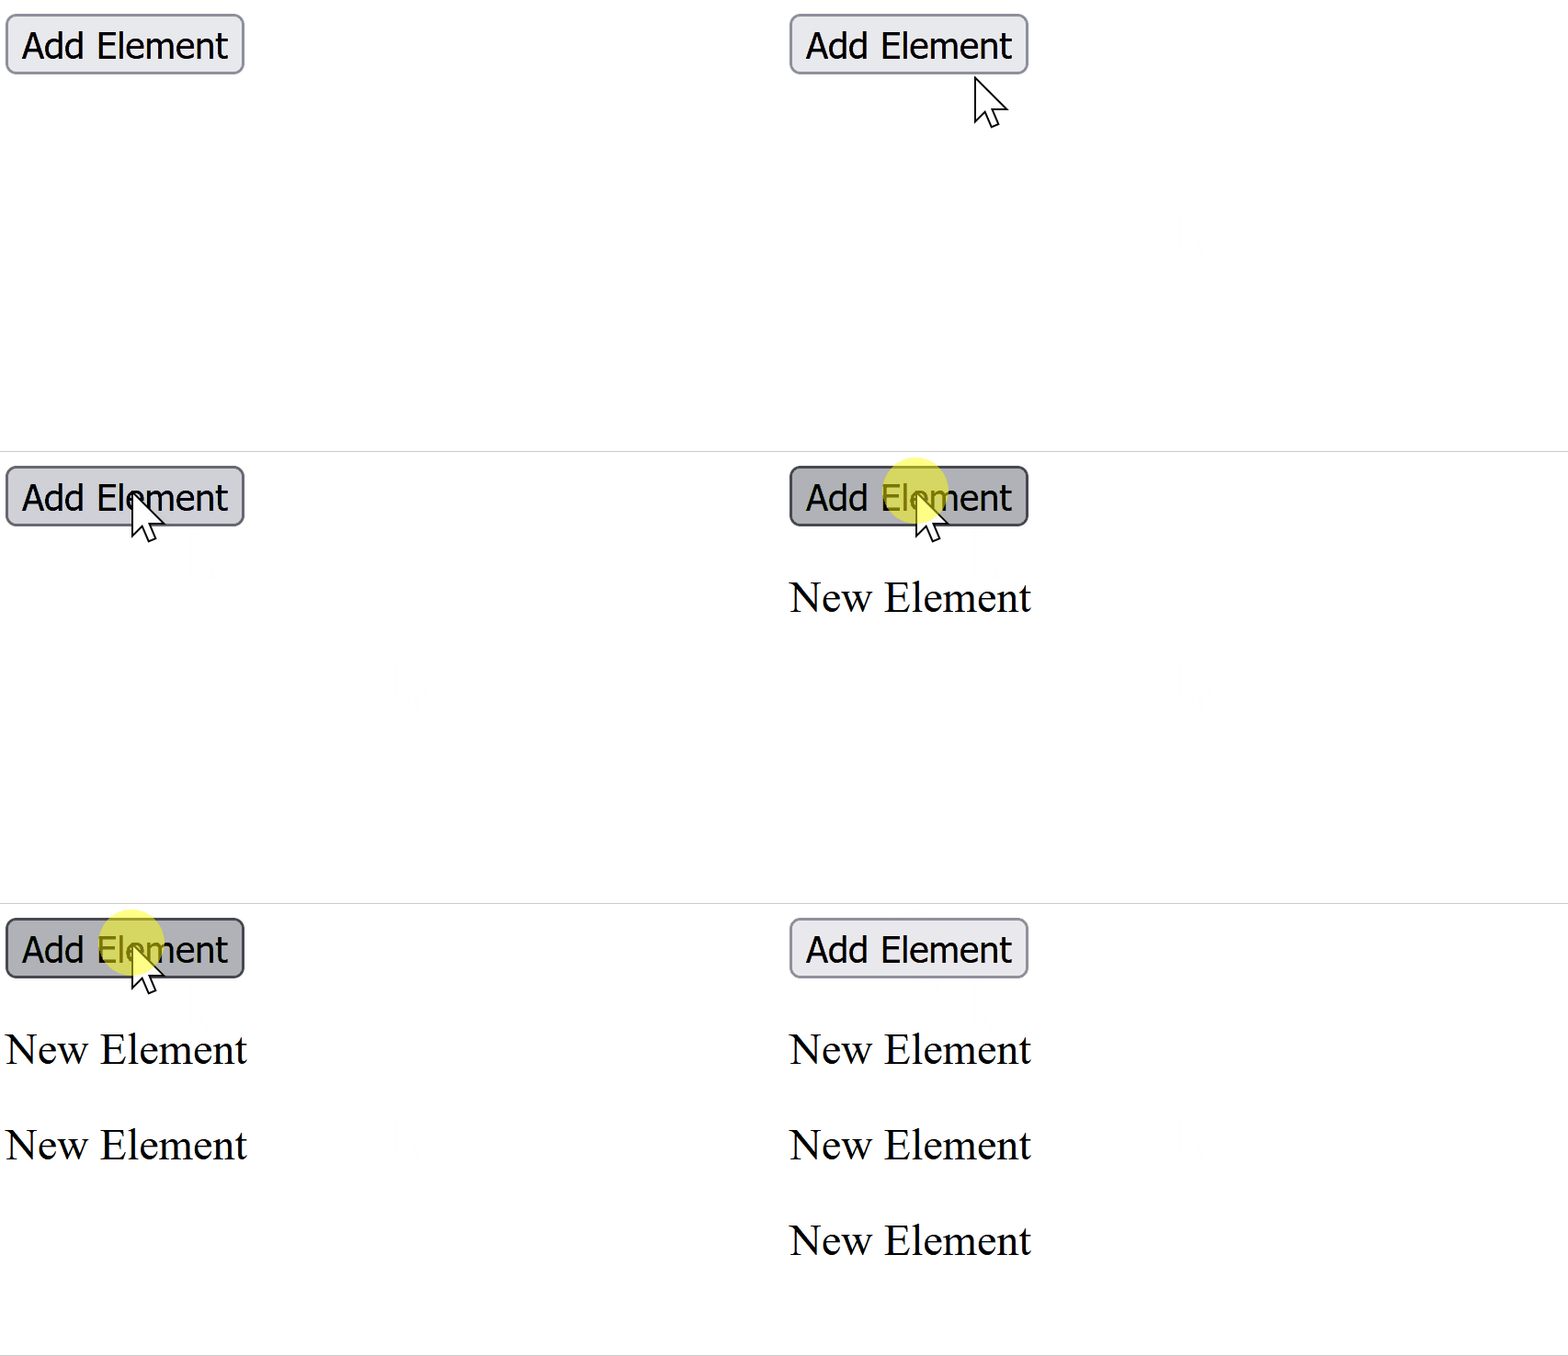
Once you have added your code, try clicking the button. Each time you click it, a new paragraph with the text 'New Element' will be created inside the div.
In this step, we will remove the 'onclick' attribute from the button and use an event listener instead. Event listeners are a more flexible way to handle events, as they allow you to attach multiple functions to a single event and easily remove them when needed.
First, remove the 'onclick' attribute from the button in the HTML section of your CodePen:
<button id='btnAddElement'>Add Element</button>Now, let's attach an event listener to our button. When the button is clicked, it should call the 'addElement' function. Add the following code to the JavaScript section of your CodePen, after the 'addElement' function:
function addElement() {
  const container = document.getElementById('container');
  const newElement = document.createElement('p');
  newElement.textContent = 'New Element';
  container.appendChild(newElement);
}

// add this
const btnAddElement = document.getElementById('btnAddElement');
btnAddElement.addEventListener('click', addElement);
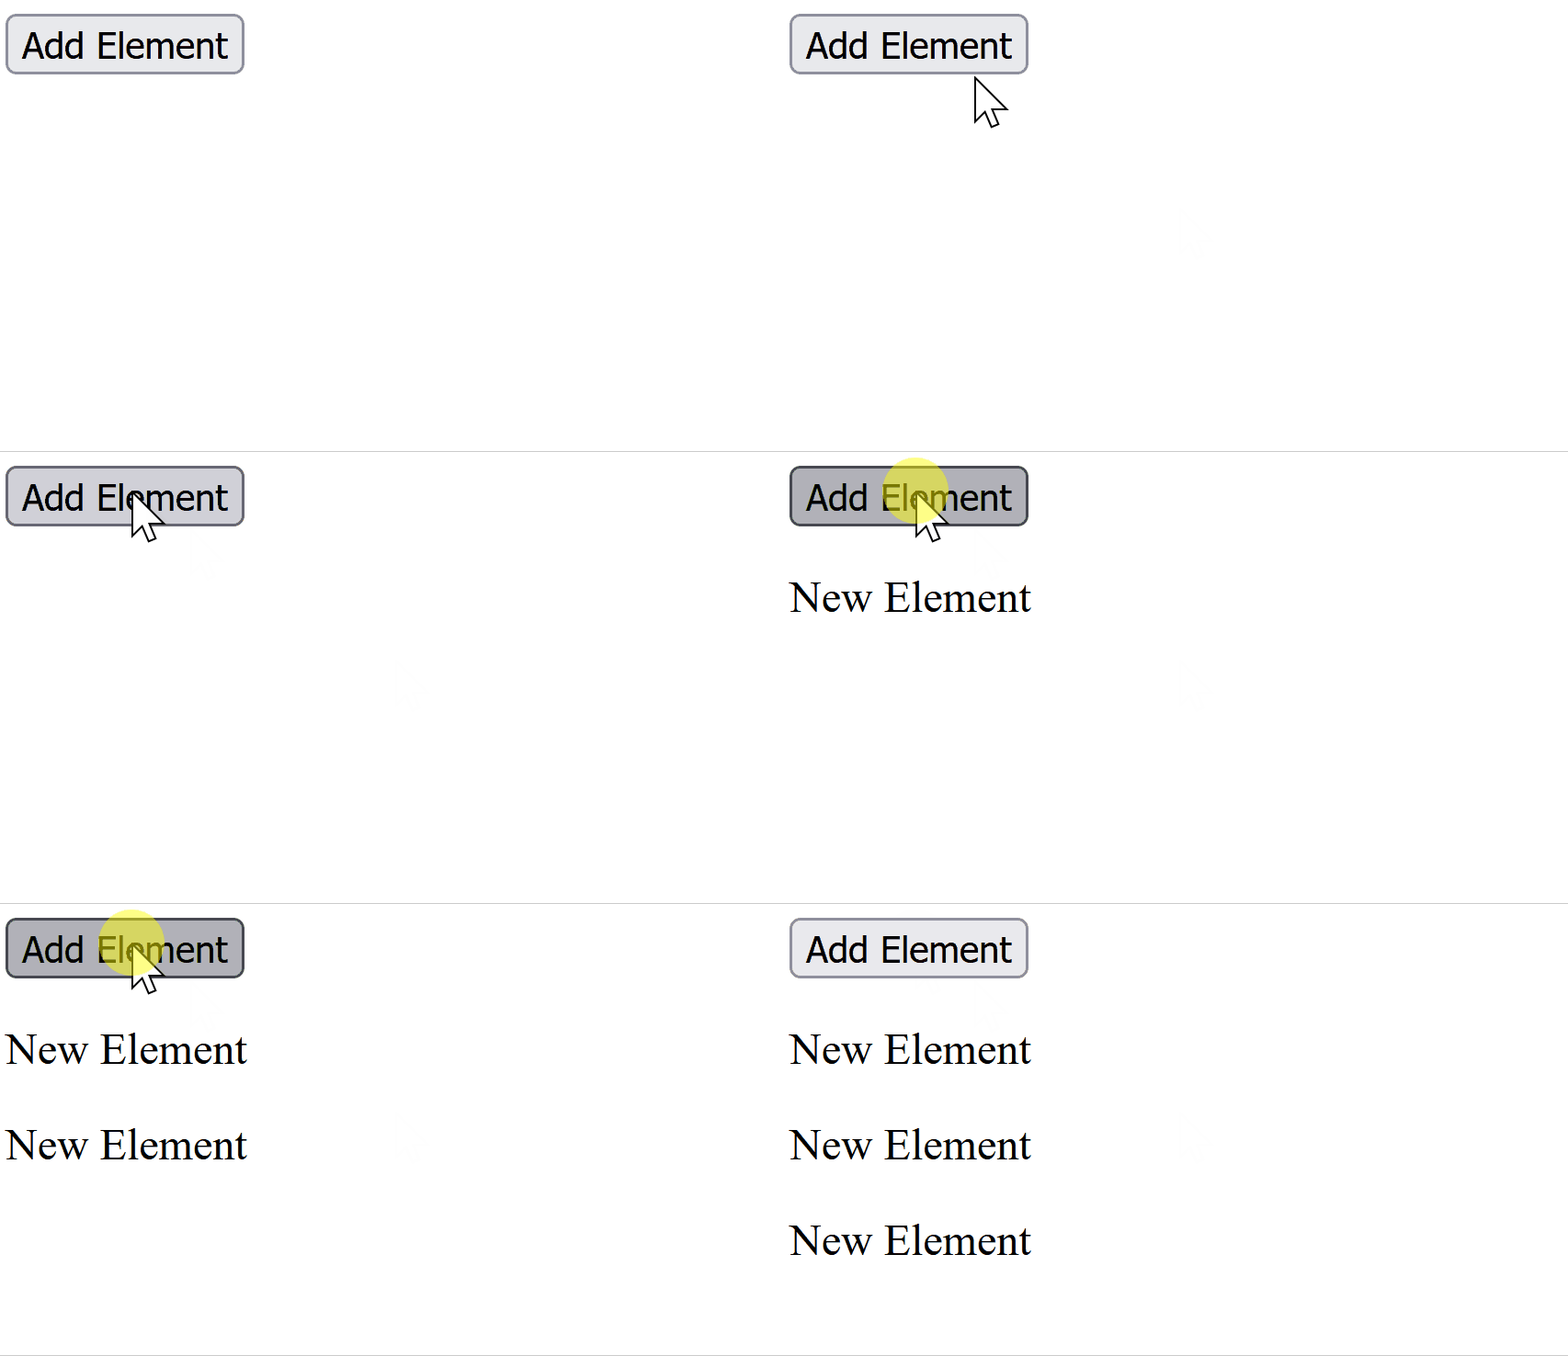
Once again, try clicking the button. Each time you click it, a new paragraph with the text 'New Element' will be created inside the div.
In this step, we will modify the 'addElement' function to take a string parameter 'color' that will set the color of the paragraph's text. We will also create two buttons, one for red and one for blue.
First, update the 'addElement' function in the JavaScript section of your CodePen with the following code:
function addElement(color) { // pass the parameter
  const container = document.getElementById('container');
  const newElement = document.createElement('p');
  newElement.textContent = 'New Element';
  newElement.style.color = color; // set the color to the parameter
  container.appendChild(newElement);
}
Now, let's add two buttons in the HTML section of your CodePen:
<button id='redButton' onclick='addElement("red")'>Red</button>
<button id='blueButton' onclick='addElement("blue")'>Blue</button>

