Scratch is a coding website that we can use to create our own games, animations and projects.
Watch this short minute video to get a quick introduction to it.
Now let's take a look at the Scratch website!
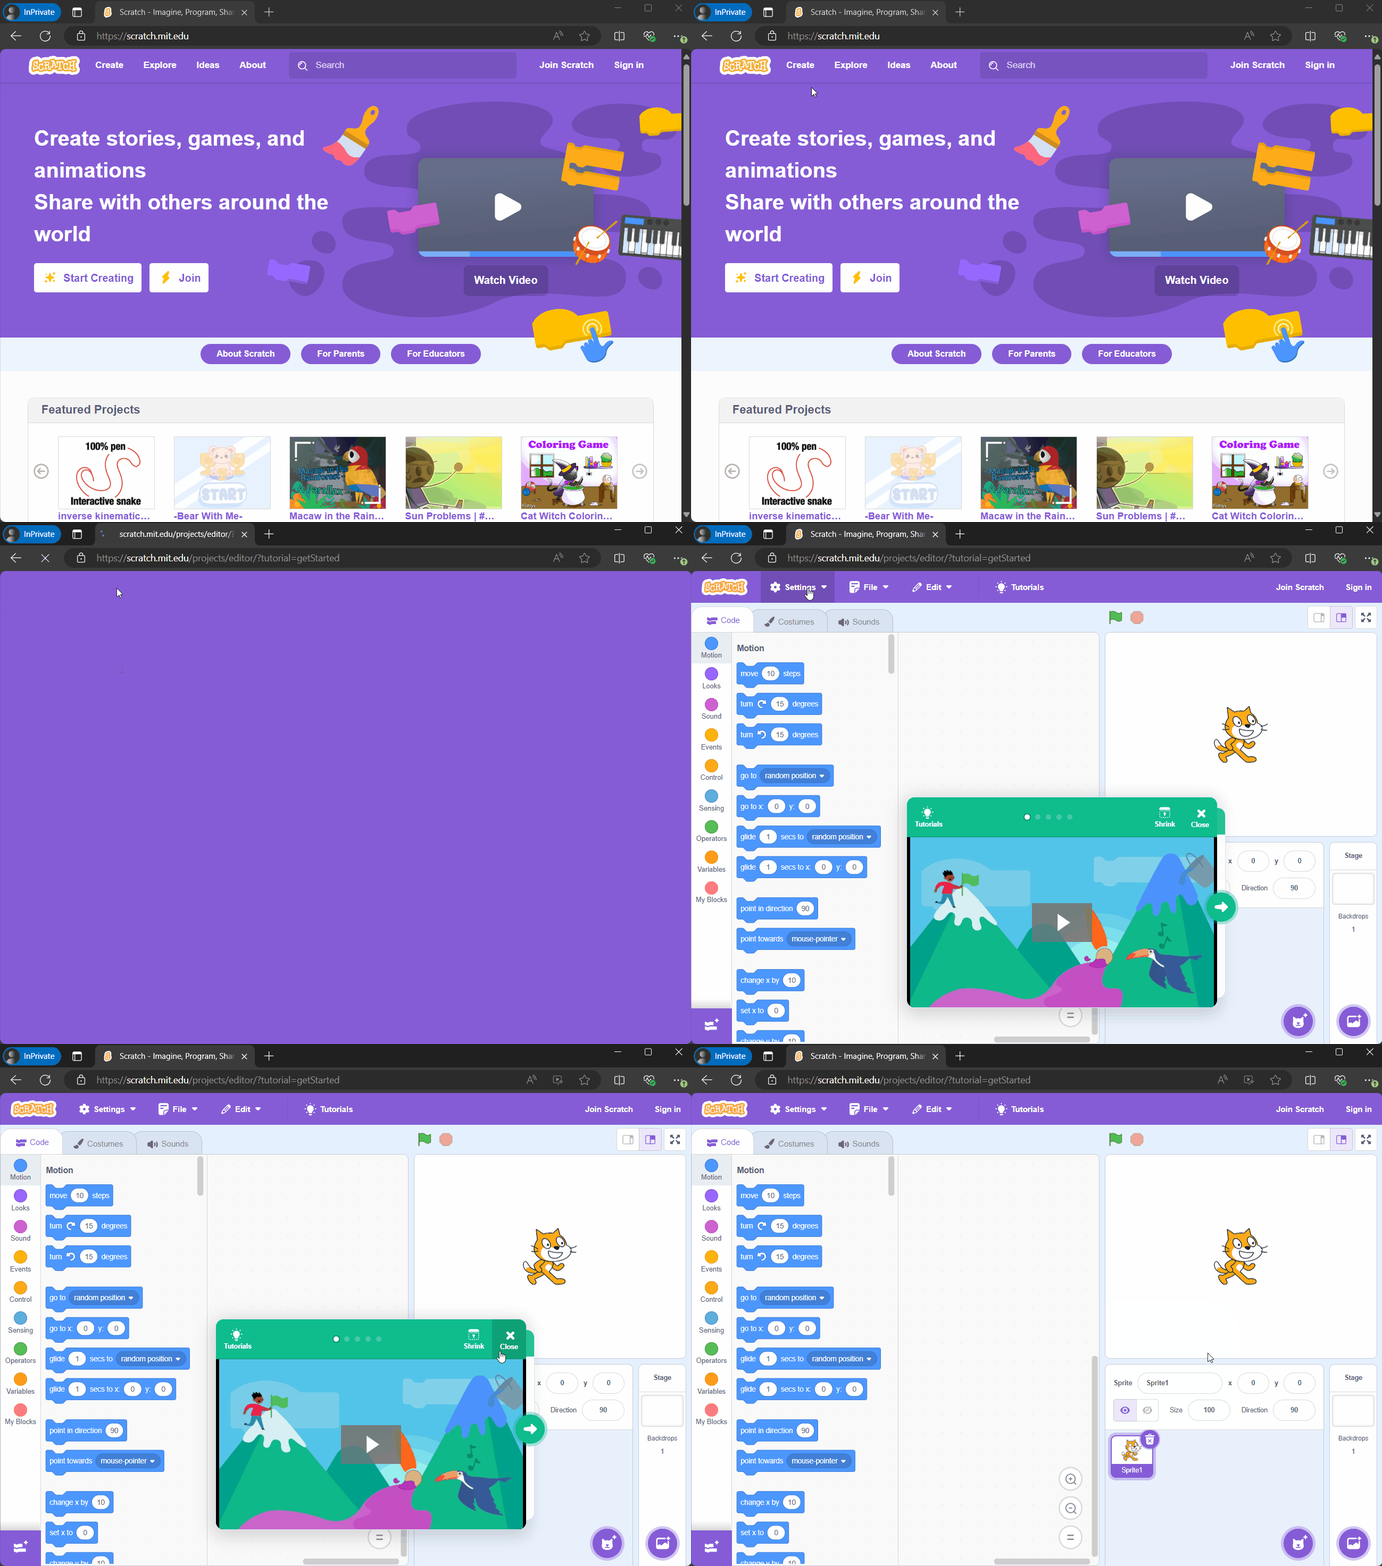
Open the Scratch website by clicking on the link below. Once it opens up click on the Create link at the top of the page. This will open up the project editor. Once you've done that come back to this tab and move onto the next step.
Go to the Scratch website using the link below and click on the 'Create' link in the blue bar at the top.
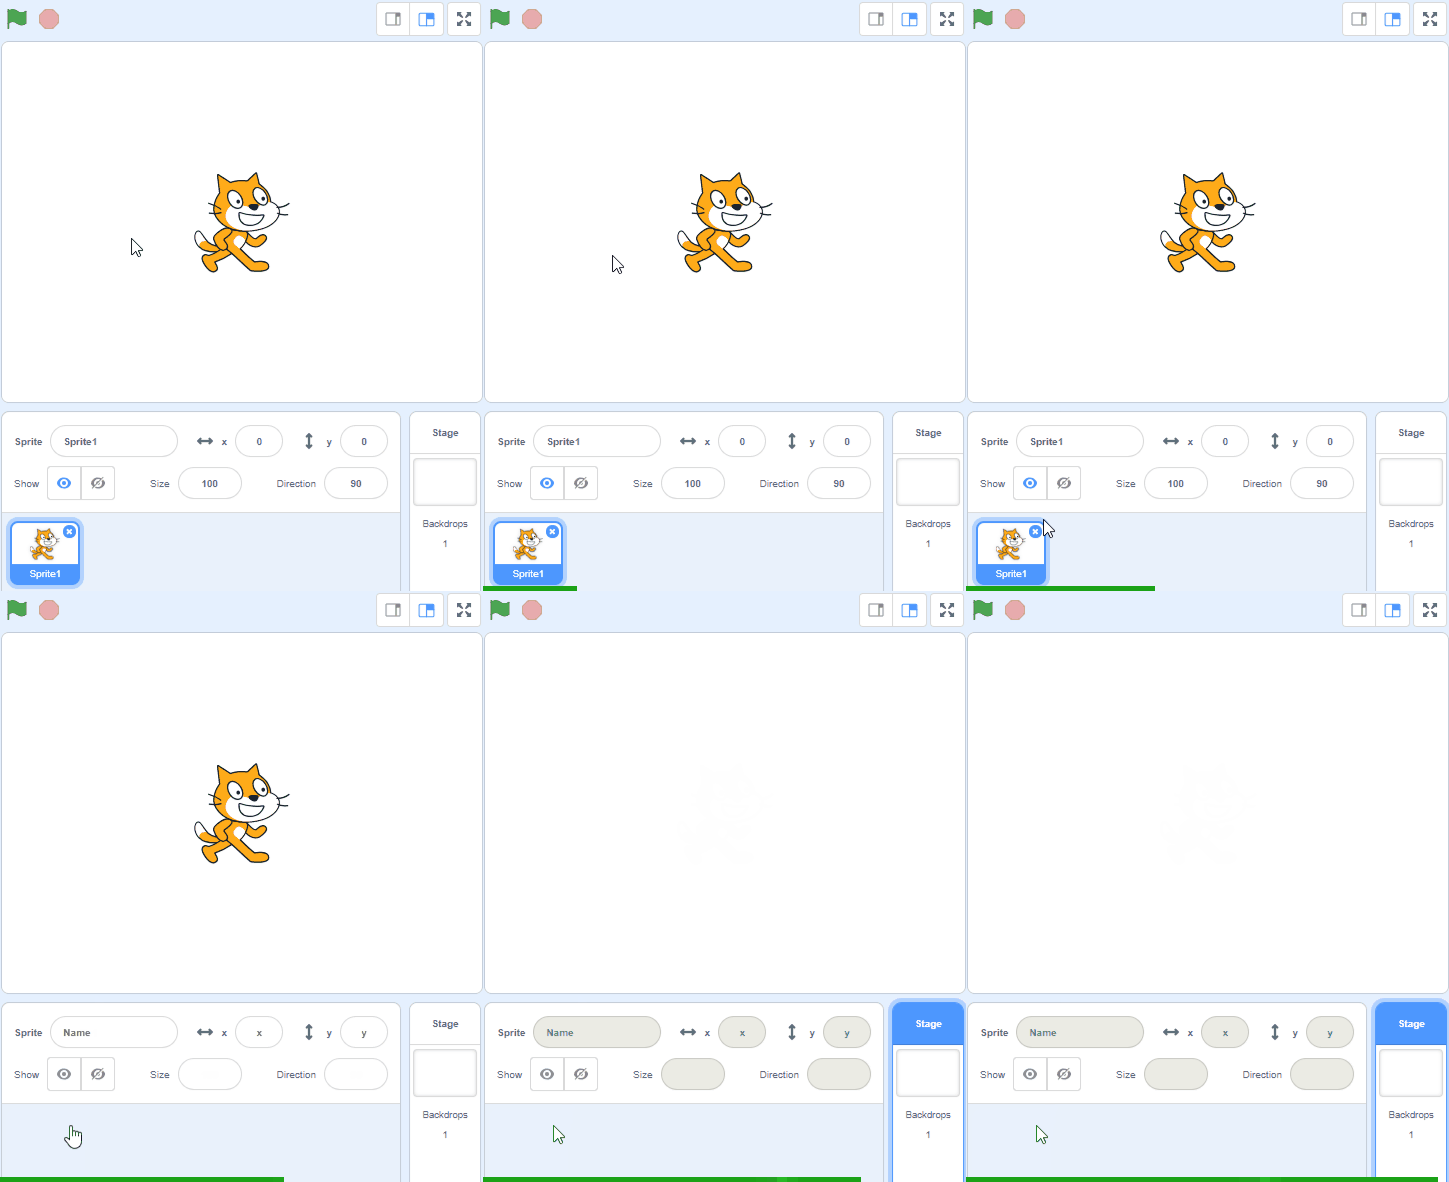
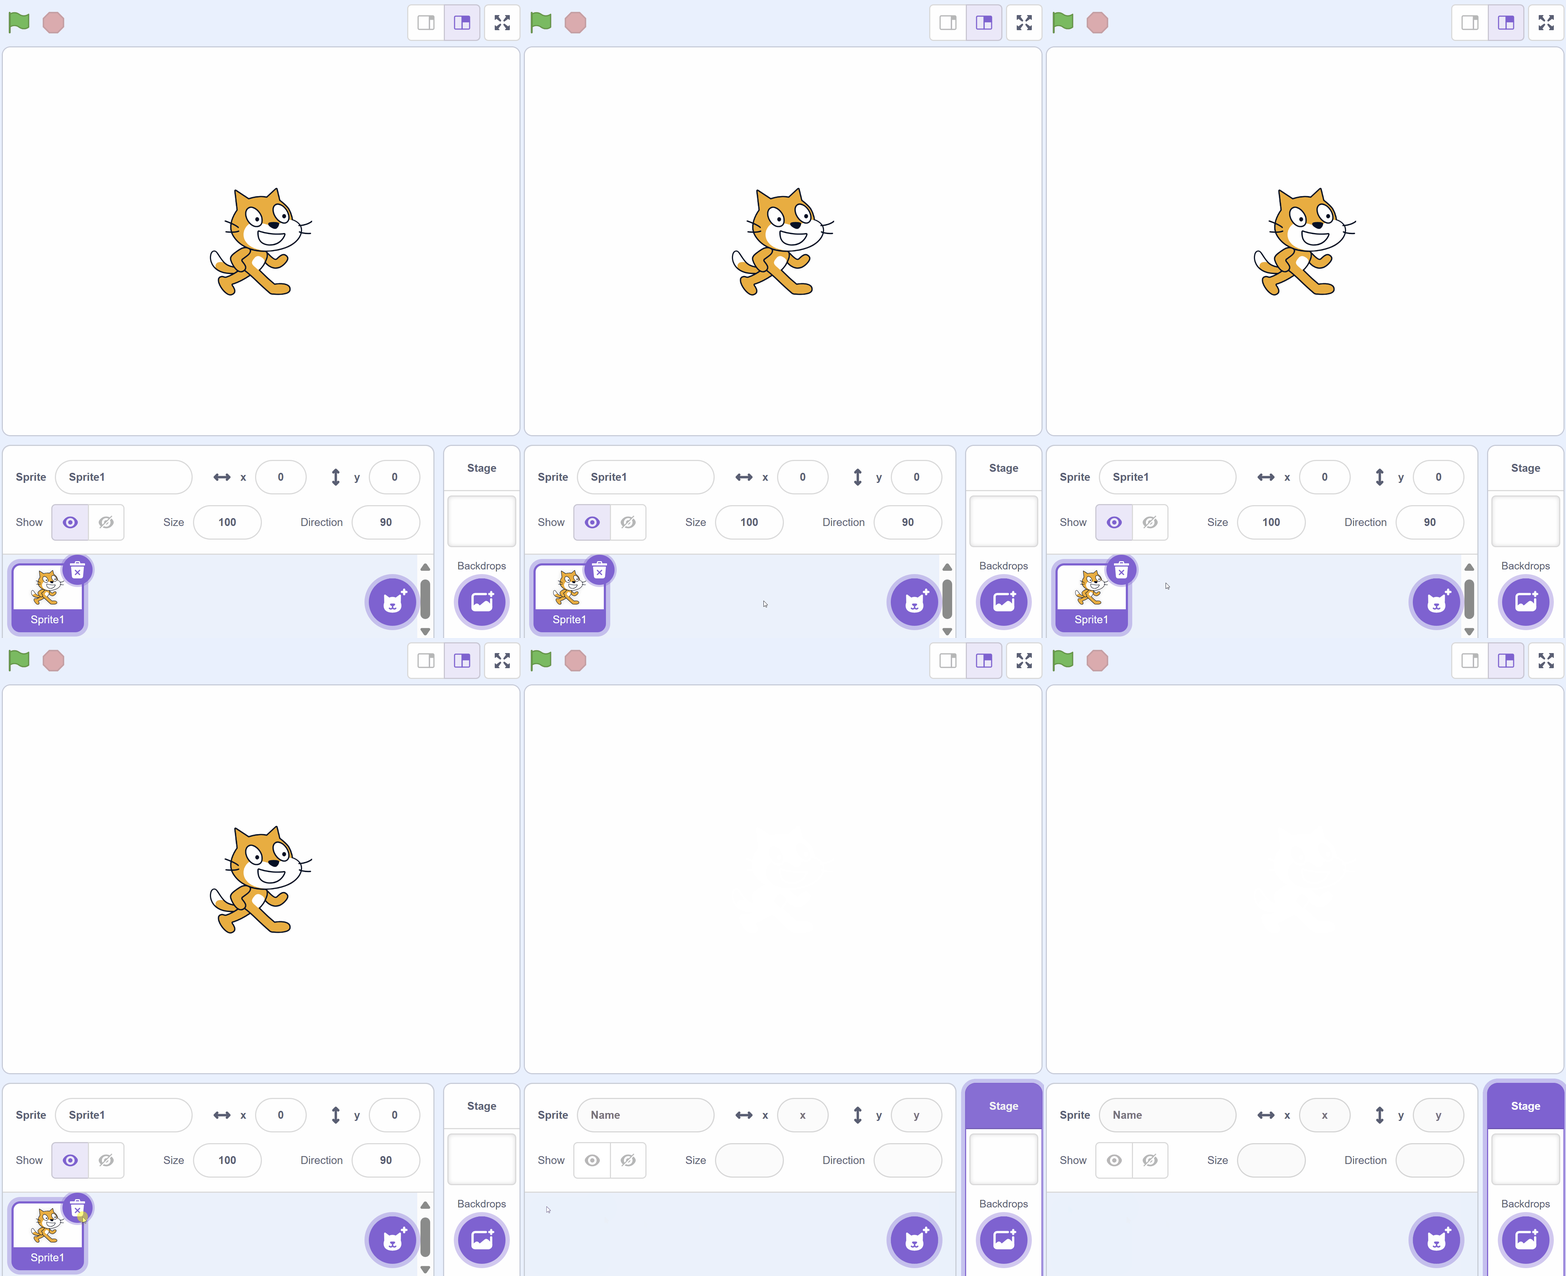
By default, each new project starts with the cat sprite already added. To delete the cat click on the x in the blue circle beside the cat in the sprite list.
Every new Scratch project starts with a default sprite, which is a cat. For our project, we want to start with a blank slate, so we will remove this cat sprite.
To do this, look below the stage area where you see a small thumbnail of the cat sprite. In the corner of this thumbnail, there's a small 'x'. Click on this 'x' to remove the cat sprite from your project.
Don't worry about losing the cat sprite. If you ever want it back, you can always find it in the sprite library!
Scratch comes with a sprite library that's packed full of different characters.
Open up the sprite library and add the Bat sprite to your project.
You'll see that it gets added into the stage area and we can now give it some code!
To add a sprite from the sprite library follow these steps:
You can use search box or the filter links (Animals, People, Fantasy etc) to locate your sprite.
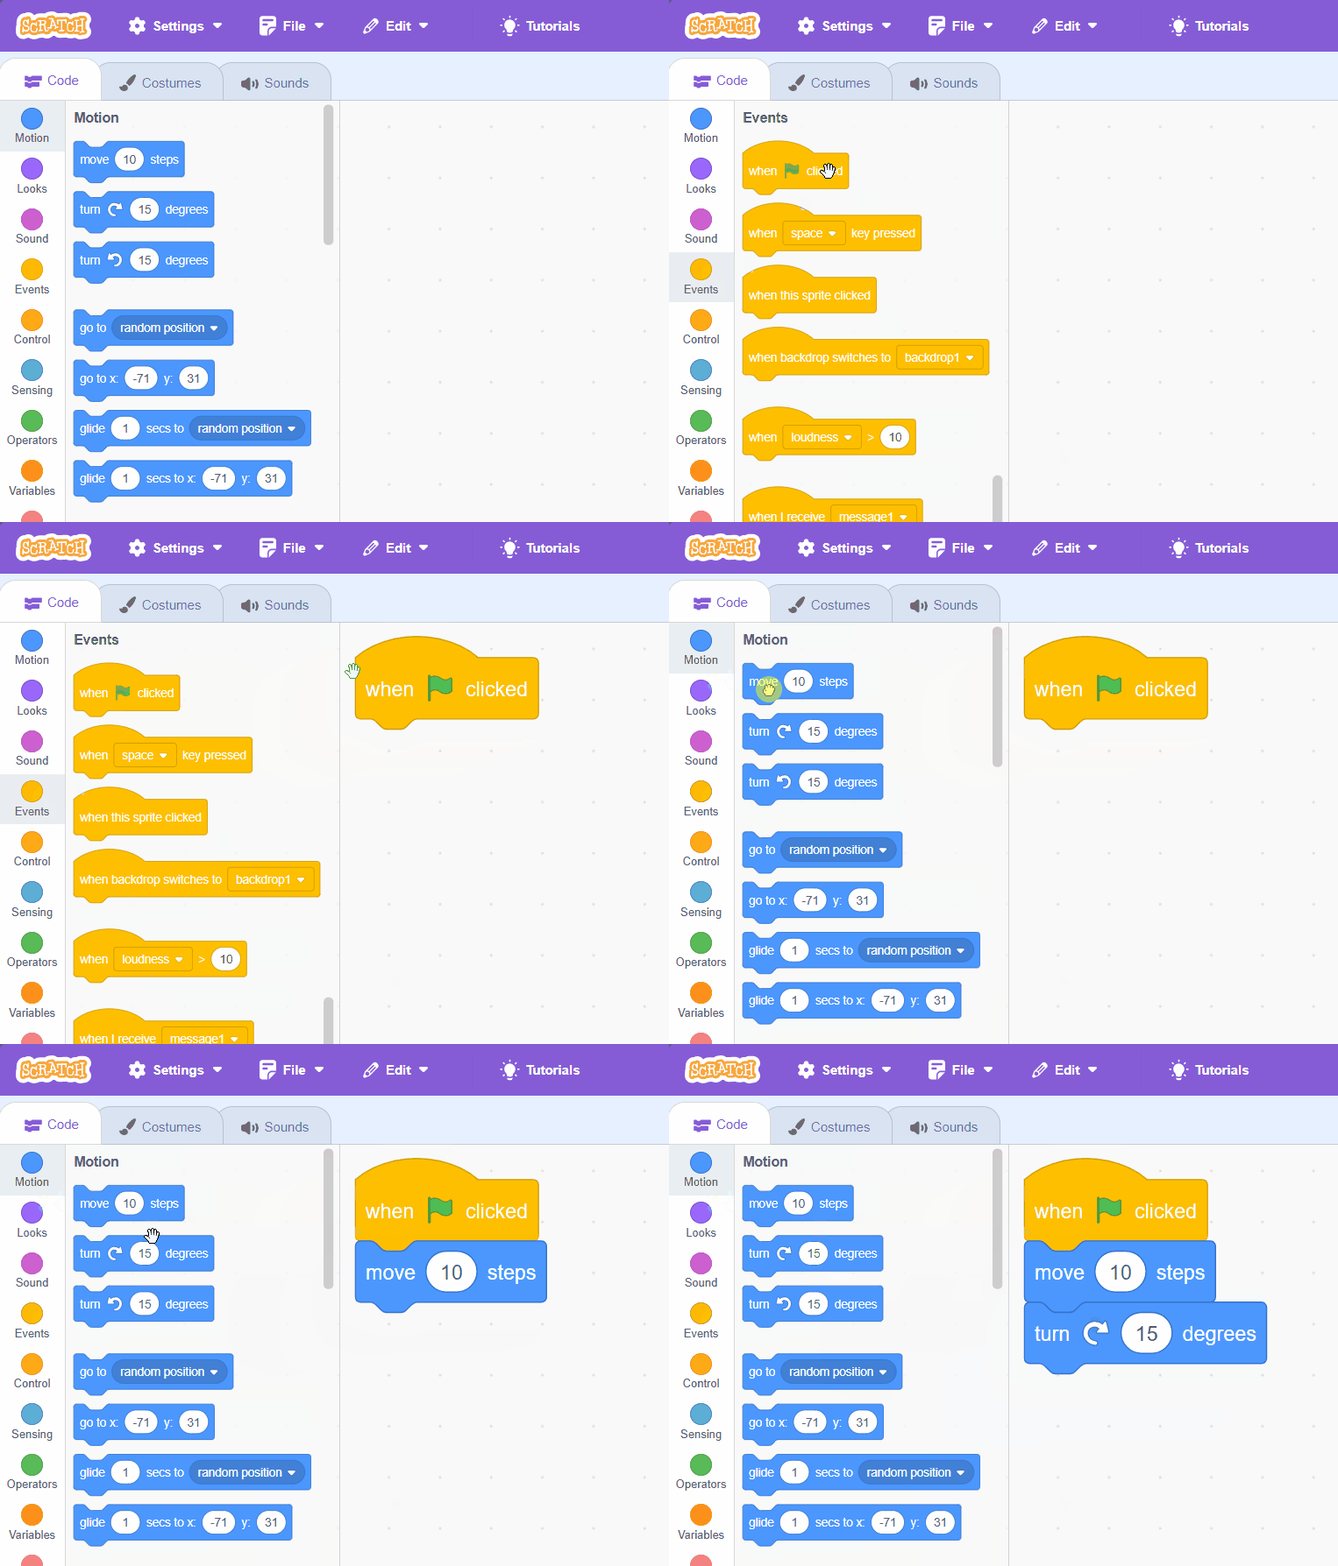
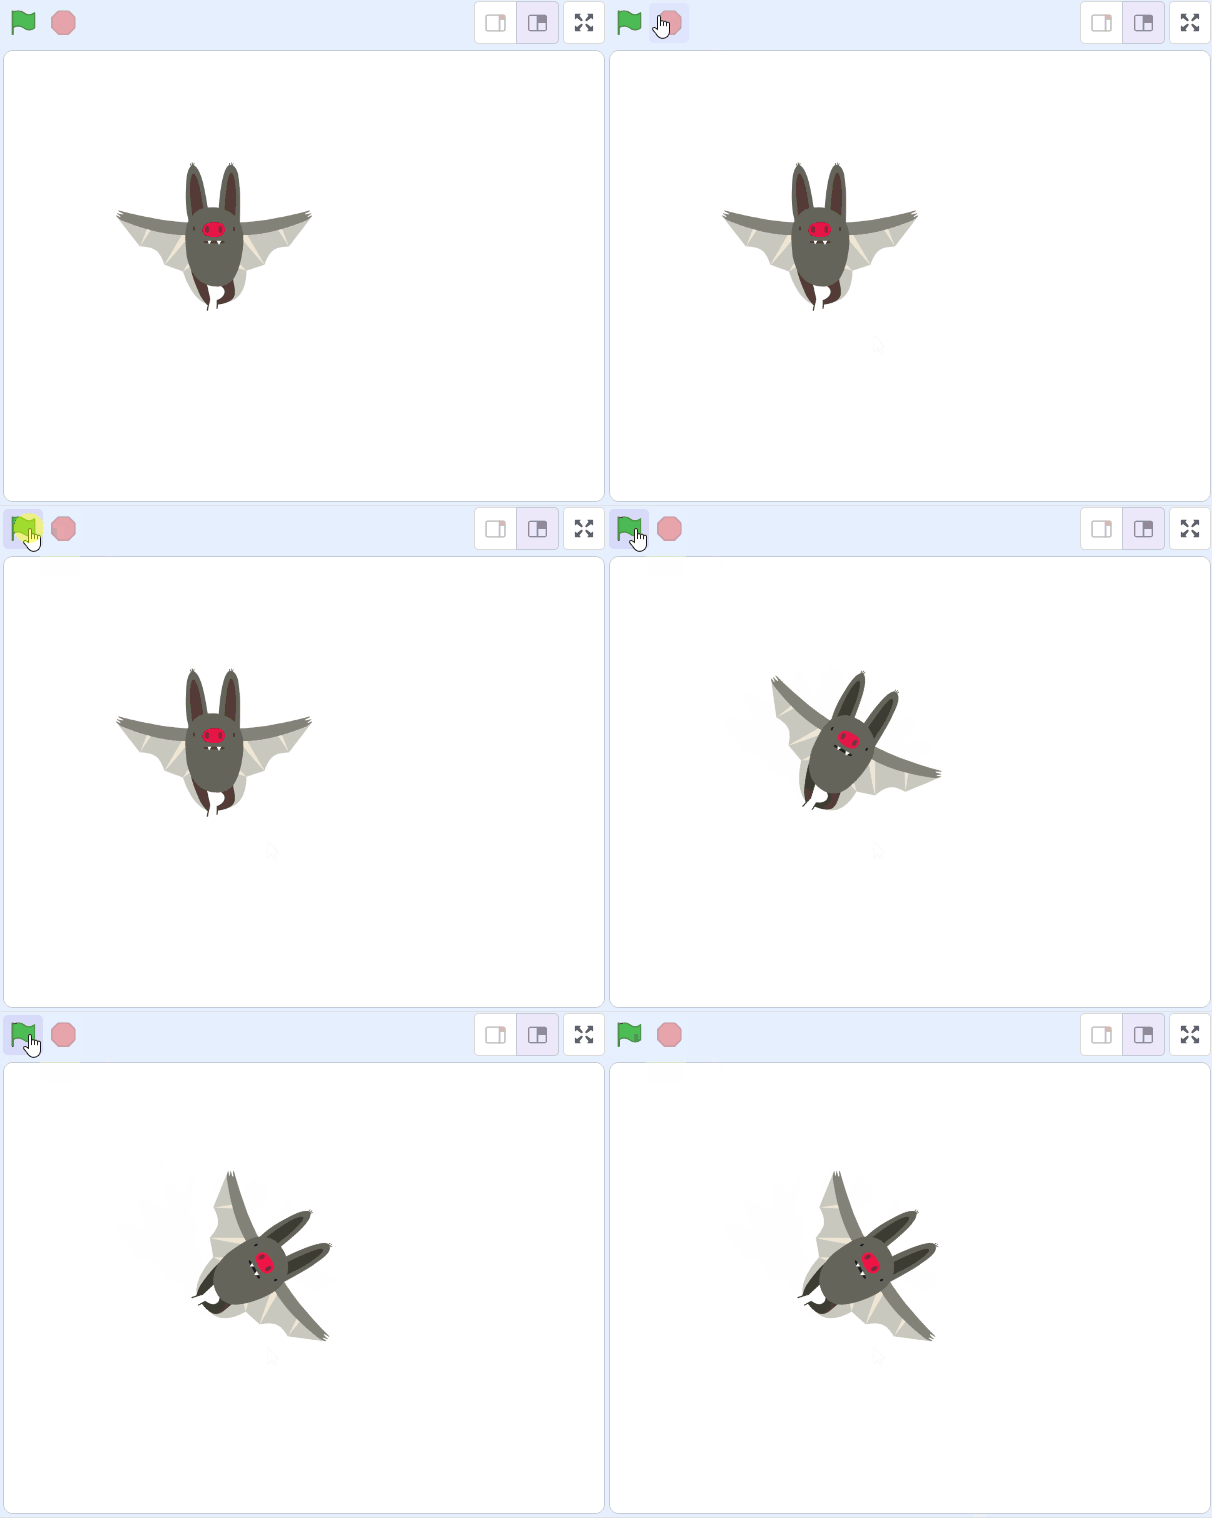
Now let's try making the sprite move. Add the following code blocks to the code area by dragging and dropping them. The colour of the blocks let's you know which "block category" to open.
when green flag clicked
move (10) steps
turn cw (15) degrees
