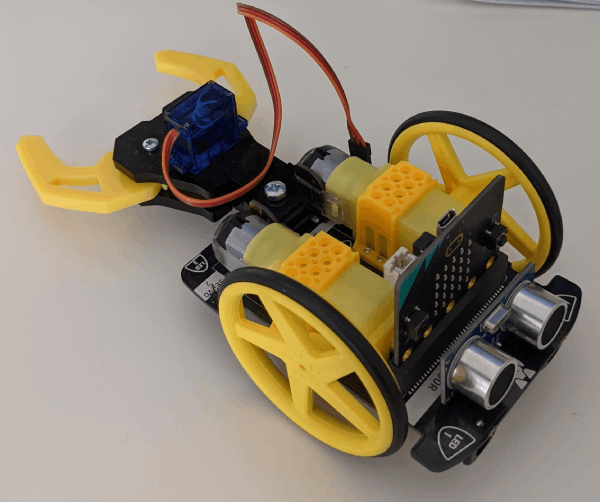
Before you start this project you will need to have a Move Motor Car with a Move Motor Klaw attached and a Microbit inserted into it.
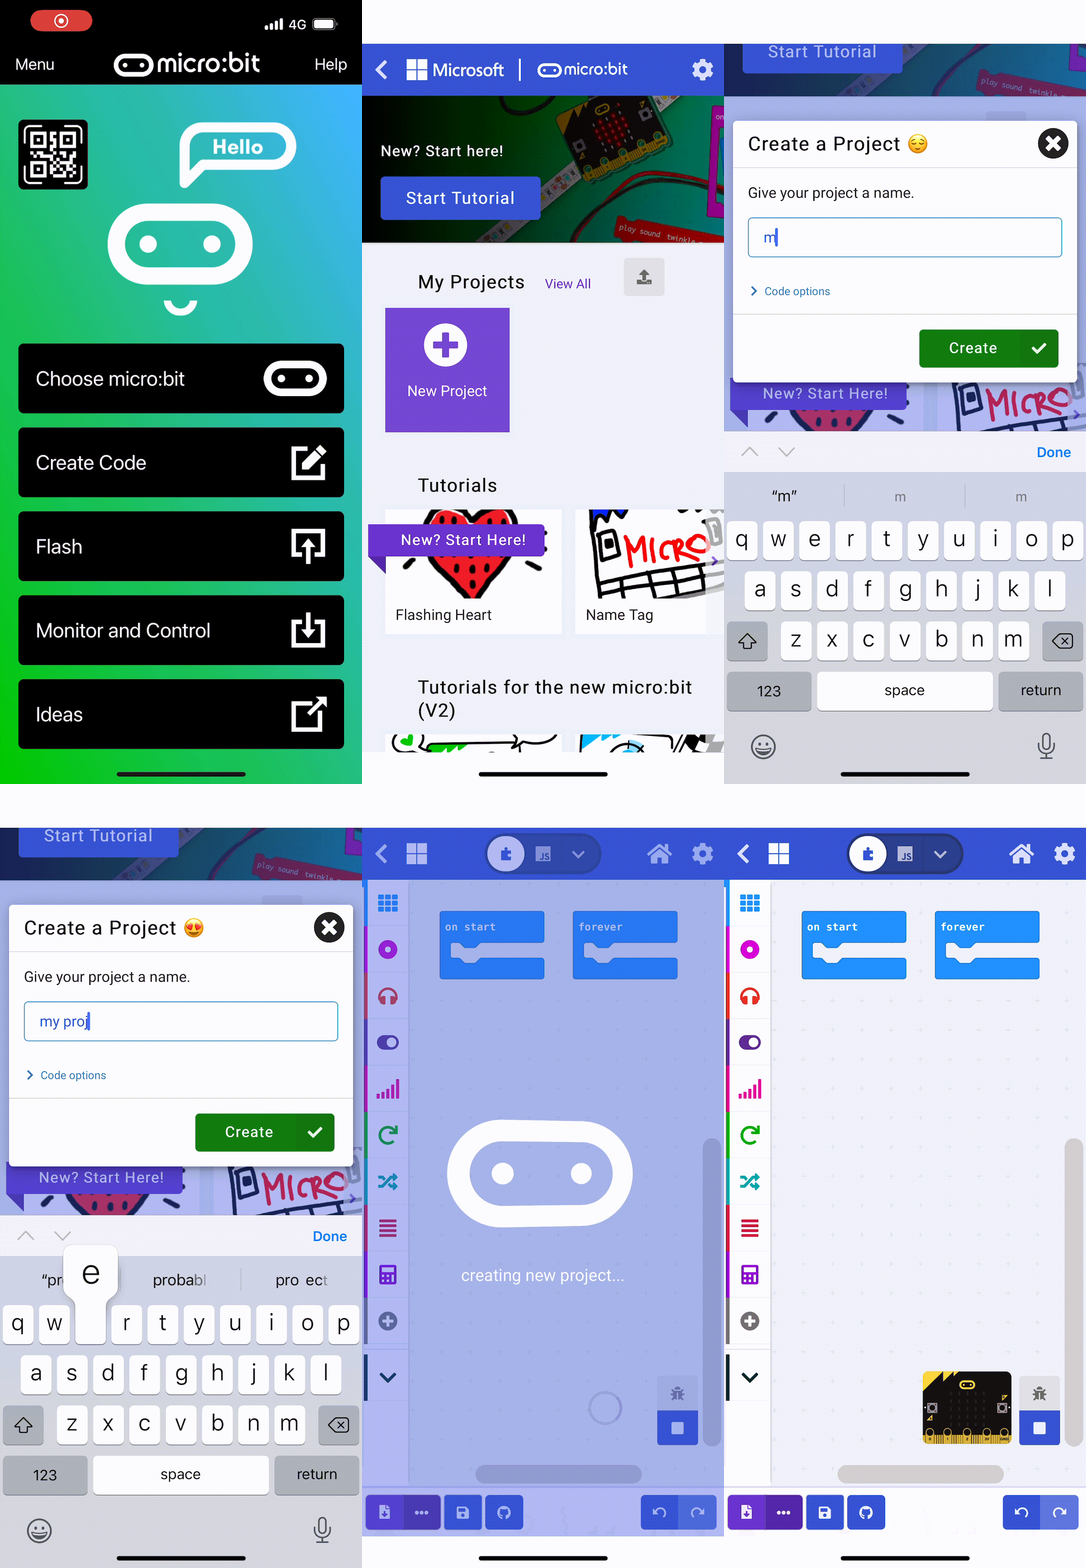
Go to the https://makecode.microbit.org/ website and create a new Microbit project.
Go to the Makecode.com Microbit website using the link below and click on the 'New Project' button underneath the 'My Projects' heading.
https://makecode.microbit.org/
Install the micro:bit app on your iPad or tablet.
Open the app, tap 'Create code' and then create a new project.
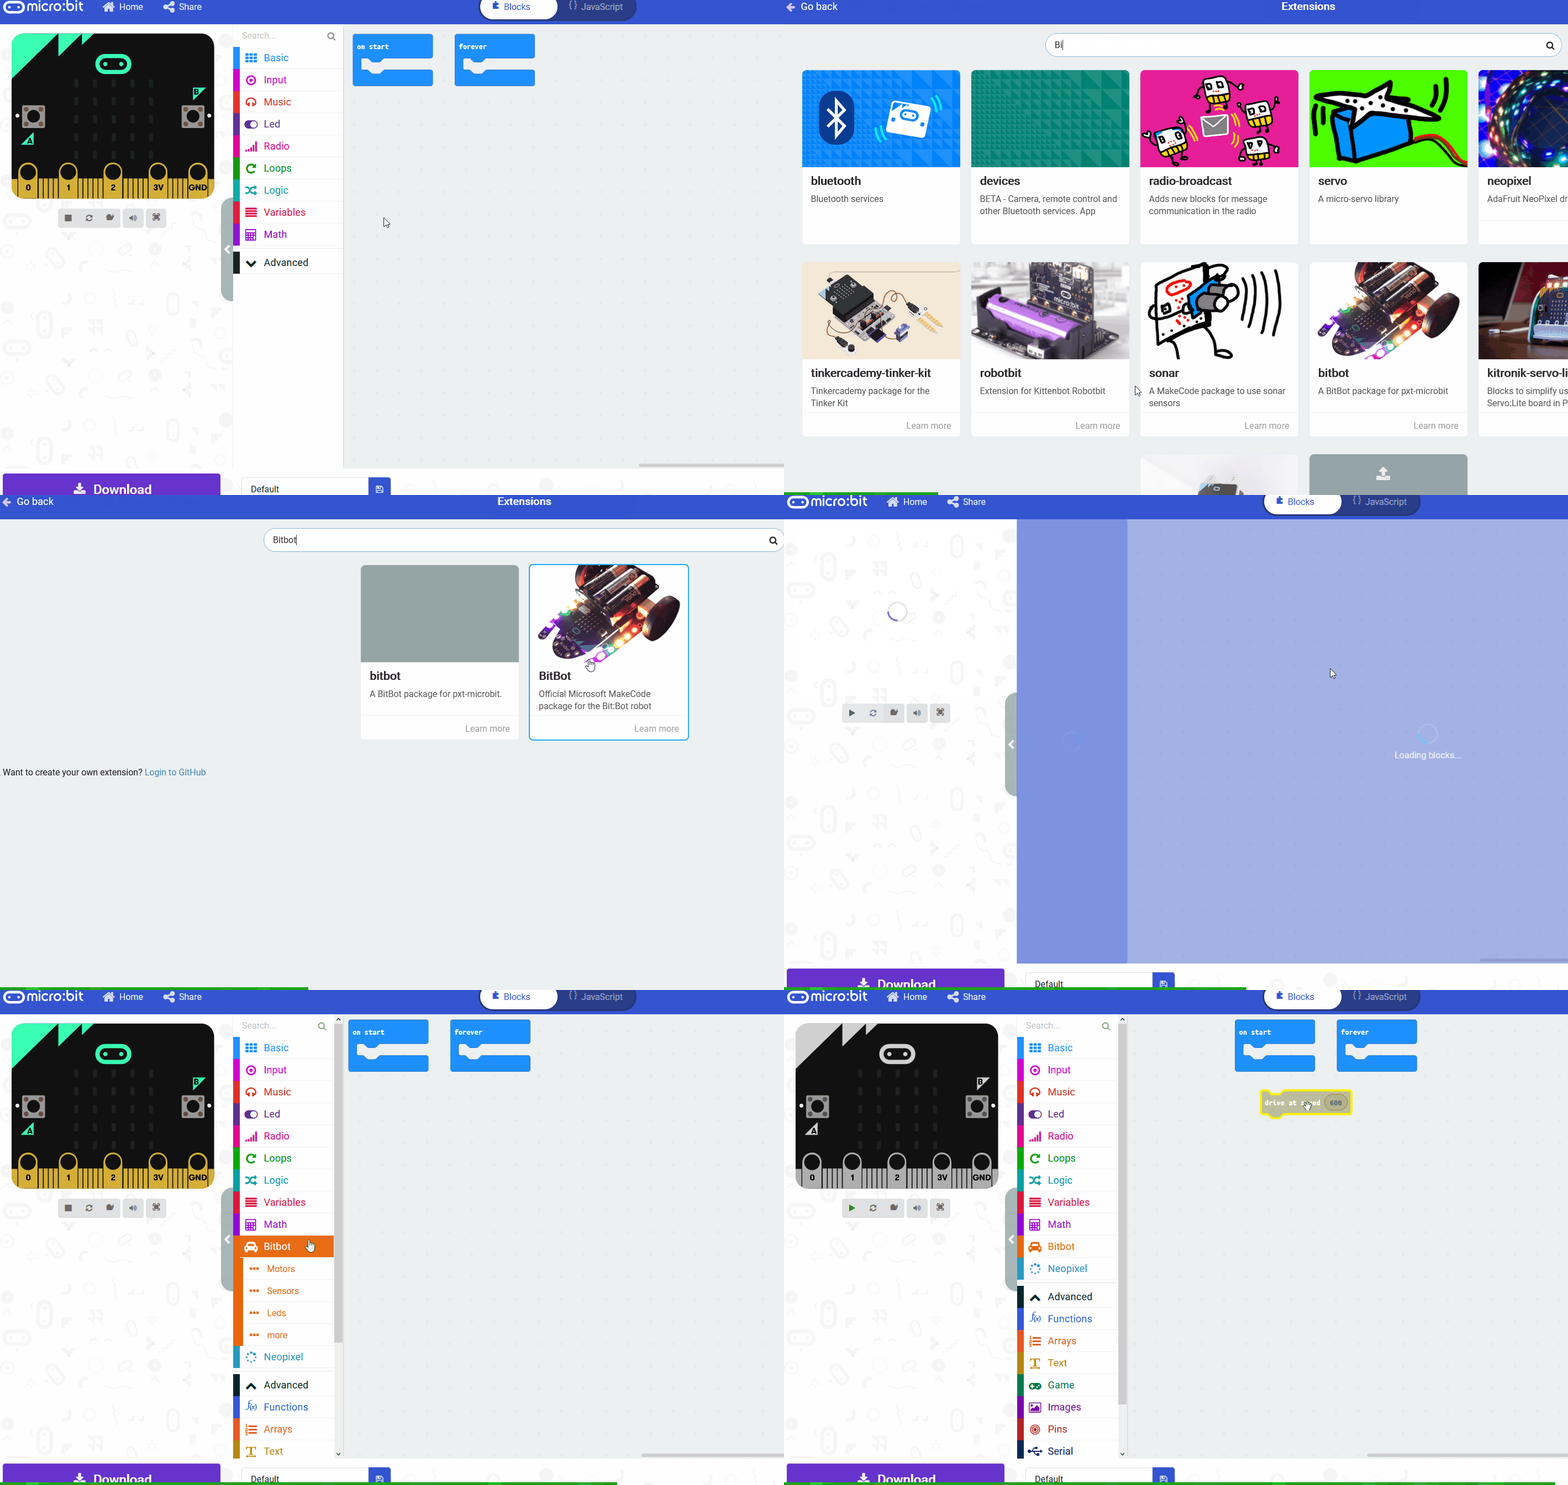
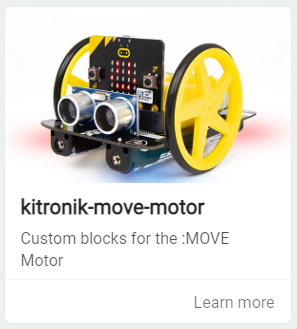
Add the kitronik-move-motor extension to your project.
To add an extension follow these steps:
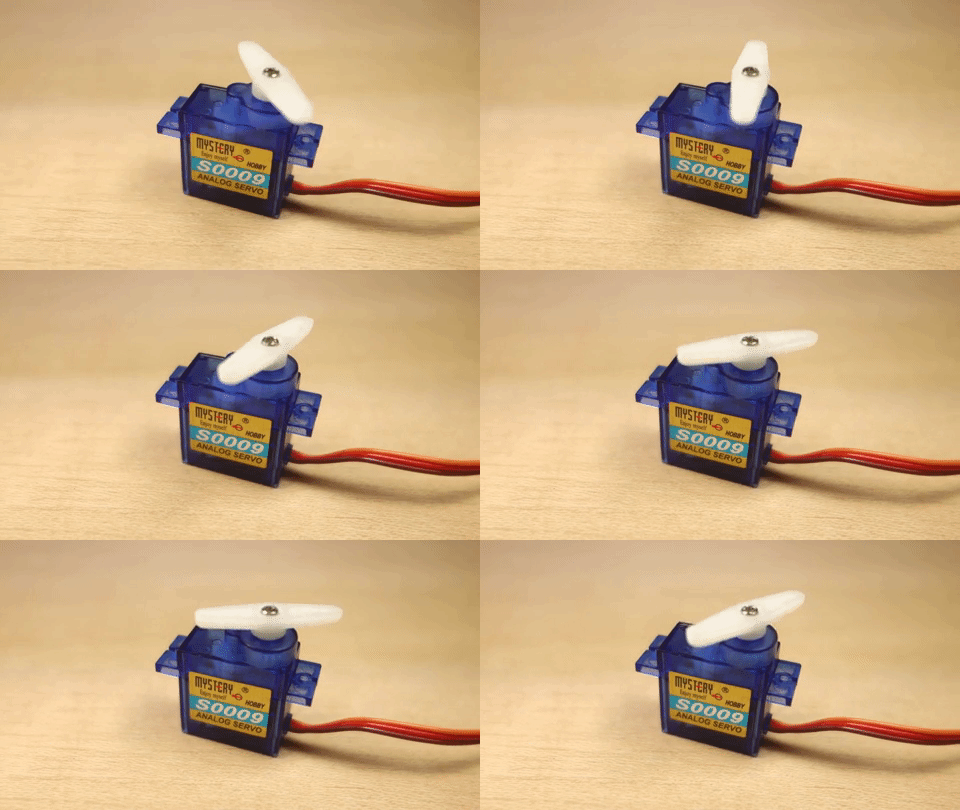
The Move Motor Klaw has a servo in it that we can program and this controls the 2 pinchers of the claw.
What is a servo?
A servo is a small device that has an output shaft. This shaft can be positioned to specific angular positions by sending the servo a coded signal. As the coded signal changes, the angular position of the shaft changes. In practice, servos are used in radio controlled airplanes to position control surfaces like the elevators and rudders. They are also used in radio controlled cars, puppets, and of course, robots.
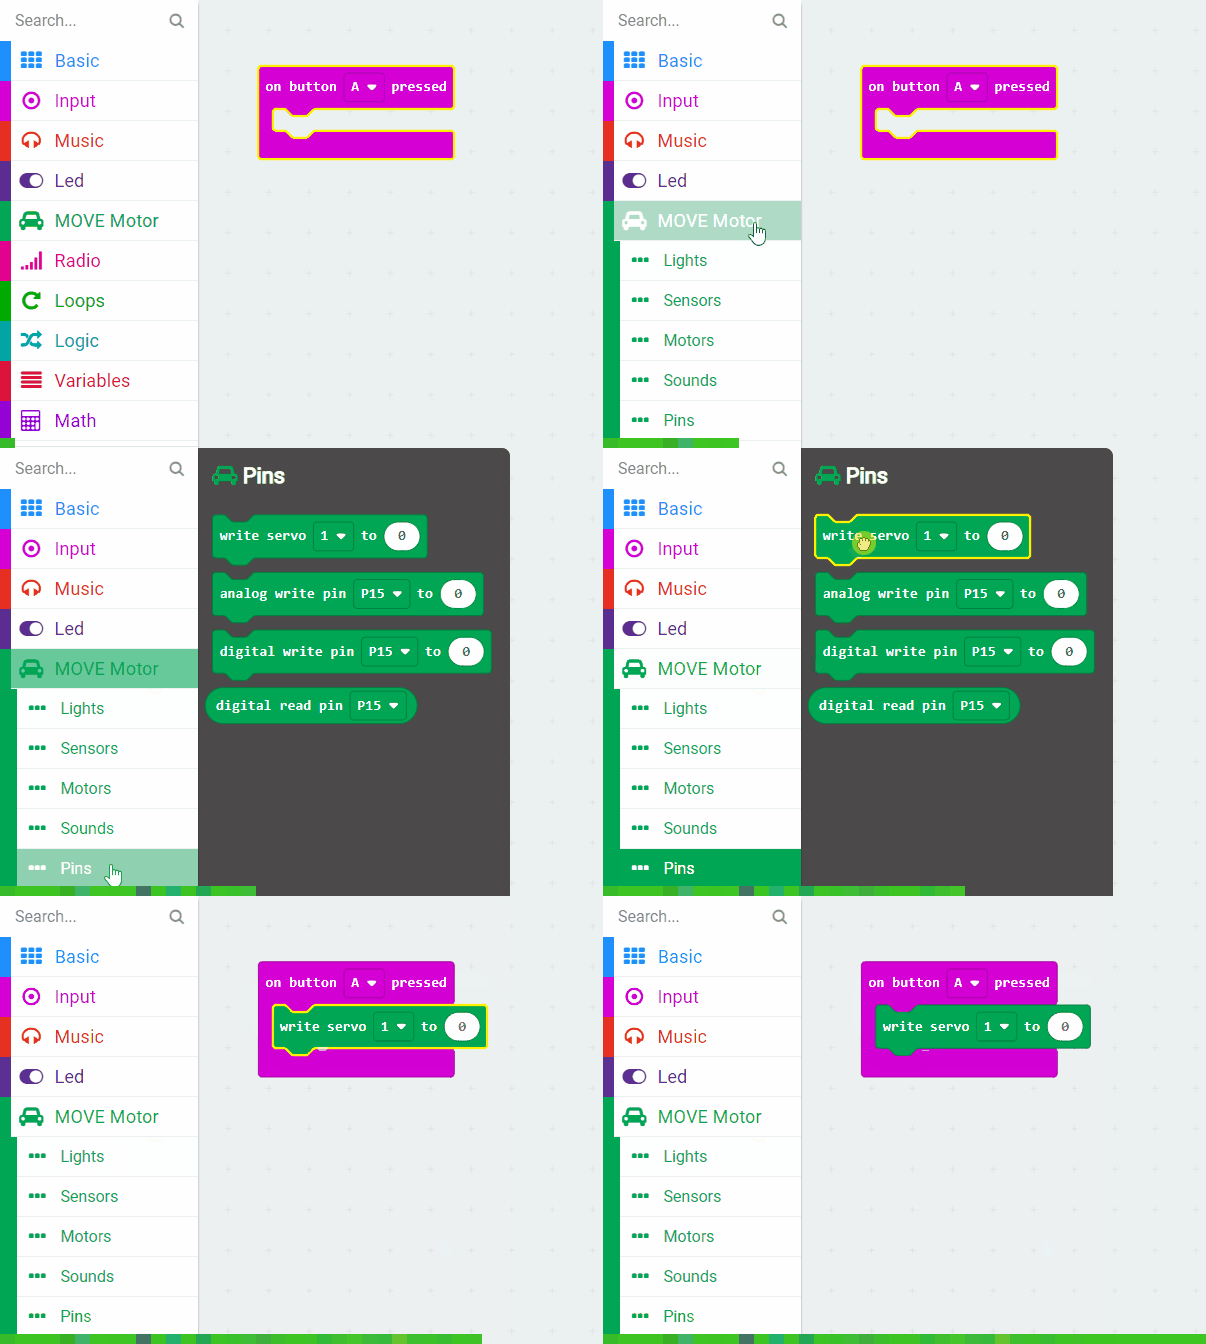
First let's program the claw to close. To do this we will use the write servo [1 v] to 0 block which sends the a value to the servo and the servo uses this value to set what angle to turn the shaft to.
Sending a value of 0 should make the claw close. Add the following code to your project to close the claw when you press the A button.
Once you've added the code, download it onto your Move Motor Car, turn the car on and press the A button to test that it closes correctly.
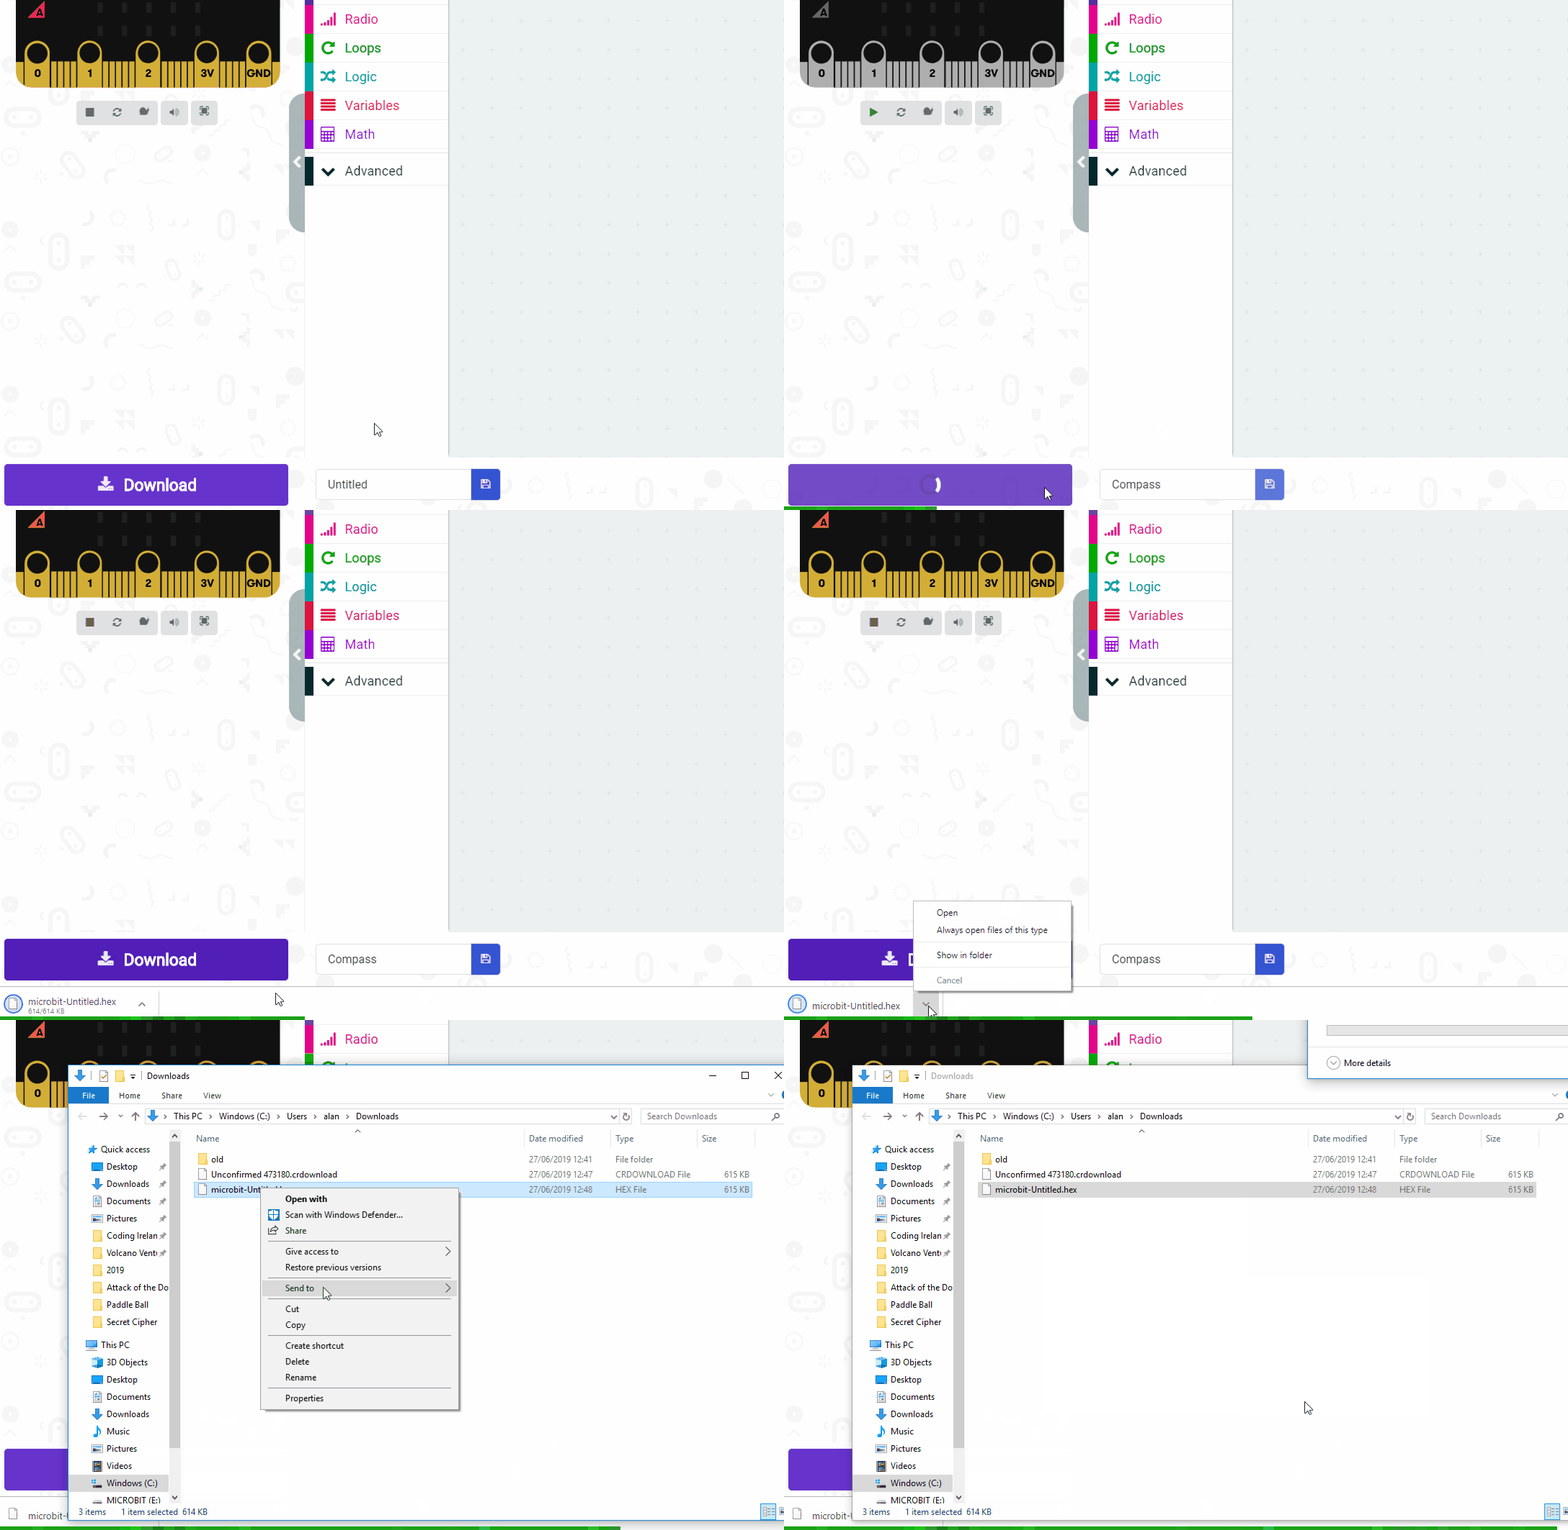
Give your project a name and send it to your Microbit by following these steps:
