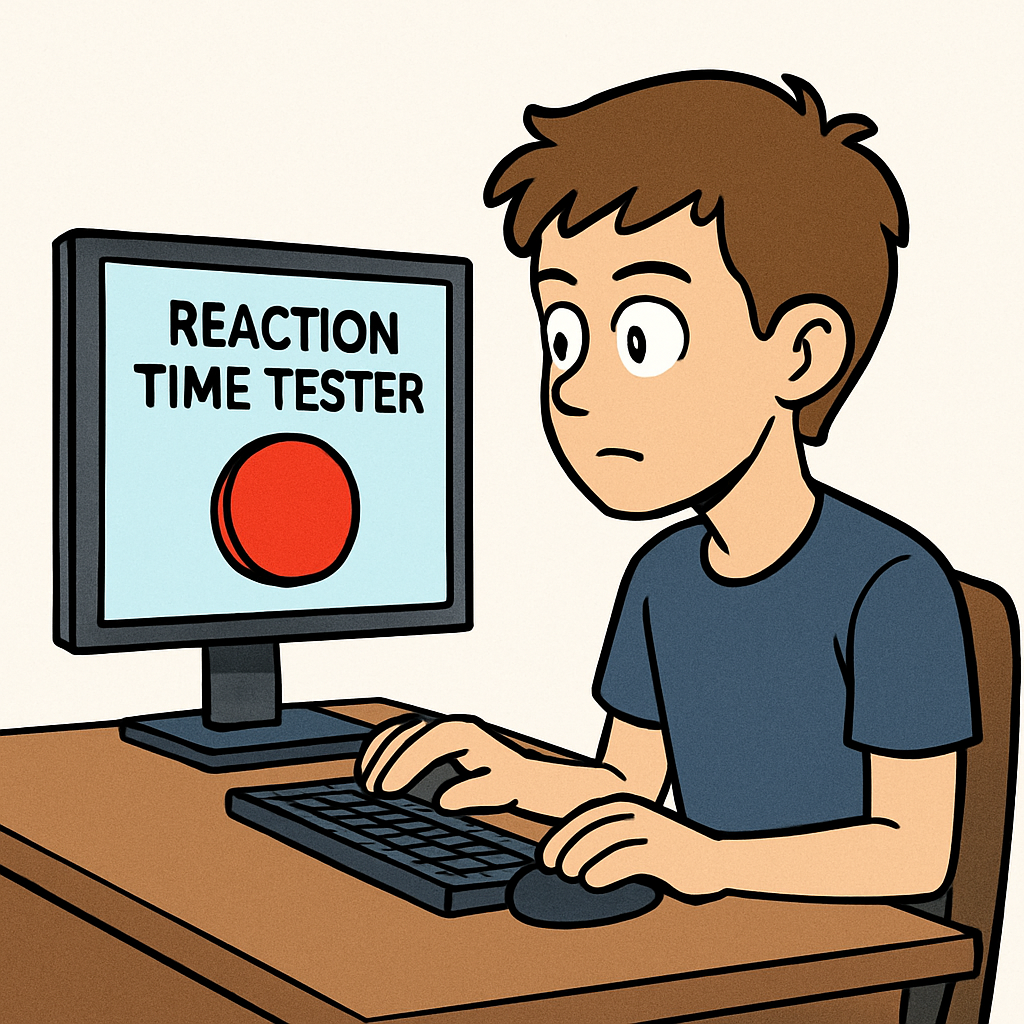
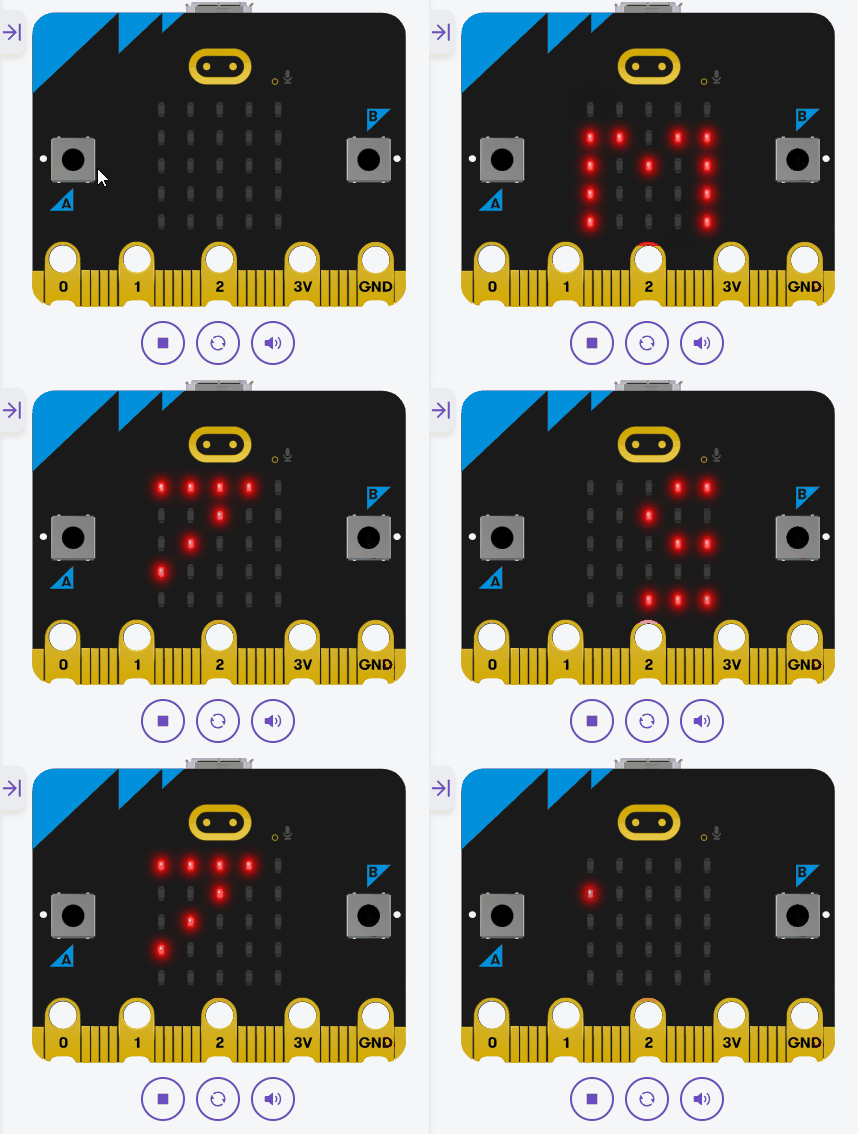
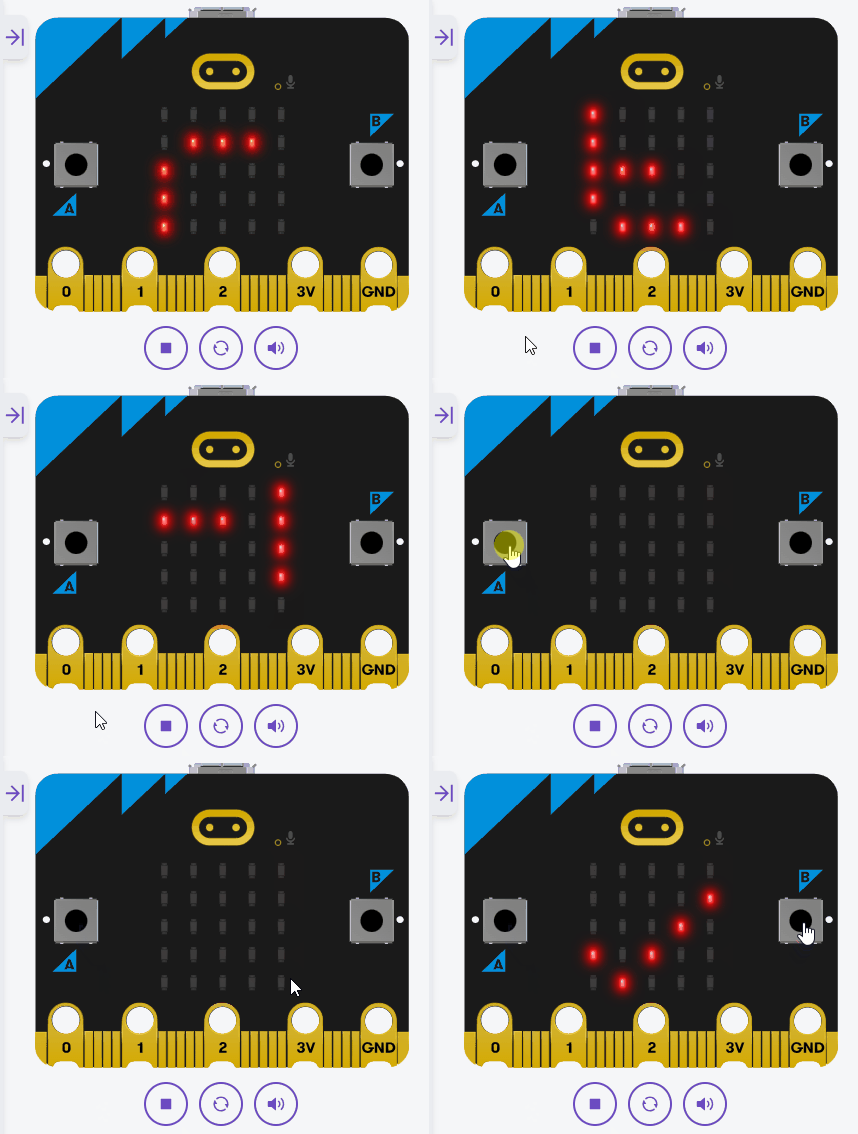
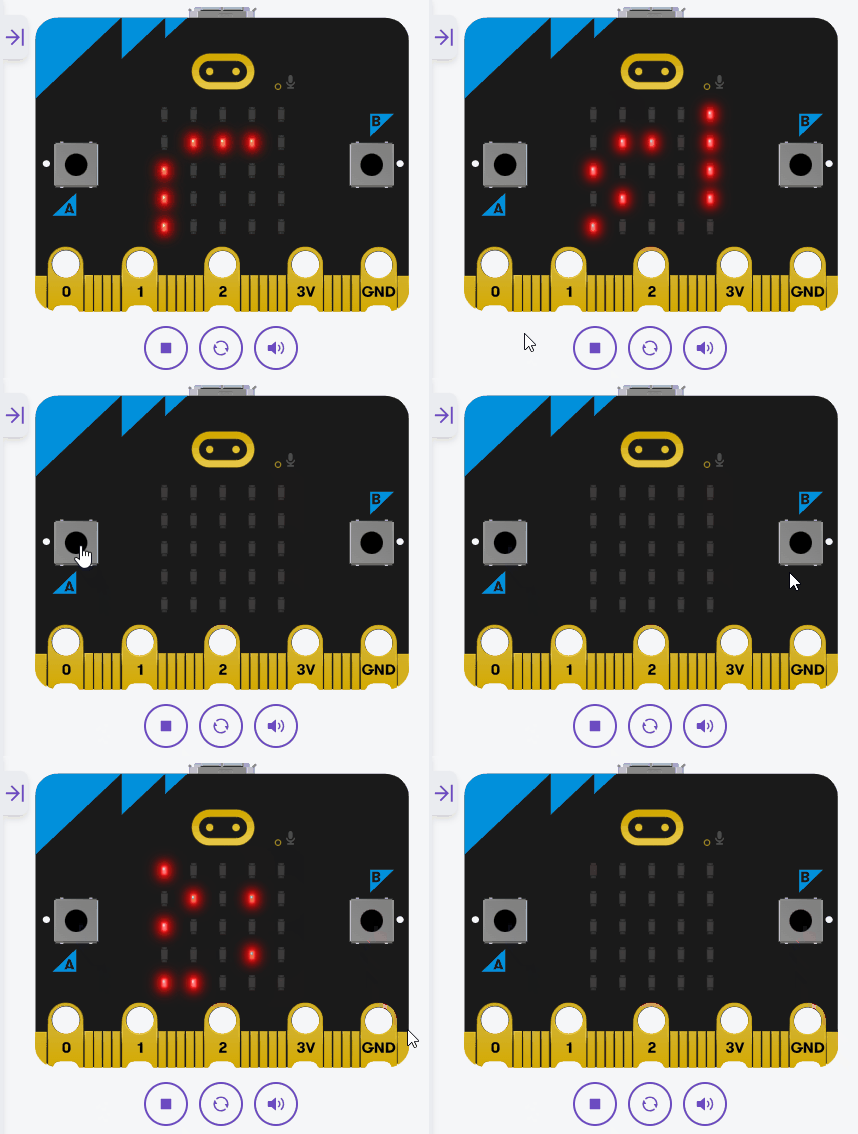
 In this lesson, you'll build a Reaction Time Tester game using your Micro:bit. The game will measure how quickly you press a button after a random LED lights up. You'll use timers within loops to calculate reaction time, store high scores in a list, compare times using if statements inside functions, and display results with string formatting. This reinforces core Python concepts in a fun, competitive challenge.
By the end of this lesson, you'll have a game that tracks and displays your best reaction times. Open the Micro:bit Python editor at python.microbit.org and start a new project.
In this step, we'll import the necessary modules. We need the microbit module for hardware access, the random module for random delays, and we'll use time for timing, but since Micro:bit uses running_time() for timers, we'll handle that later.
Start by adding the following complete code to your editor:
from microbit import *
import randomNext, we'll create a list to store high scores (initially empty) and display a 'Press A to start' message to start the game. Lists are perfect for holding multiple scores, and we'll add to it later. We'll also add in a loop for the code for the game.
Update your code to the following complete version:
from microbit import *
import random

high_scores = []
display.scroll("Press A to start", delay=50)

while True:
    while not button_a.is_pressed():
sleep(100)high_scores is now set up to store times.Now, let's add a random delay before lighting up an LED (by showing an image). This sets up the 'wait' period before the signal to react.
We'll use sleep(random.randint(1000, 5000)) for a random wait between 1-5 seconds. Then show Image.YES as the 'go' signal.
Update your code to this complete version:
from microbit import *
import random

high_scores = []
display.scroll("Press A to start", delay=50)

while True:
    while not button_a.is_pressed():
        sleep(100)

	display.clear()
    sleep(random.randint(1000, 5000))
    display.show(Image.YES)
random.randint and displays Image.YES as the go signal.Now, let's measure the reaction time. After showing the image, we'll start a timer, wait for button B to be pressed, calculate the reaction time, and display it.
We'll use running_time() to get the current time in milliseconds, and subtract to find the difference.
Update your code to this complete version:
from microbit import *
import random

high_scores = []
display.scroll("Press A to start", delay=50)

while True:
    while not button_a.is_pressed():
        sleep(100)

    display.clear()
    sleep(random.randint(1000, 5000))
    display.show(Image.YES)

    start_time = running_time()
    while not button_b.is_pressed():
        sleep(20)

    reaction_time = running_time() - start_time
display.scroll("Time: {} ms".format(reaction_time))running_time() for timing, and format() for displaying the result.

