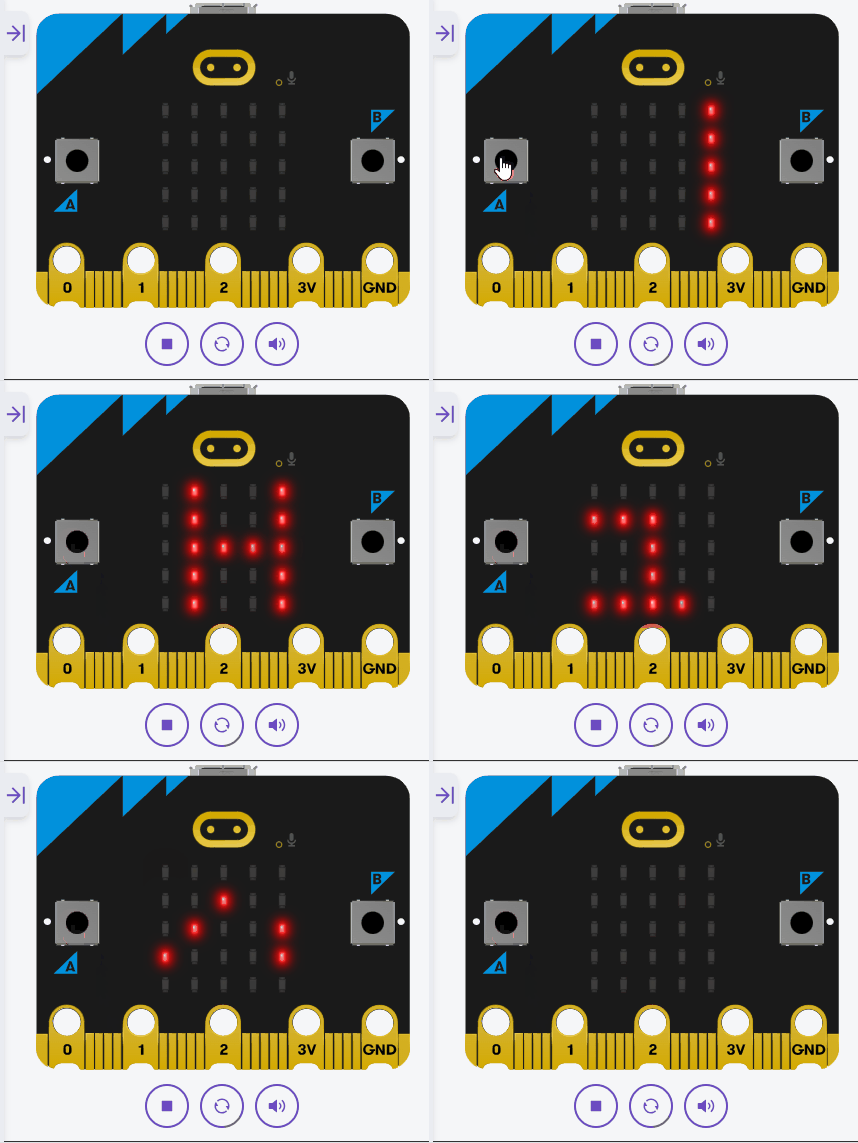
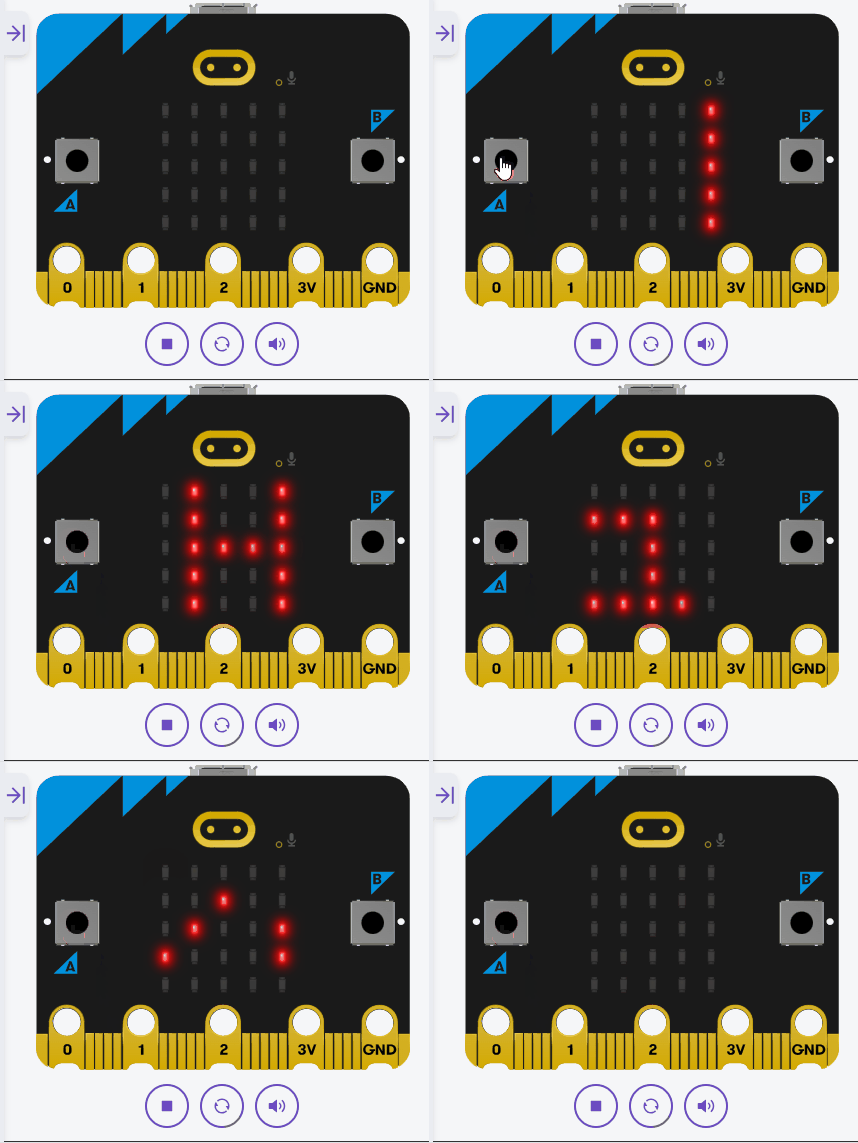
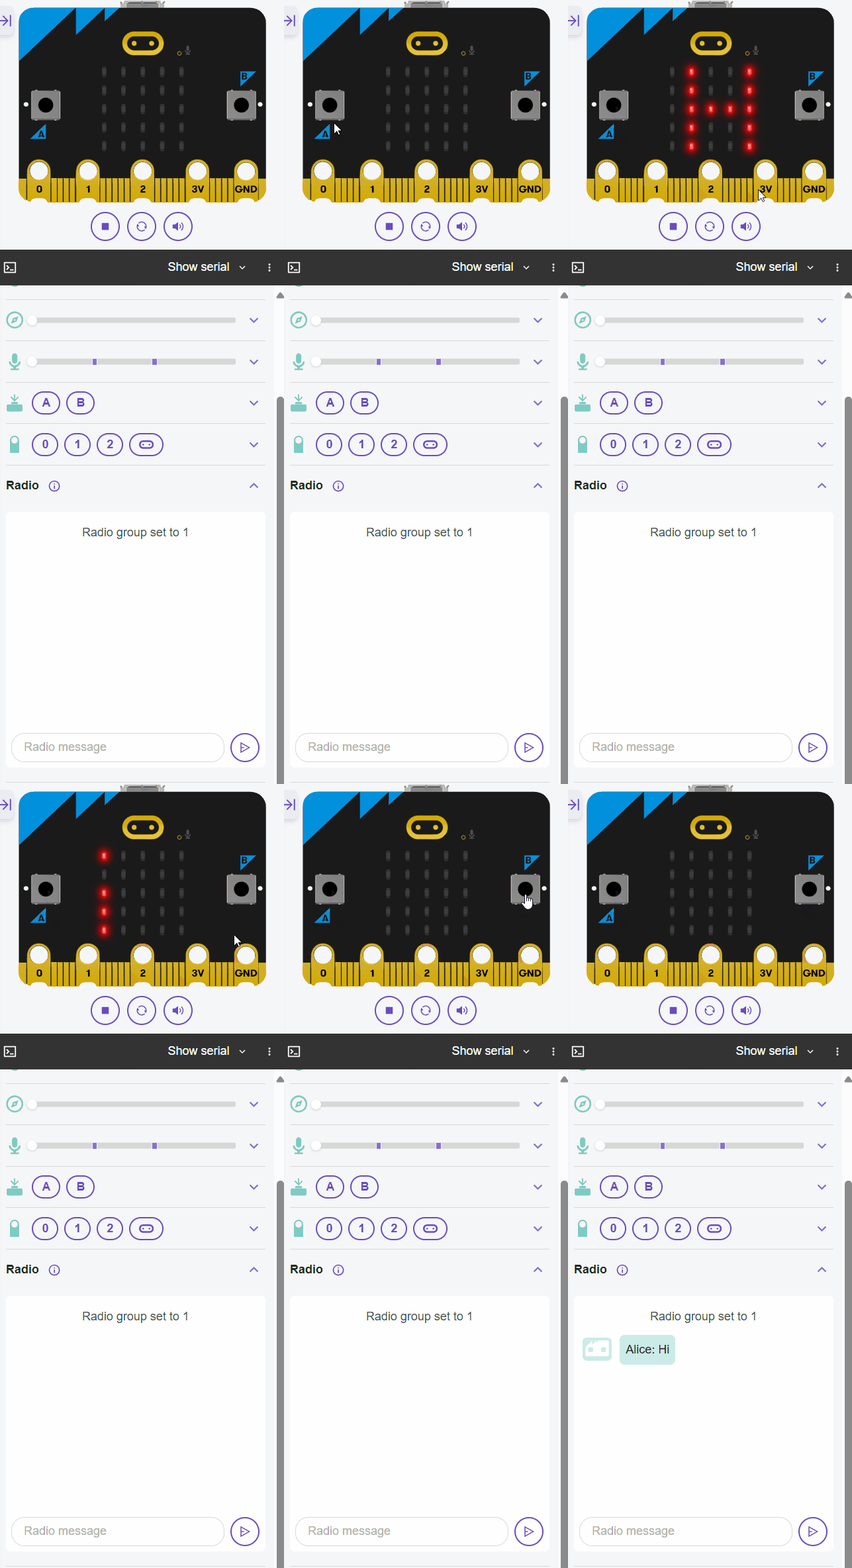
 In this lesson, you'll build a simple chat system using multiple Micro:bits that communicate via the radio module. You'll create a network where devices can send and receive predefined messages. You'll use buttons to select messages from a list, manipulate strings to add sender names, and implement functions to handle receiving and displaying messages with conditional logic for automatic responses. This project reinforces string manipulation, lists, control structures, and functions for multi-device interaction.
By the end of this lesson, your Micro:bit will be part of a radio messaging network. Open the Micro:bit Python editor at python.microbit.org and start a new project. For testing with multiple devices, you'll need at least two Micro:bits.
Start by importing the necessary modules. We'll need the microbit module for hardware access and the radio module for communication.
Add the following complete code to your editor:
from microbit import *
import radio

radio.on()
radio.config(group=1)We'll create a list of predefined messages and a string for the sender's name. Lists are great for storing multiple items, and we'll use string manipulation later to prepend the sender's name to messages.
Update your code to the following complete version:
from microbit import *
import radio

radio.on()
radio.config(group=1)

sender_name = "Alice"  # Change this to your name
messages = ["Hi", "How are you?", "Good morning", "Goodbye", "Help!"]Now, let's use the A button to select a message from the list. We'll use it to cycle through the messages in the list.
Update your code to this complete version:
from microbit import *
import radio

radio.on()
radio.config(group=1)

sender_name = "Alice"  # Change this to your name
messages = ["Hi", "How are you?", "Good morning", "Goodbye", "Help!"]
selected_index = -1

while True:
    if button_a.was_pressed():
        selected_index = selected_index + 1 # next message
        if selected_index >= len(messages):  # If we go past the last message
            selected_index = 0  # Go back to the first message
        display.scroll(messages[selected_index], delay=100)

sleep(100)selected_index to -1 initially?Now, let's use the B button to send the selected message. We'll also manipulate the string to add the sender's name.
Update your code to this complete version:
from microbit import *
import radio

radio.on()
radio.config(group=1)

sender_name = "Alice"  # Change this to your name
messages = ["Hi", "How are you?", "Good morning", "Goodbye", "Help!"]
selected_index = -1

while True:
    if button_a.was_pressed():
        selected_index = selected_index + 1 # next message
        if selected_index >= len(messages):  # If we go past the last message
            selected_index = 0  # Go back to the first message
        display.scroll(messages[selected_index], delay=100)
    if button_b.was_pressed():
        message_to_send = sender_name + ": " + messages[selected_index]
        radio.send(message_to_send)
        display.show(Image.YES)
        sleep(500)
        display.clear()
sleep(100)button_b.was_pressed() block checks if button B was pressed. If so, it constructs the message by concatenating the sender's name with the selected message, sends it using radio.send(), displays a confirmation image, pauses briefly, and clears the display.

