1 - Introduction
Welcome to the 'Microbit: Invaders' lesson! In this lesson, you will learn how to create a simple yet exciting game of invaders using a Microbit. This game is inspired by the classic 'Space Invaders' arcade game, where you control a spaceship and your mission is to defeat waves of aliens with a laser cannon. In our version, you will learn how to create and control sprites, detect collisions, and implement game logic. By the end of this lesson, you will have a fully functional game that you can play and share with your friends. Let's get started!
2 - Creating a Microbit Project
We have to make a microbit project first.
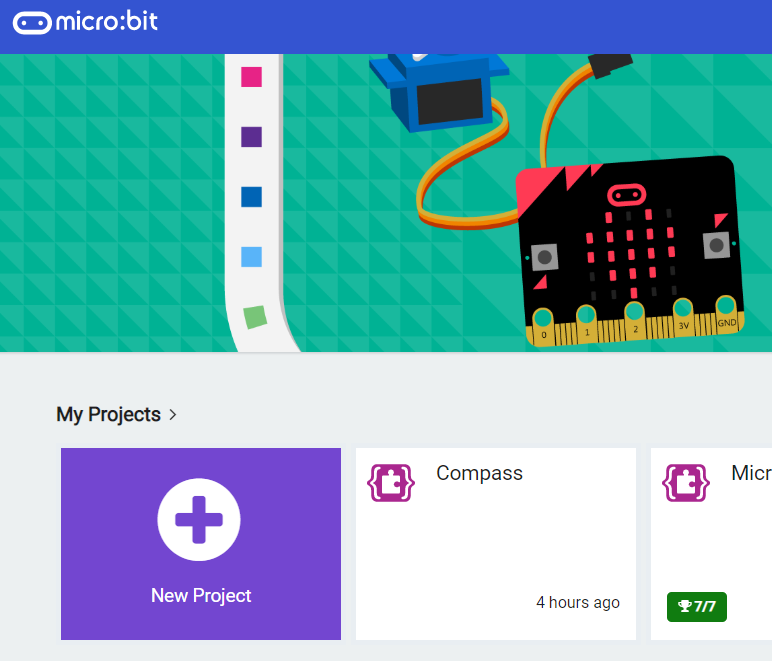
To do this, we can go to the microbit website https://makecode.microbit.org/. Then, we can click New Project to start making our Microbit project.
Go to the Makecode.com Microbit website using the link below and click on the 'New Project' button underneath the 'My Projects' heading.
https://makecode.microbit.org/
Install the micro:bit app on your iPad or tablet.
Open the app, tap 'Create code' and then create a new project.
3 - Creating the Variables
For this project, we are going to create three variables; Bullets, Players and Enemy.
To create our variables, we can click on the Variables category and press the Make a Variable button. We can name these variables Bullets, Players and Enemy.
In the Variables toolbox, create a new variable by clicking the 'Make a Variable' button.
Once you click this button a box will appear asking what you want to call your variable. Give it a name that reminds you what you will be using it for. For example, if you wanted to keep track of your score in a game, you would create a variable called 'score'.

4 - Position the Player Sprite
Now, we are going to create our player sprite and the enemy sprite.
For our player sprite, it will be in the middle of the screen. We can use the code below to do this:
.png)
5 - Moving the Player Sprite
For this part, we are going to be moving our player sprite using the A and B buttons. The A button will move our player sprite to the left while the B button will move it to the right.
The code below will handle this logic.


Unlock the Full Learning Experience
Get ready to embark on an incredible learning journey! Get access to this lesson and hundreds more on our learning platform.
This lesson is copyright of DigitalSkills.org 2017 - 2025. Unauthorised use, copying or distribution is not allowed.