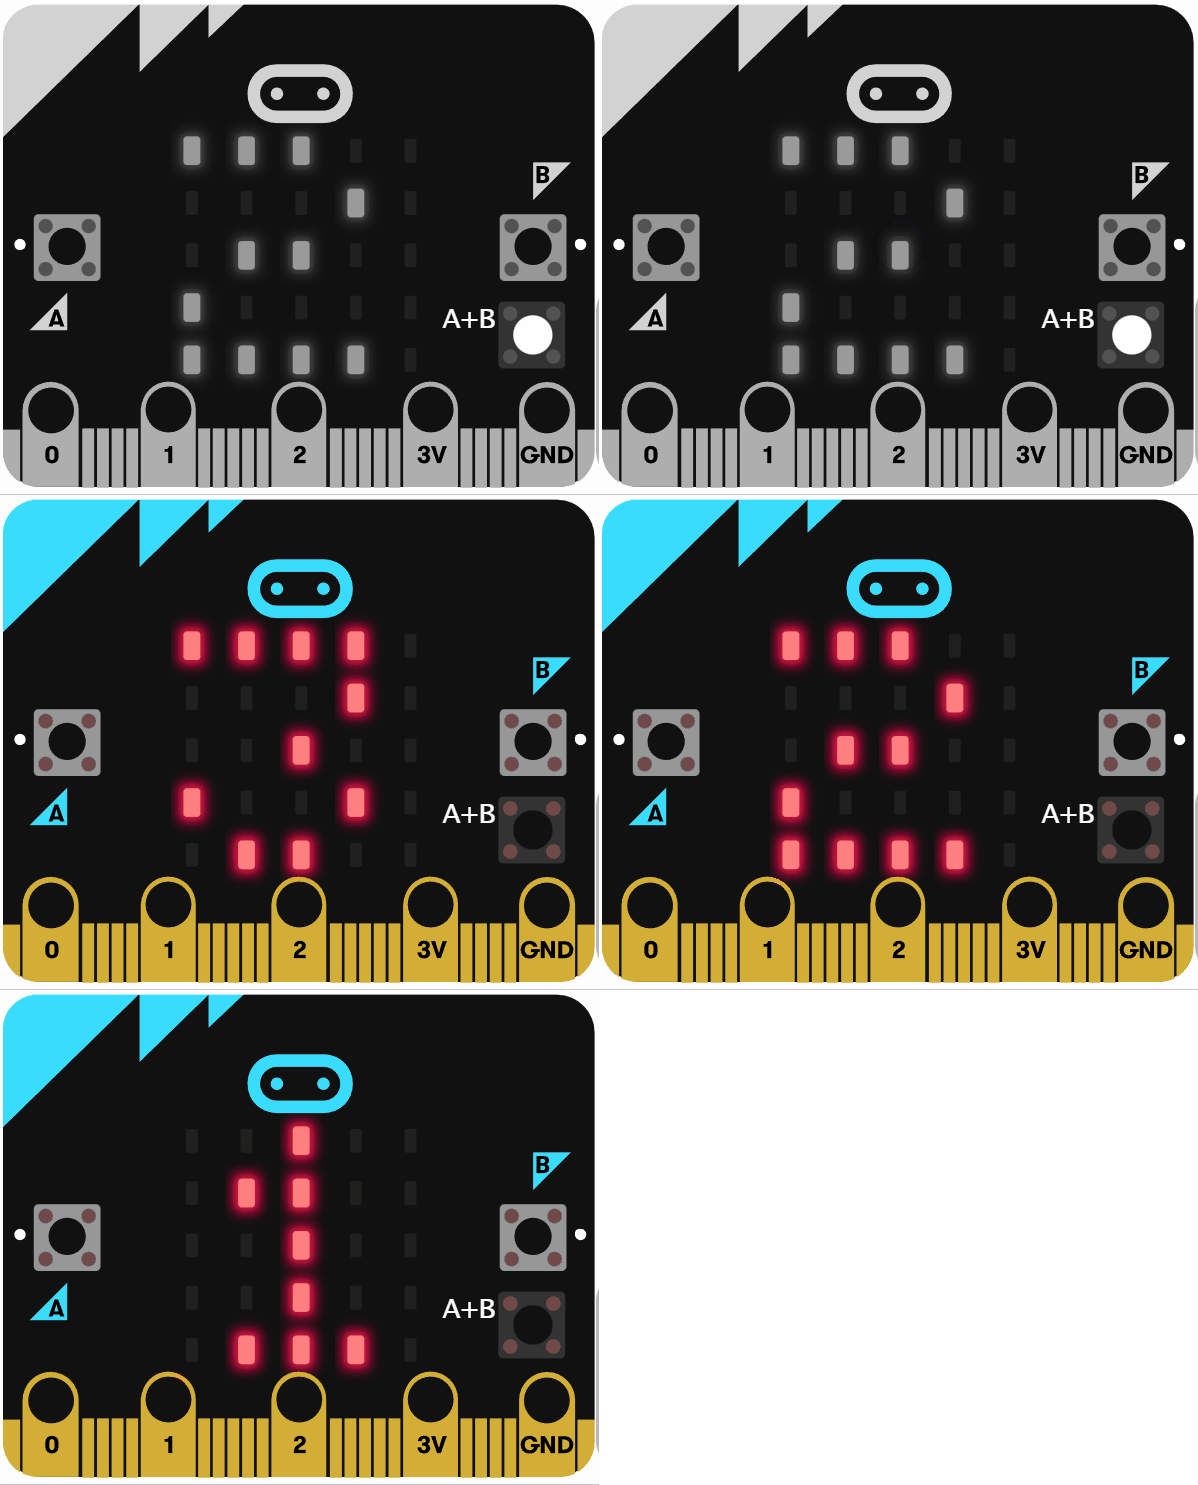
We have to make a microbit project first.
To do this, we can go to the microbit website https://makecode.microbit.org/. . Then, we can click New Project to start making our Microbit project.
For this part, we are going to create a countdown timer that starts from 3.
To add the countdown timer, we can follow the code below. This code will be using the show number and pause blocks that were in the Basic category.
basic.showNumber(3)
basic.pause(1000)
basic.showNumber(2)
basic.pause(1000)
basic.showNumber(1)
basic.pause(1000)
For this project, we are going to create three variables; Bullets, Players and Enemy.
To create our variables, we can click on the Variables category and press the Make a Variable button. We can name these variables Bullets, Players and Enemy.
Now, we are going to create our player sprite and the enemy sprite.
For our player sprite, it will be on the left side of the screen. We can use the code below to do this.
let Player: game.LedSprite = null
Player = game.createSprite(2, 4)
For this part, we are going to be moving our player sprite using the A and B buttons. The A button will move our player sprite to the left while the B button will move it to the right.
The code below will handle this logic.
input.onButtonPressed(Button.A, function () {
let Player: game.LedSprite = null
    Player.change(LedSpriteProperty.X, -1)
})
input.onButtonPressed(Button.B, function () {
let Player: game.LedSprite = null
    Player.change(LedSpriteProperty.X, 1)
})
