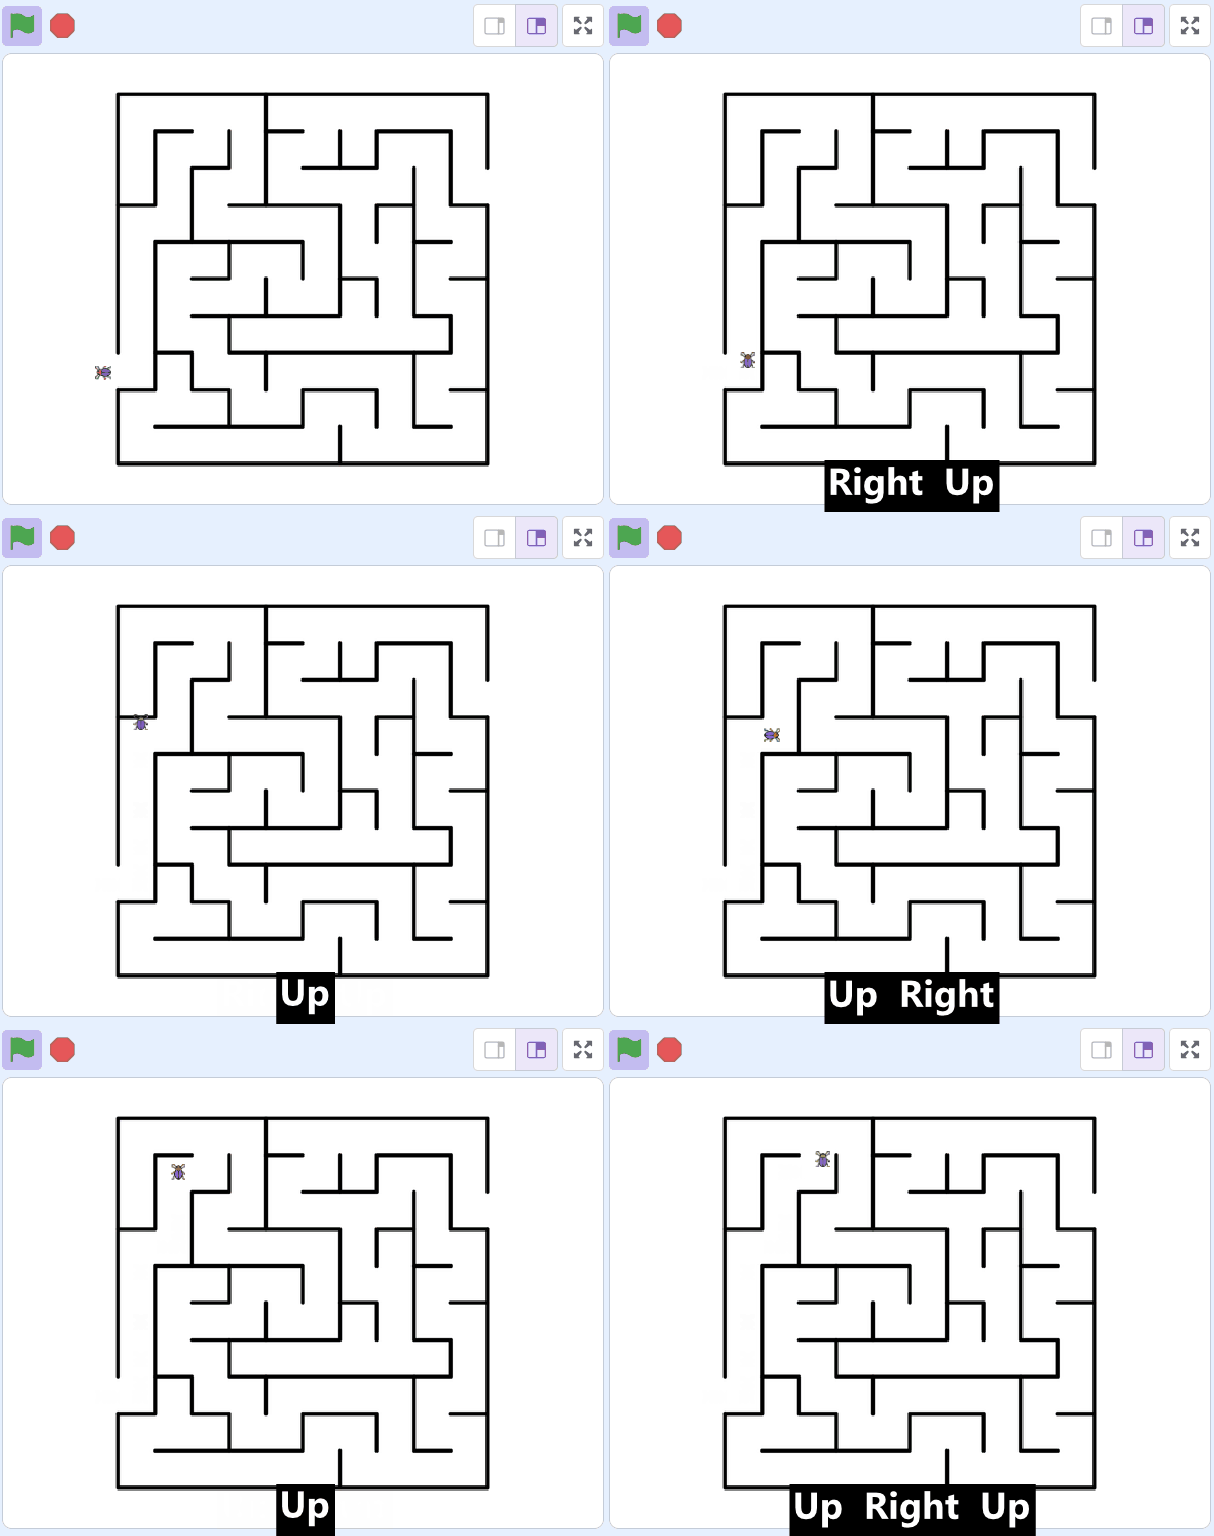
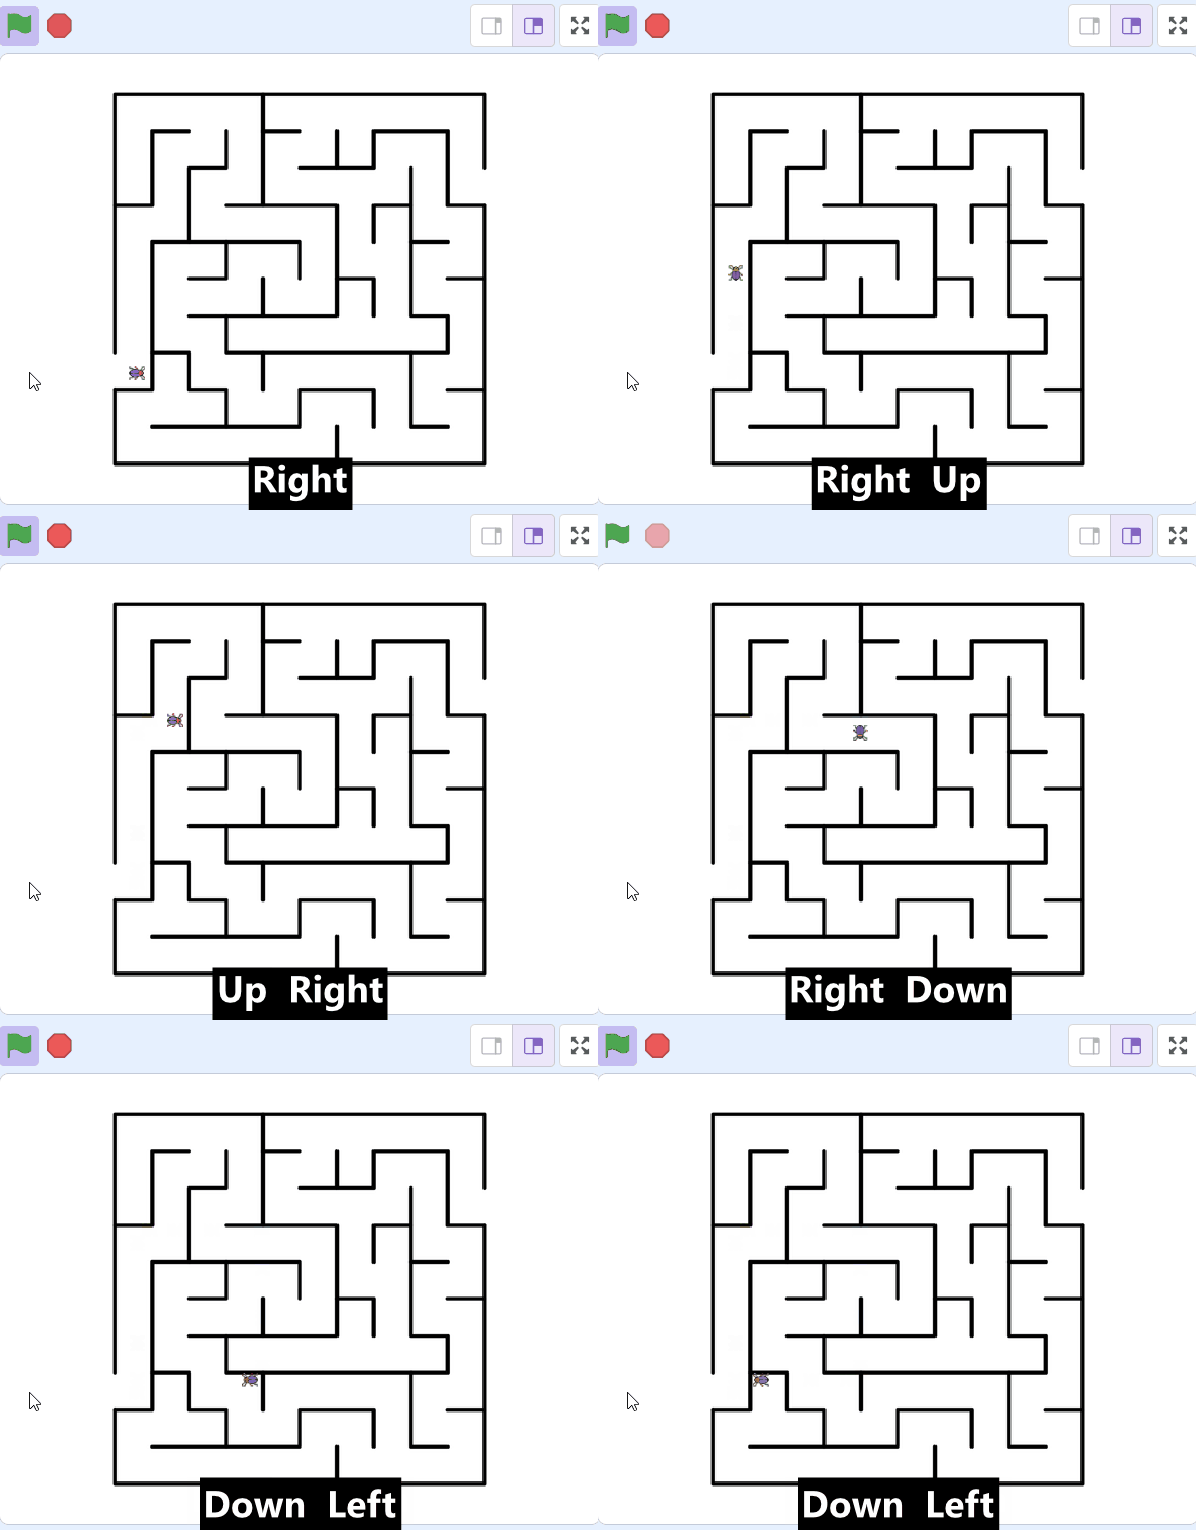
Welcome to our exciting Maze Game lesson! In this lesson, you will learn how to program a character to navigate through a maze using the arrow keys on your keyboard. You will be using Scratch, a fun and easy-to-use coding platform. By the end of this lesson, you will have created your very own maze game. Let's get started!
Open the following Scratch starter project that already has a maze sprite added to it.
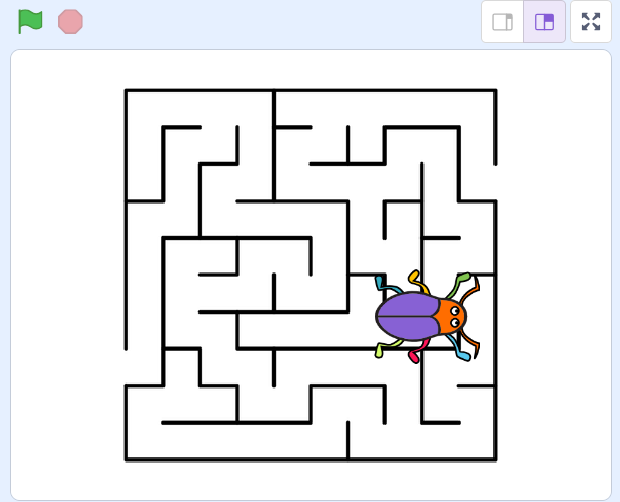
Add the Beetle sprite from the sprite library.
The beetle will be the character that we will code to move through the maze.
To add a sprite from the sprite library follow these steps:
You can use search box or the filter links (Animals, People, Fantasy etc) to locate your sprite.
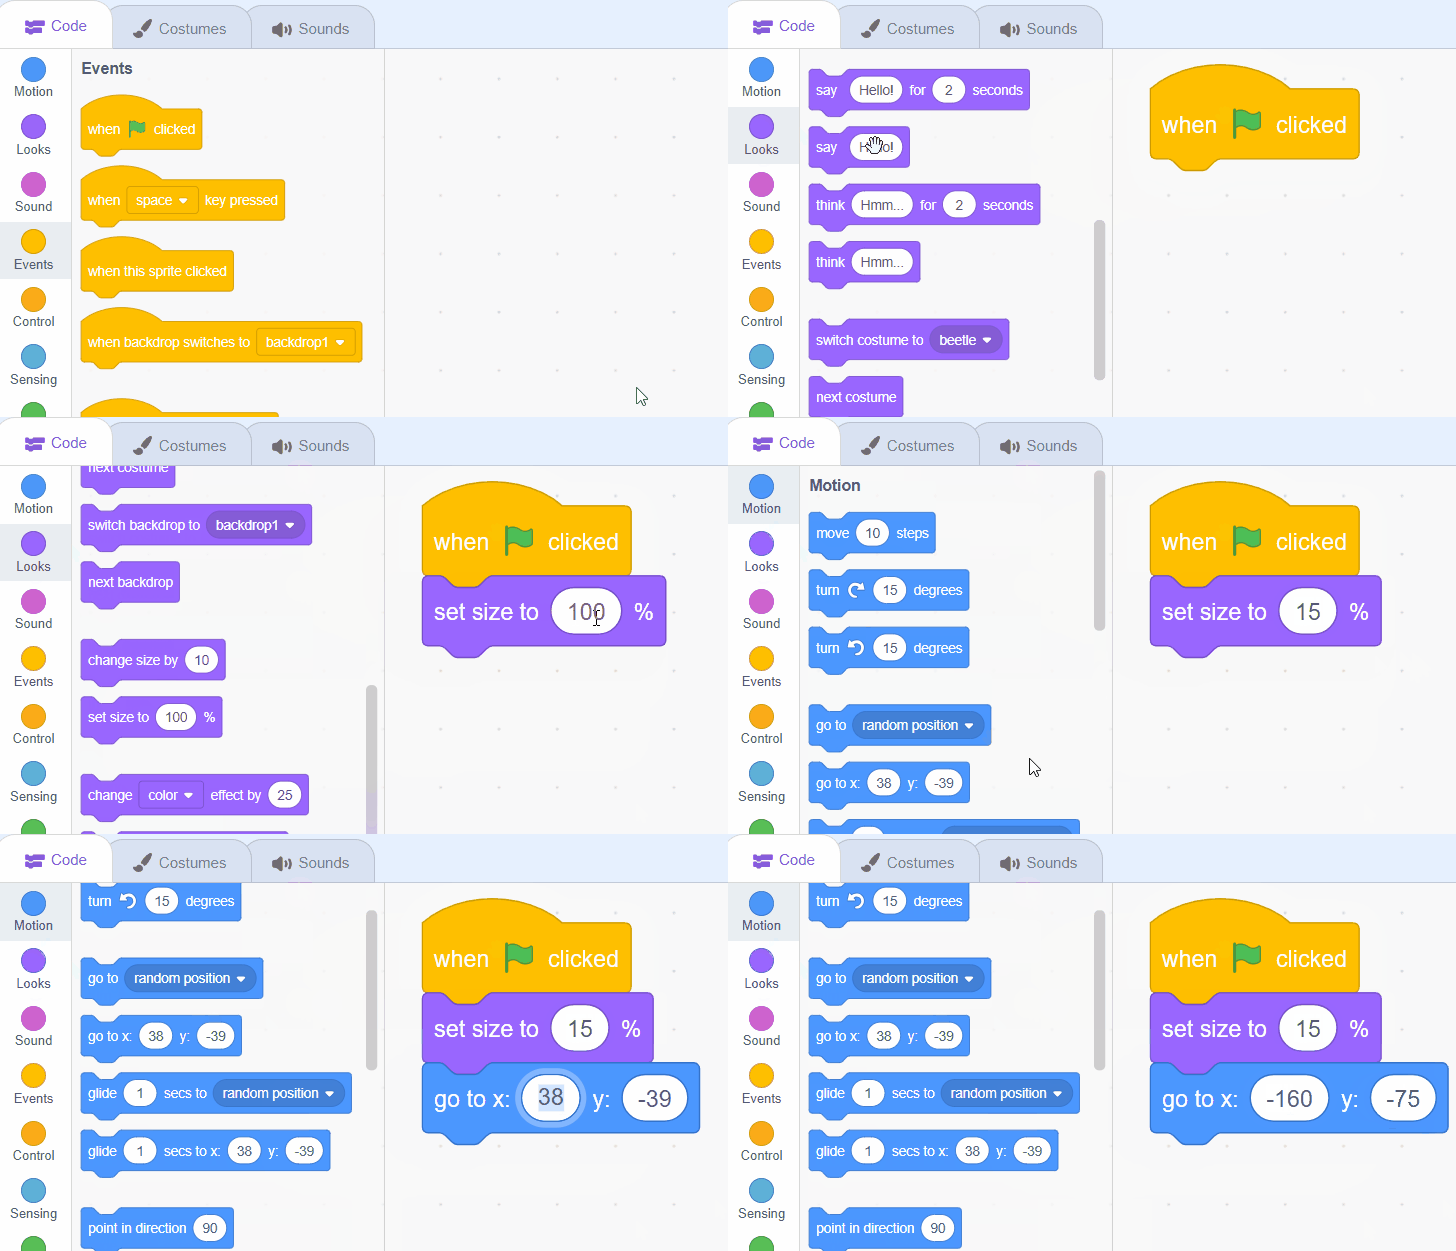
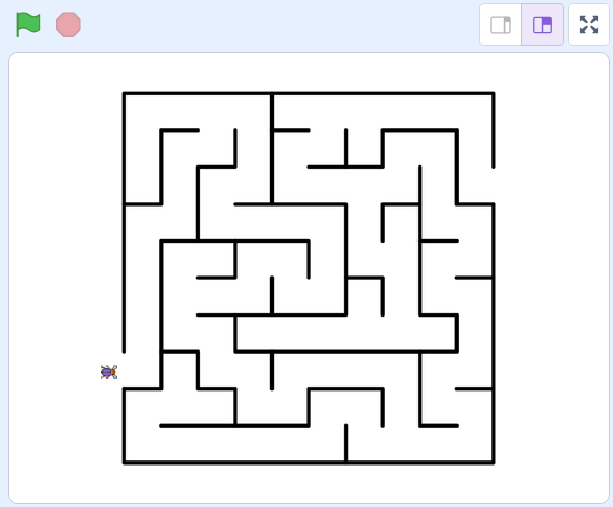
As the beetle sprite is too big to fit through the corridors of our maze, we'll need to shrink it down. We also want to position the beetle at the start of the maze when we start the game, so we'll use a go to x [] y [] block to do this.
Add the following code to the beetle:
when green flag clicked
set size to (15) %
go to x [-160] y [-75] // the start of the maze
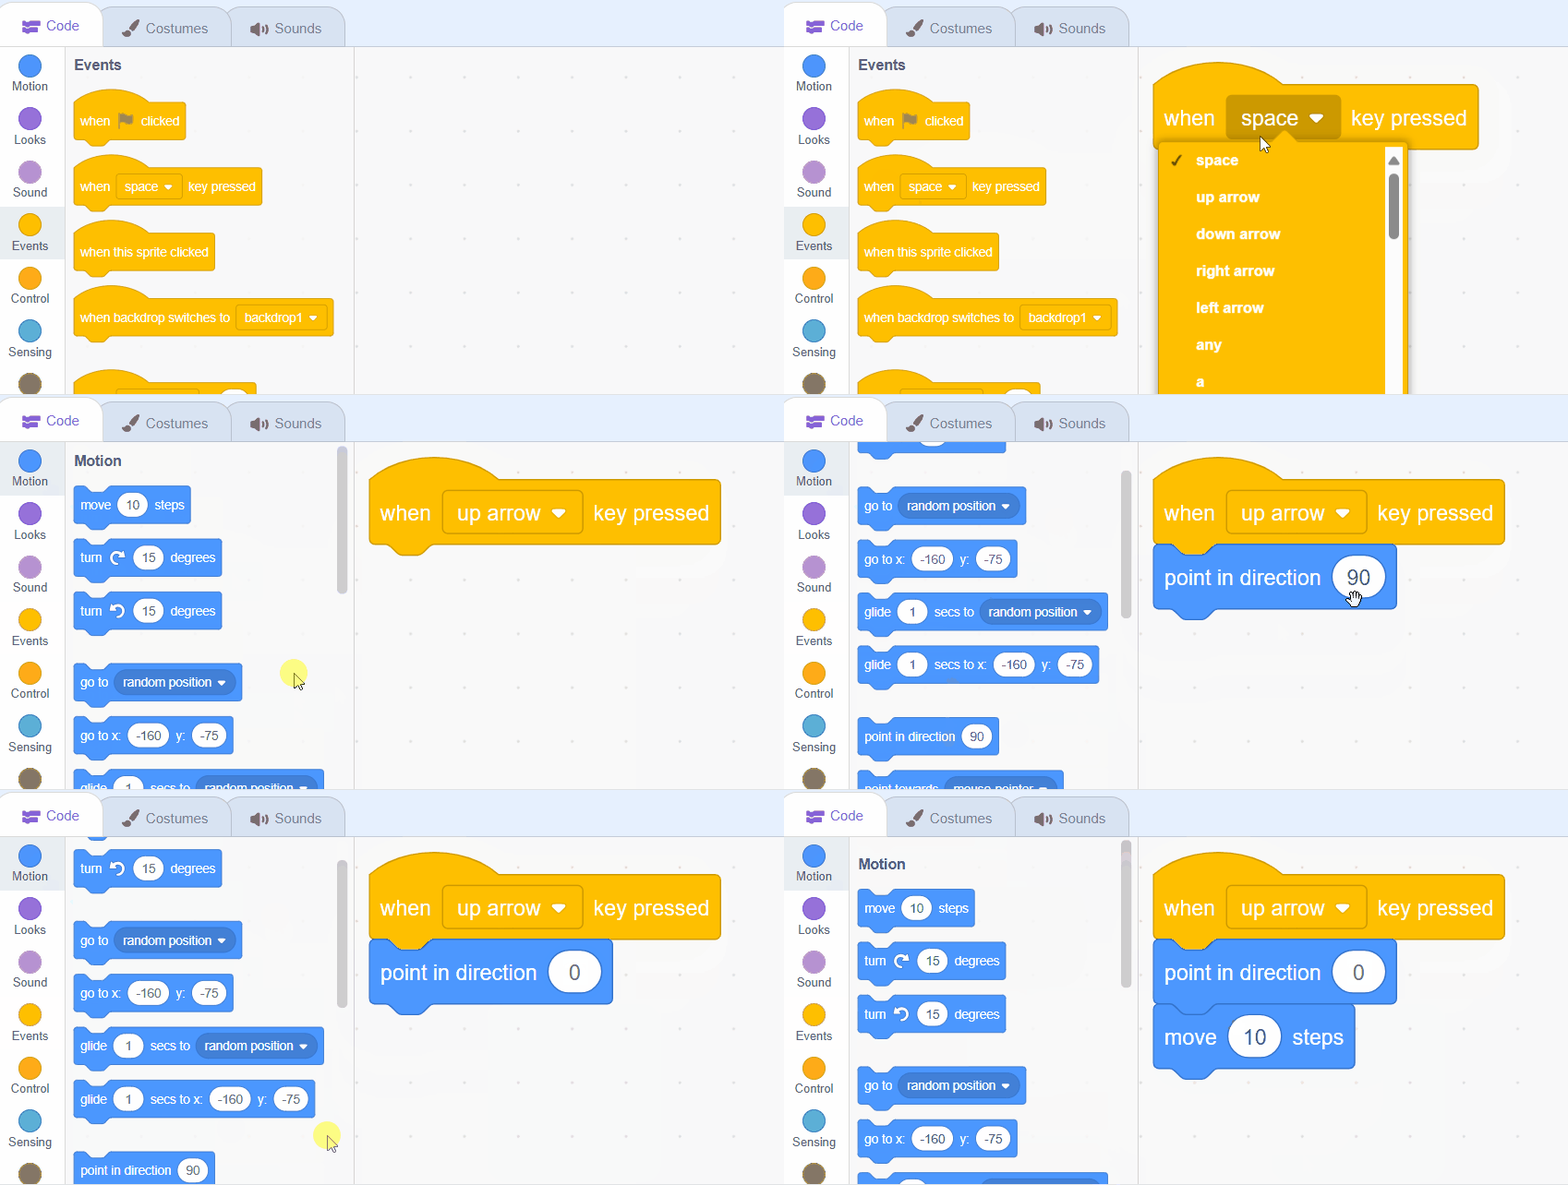
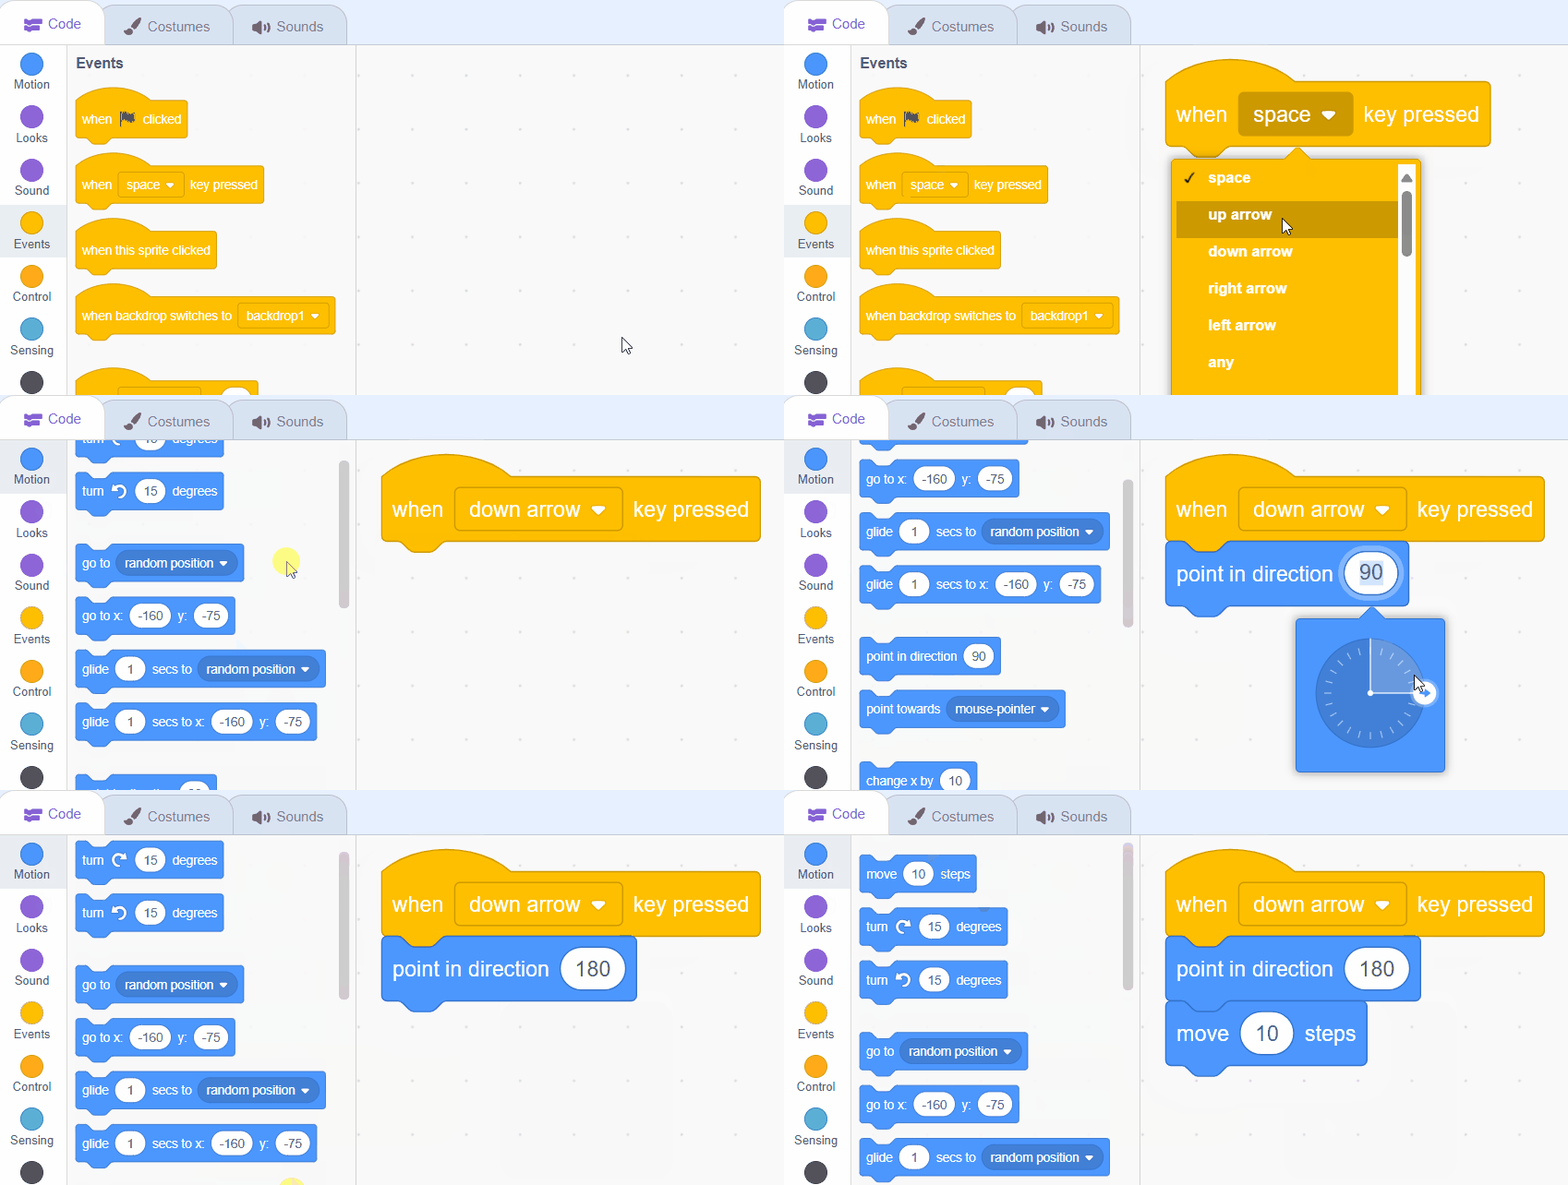
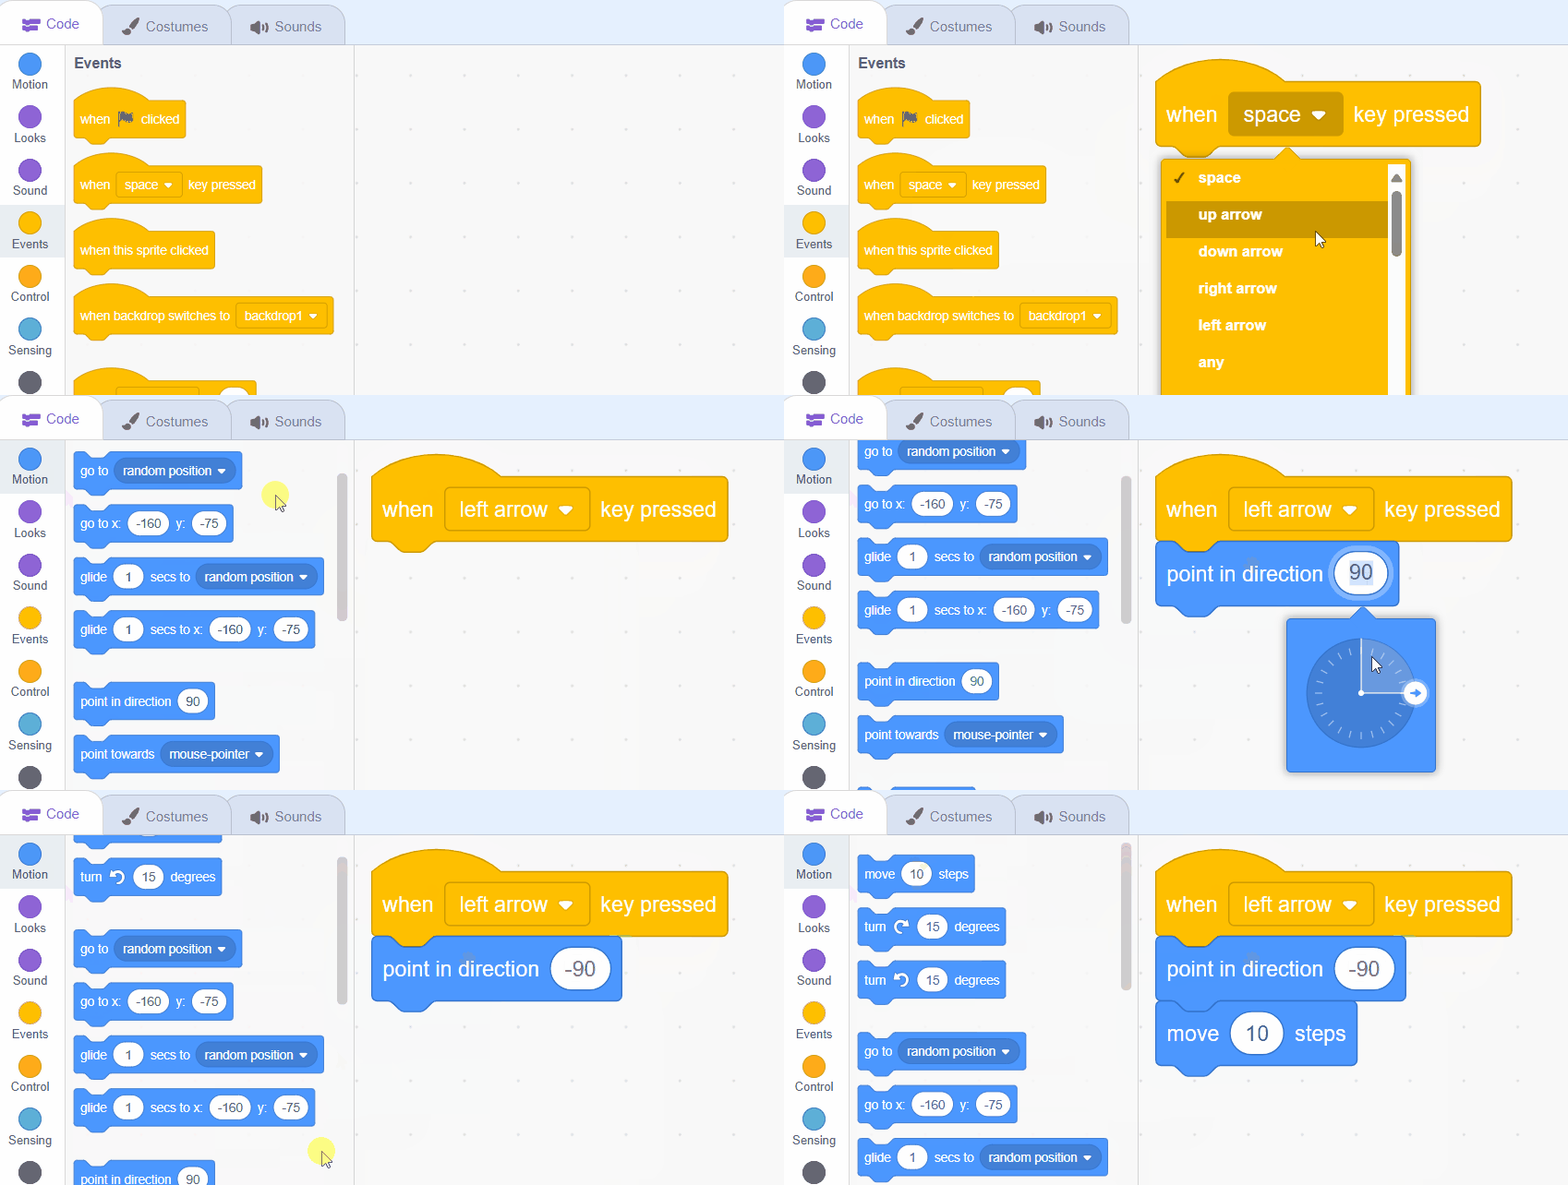
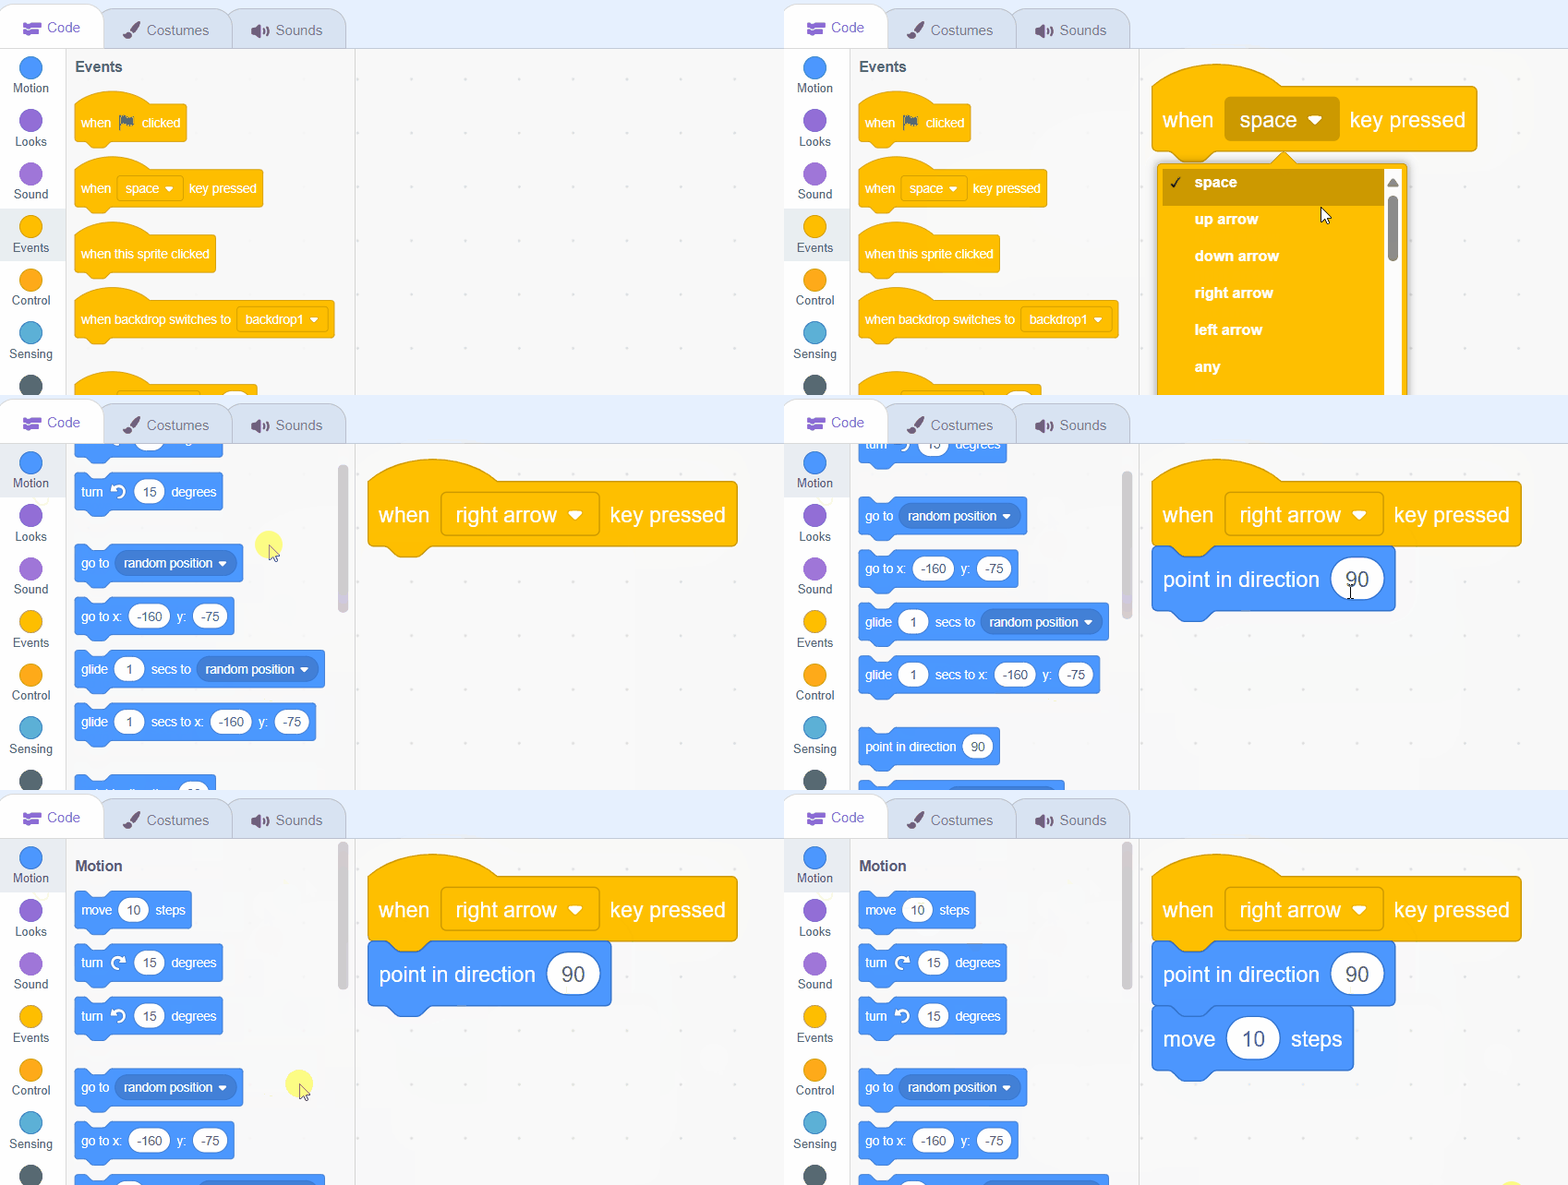
Next we'll program the up, down, left and right arrow keys on your keyboard to move the beetle. Each of these keys will point the beetle in the appropriate direction and make it move 10 steps.
| Arrow | Direction |
|---|---|
| up | 0 |
| down | 180 |
| left | -90 |
| right | 90 |
when [up arrow v] key pressed
point in direction (0)
move (10) steps

when [down arrow v] key pressed
point in direction (180)
move (10) steps

when [left arrow v] key pressed
point in direction (-90)
move (10) steps

when [right arrow v] key pressed
point in direction (90)
move (10) steps
If you're using a tablet or iPad without a physical keyboard, you won't be able to use keyboard keys like the arrow keys in your project. Instead, we'll add simple on-screen buttons (using sprites) that you can tap to do the same things. This keeps your project working great! Just follow these steps wherever the lesson talks about pressing a key.
First, add a new sprite for your button:
Now, program your button sprite to make things happen when you tap it. Here's how it works for different situations:
Example 1: If the lesson uses a key to trigger an action on a specific sprite (like making something move, turn, or jump)
Instead of code like this on your target sprite:
when [left arrow v] key pressed
change x by (-10)  // or any action
Or this:
if < key [left arrow v] pressed? > then
change x by (-10)  // or any action
end
Add this code to your new button sprite:
when this sprite clicked
broadcast [do action v]
Then, on your target sprite, add this to receive the message:
when I receive [do action v]
change x by (-10)  // or any action
Tap the button on the screen, and the action will happen, just like pressing the key! Use a unique broadcast name for each different action or key.
Example 2: If the lesson uses a key to change a variable (like adding to a score or setting a value)
Instead of code like this:
when [space v] key pressed
change [score v] by (1)
Or this:
if < key [space v] pressed? > then
change [score v] by (1)
end
Add a new button sprite. Then, put this code on the button sprite:
when this sprite clicked
change [score v] by (1)
(If the variable is "for this sprite only," make sure it's set to "for all sprites" so the button can change it.)
Tap the button, and the variable changes, no message needed since it's something shared!
