In this lesson, you will learn about different types of loops in Python, such as while loops, for loops, and nested loops. You will also learn how to use indentations and break out of loops.
Python uses indentation to define code blocks, unlike many programming languages which use braces { }.
Defining code blocks means grouping lines of code together that should be executed as a single unit. This is important for controlling the flow of your program, especially when using loops and conditional statements.
Here is an example in JavaScript which uses curly braces:
if button_a.is_pressed(){
	display.show("A")
}
Here is an example in Python which uses indentation:
if button_a.is_pressed():
    display.show("A")
To indent your code in Python, you can use the Tab key on your keyboard. Pressing the Tab key will move the cursor to the right, creating an indentation. Make sure to use consistent indentation throughout your code, as it is crucial for the proper functioning of your program.
Create a new project using python.microbit.org and add the following python code:
if button_a.is_pressed():
	display.show("A")
Then remove the indent so the code looks like this:
if button_a.is_pressed():
display.show("A")
The editor will show you that there is an error.
In programming, loops are used to repeat a block of code multiple times. They are useful when you want to perform a task repeatedly or iterate through a collection of items. In this step, we will learn about 'while' loops in Python.
A while loop executes as long as the condition is true.
Infinite Loop
An infinite loop never stops running.
while True:
    display.show("!")
Conditional Loop
Runs as long as the condition remains true.
count = 0
while count < 5:
    display.show(str(count))
    sleep(1000)
    count += 1
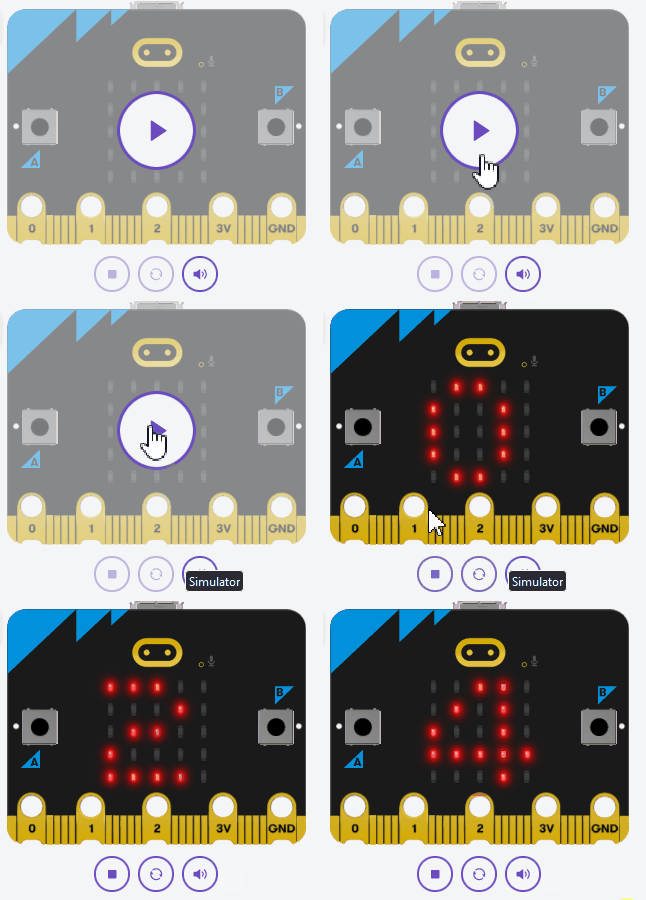
Try out both of these loops in the code editor and run your code.
After you've tried them both out, change the while loop to run only 3 times.
A for loop is a control flow statement that allows you to iterate over a sequence of values. This is useful when you want to perform a specific action for a certain number of times or for each item in a list or other iterable objects.
When using a for loop with the range() function, the loop starts at 0 by default. This is because Python uses zero-based indexing, which means the first element in a sequence has an index of 0.
Now, let's explore some examples of for loops:
The following code will loop through the numbers 0 to 4:
for i in range(5):
    display.show(str(i))
    sleep(1000)
The following code will loop through the numbers 1 to 5:
for i in range(1, 6):
    display.show(str(i))
    sleep(1000)
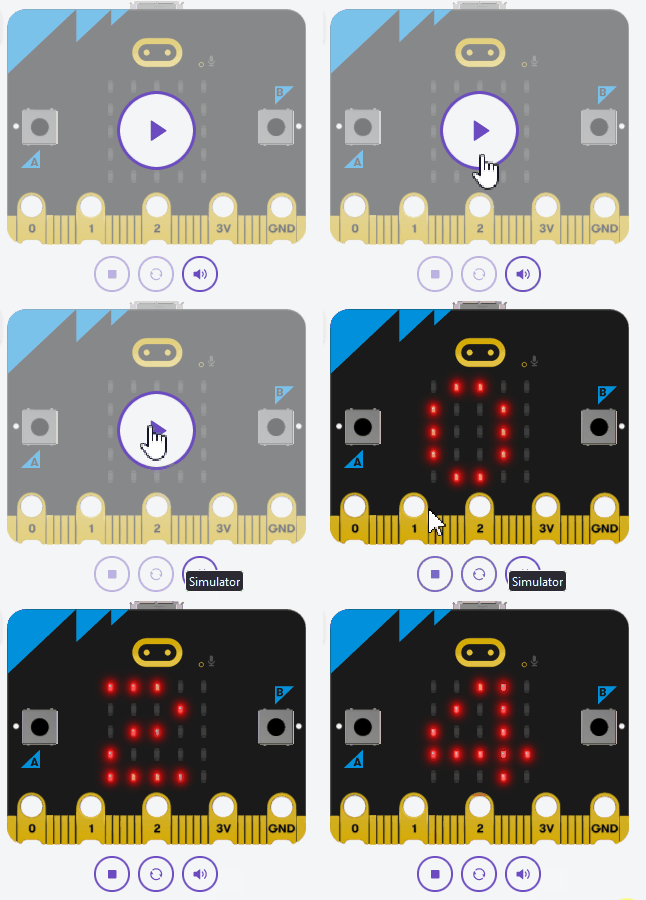
Try out both of these loops in the code editor. Delete your previous code (apart from the import line) and then add the new code and run it.
Change the range and see the effect it has.
Nested loops are loops within loops, where an inner loop is executed for each iteration of the outer loop.
The following code is a nested loop:
for y in range(5):
    for x in range(5):
        display.clear()          # Clear previous LED state
        display.set_pixel(x, y, 9)  # Set the LED at position (x, y) to its brightest
        sleep(200)               # Wait for a short time to visualize the LED movement
In this example:
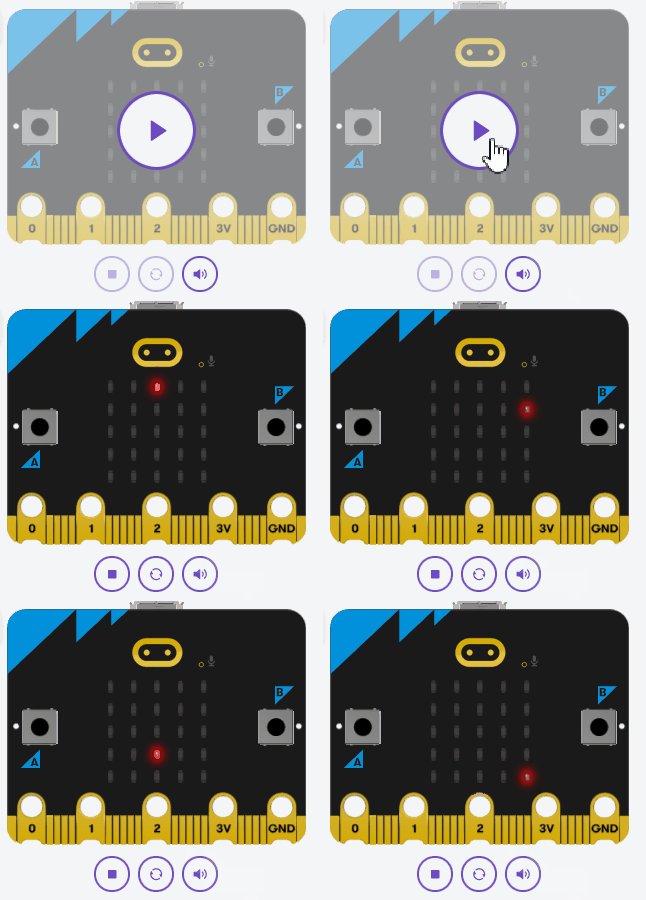
for y in range(5) iterates through the rows of the micro:bit's 5x5 LED matrix.for x in range(5) iterates through the columns.Let's understand how the x and y values are being updated:
Try out the above code in the editor and notice how the light moves through the LED positions.


