Computer Science
Beginner
40 mins
Teacher/Student led
 Chromebooks, laptops, and PCs are crucial tools for coding and digital skills education. Chromebooks are ideal for web-based applications and collaborative projects, while laptops and PCs support a wider range of programming environments and software for more intensive tasks like software development and data analysis.
Iterative Design
In this lesson, you'll explore the process of iterative design through a step-by-step approach. Learn how to develop software in small, repeating cycles, from planning and implementing features to testing and refining based on feedback, enhancing your project incrementally.
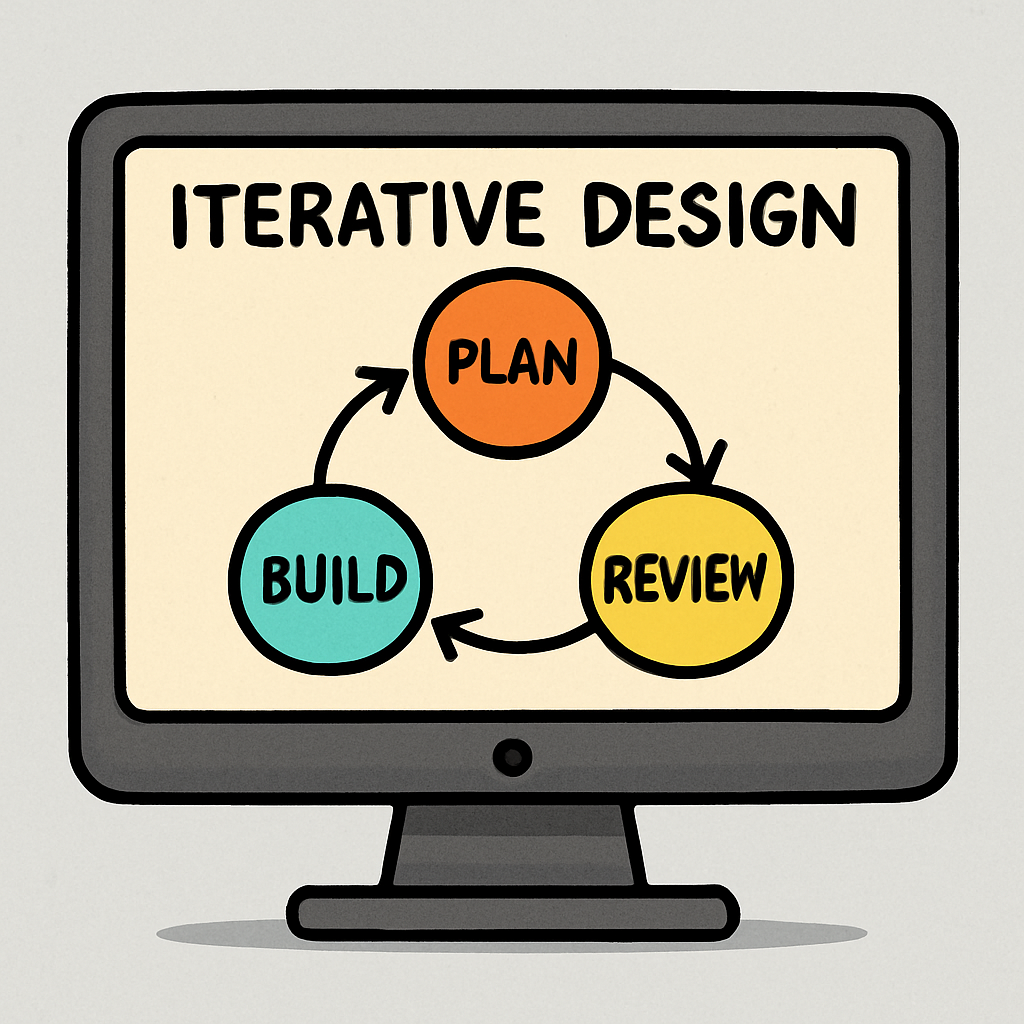 Iterative design, often associated with agile methodologies, involves developing software in small, repeating cycles called iterations. Each iteration builds on the previous one, incorporating feedback and improvements. This approach allows for continuous refinement and adaptation throughout the project.
 In the iterative design process, planning a small part is the starting point of each iteration. This step involves breaking down the overall project into smaller, manageable chunks by selecting specific features or tasks to focus on right now. It allows you to prioritise what matters most, set clear goals, and adapt as you go, making the development process more flexible and responsive to changes.
 In the iterative design process, designing and implementing is where you turn your plans into reality by creating a working version of the software. This step follows the planning phase and focuses on building the selected features or tasks. It involves both creative design work and practical coding, resulting in a functional increment that can be tested. This hands-on phase allows you to see progress quickly and make adjustments in future iterations.
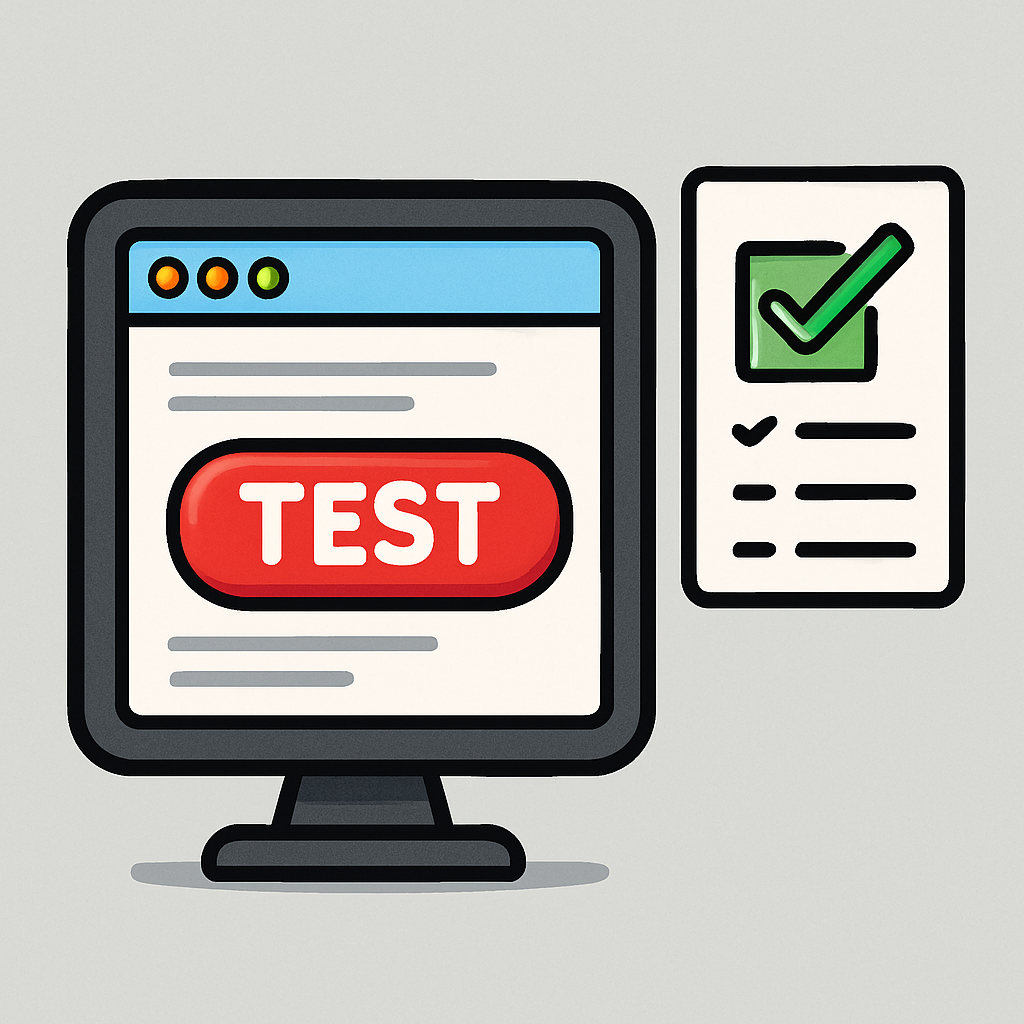 In the iterative design process, testing and reviewing is where you evaluate the working version of the software created in the designing and implementing step. This involves checking for bugs, ensuring functionality, and gathering feedback from users or stakeholders. It helps identify strengths and weaknesses early, allowing you to make informed improvements in the next iteration. This step emphasises continuous quality assurance and user-centred refinement, making the development process more adaptive and effective.


