HTML JavaScript Computer Science
Beginner
40 mins
Teacher/Student led
+70 XP
What you need:
Chromebook/Laptop/PC

Introduction to JavaScript

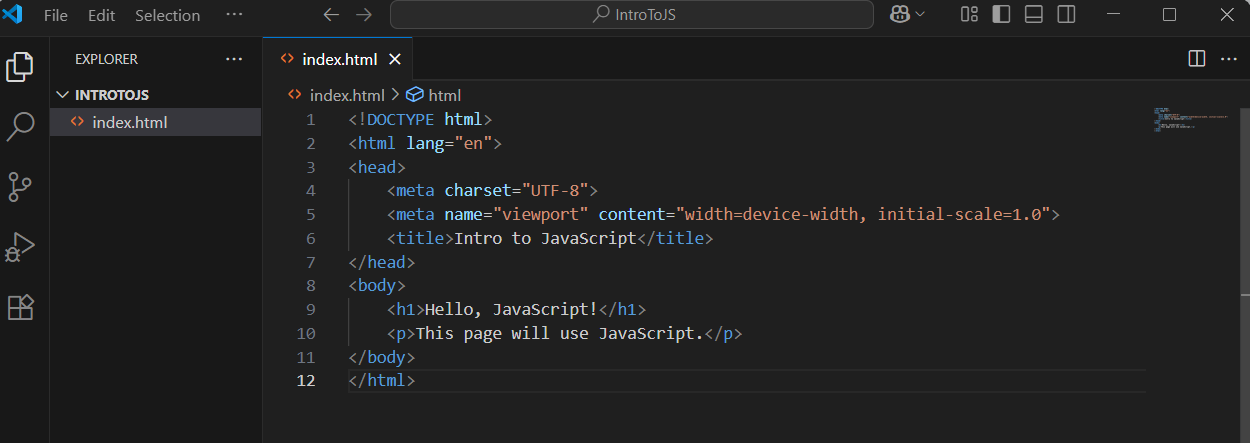
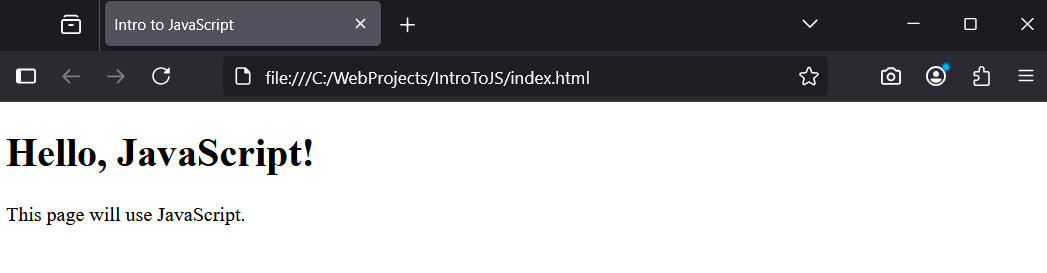
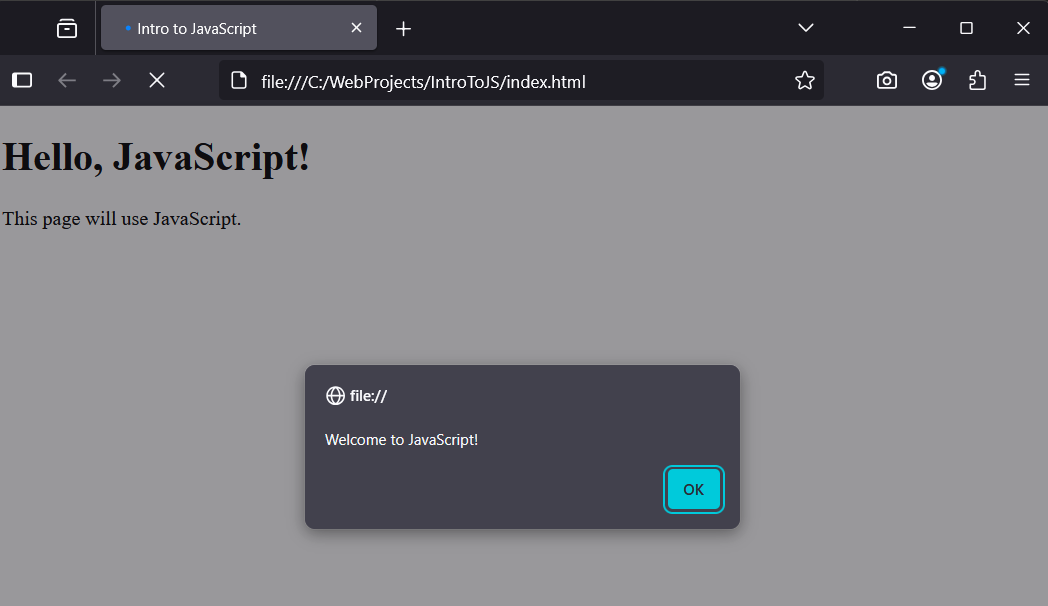
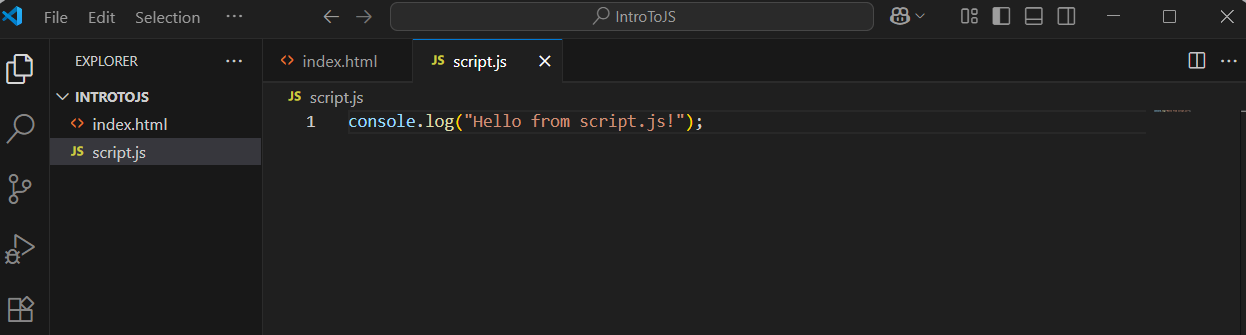
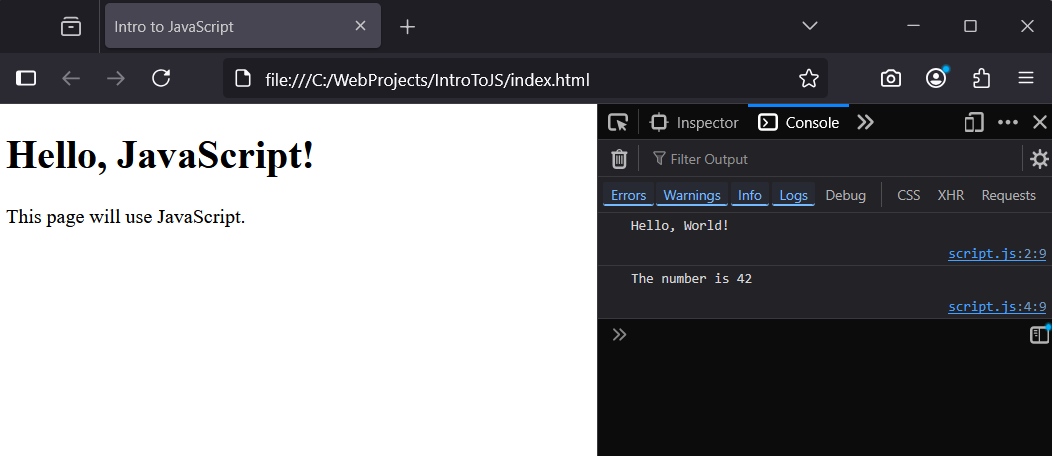
Get started with the programming language that brings web pages to life. In this lesson, you'll explore basic JavaScript syntax, create variables, and learn to integrate JavaScript into HTML. Build a simple page to display messages dynamically.
Learning Goals Learning Outcomes Teacher Notes

Live Class Feed

This is a live feed of the latest activity by your students on this lesson. It will update in real-time as they work on the lesson.
Load previous activity

    1 - Welcome to JavaScript

    In this lesson, you'll get started with JavaScript, the programming language that makes web pages interactive. JavaScript works alongside HTML and CSS to add behaviour to your websites, like responding to button clicks or updating content dynamically.

    This lesson covers basic JavaScript syntax, how to create variables, and how to include JavaScript in an HTML page. We'll build a simple page that uses JavaScript to display a message and work with variables.

    Make sure you have VS Code installed from previous lessons. 

    2 - Setting Up Your Project

    First, create a new folder for this lesson in VS Code.

    Open VS Code and do the following:

    1. Click 'File' > 'Open Folder'.
    2. Create a new folder on your computer, name it 'IntroToJS'.
    3. Select that folder in VS Code.

    Now, create a new file called 'index.html' by right-clicking in the Explorer pane and selecting 'New File'.

    Add this complete HTML code to 'index.html':

    <!DOCTYPE html>
    <html lang="en">
    <head>
        <meta charset="UTF-8">
        <meta name="viewport" content="width=device-width, initial-scale=1.0">
        <title>Intro to JavaScript</title>
    </head>
    <body>
        <h1>Hello, JavaScript!</h1>
        <p>This page will use JavaScript.</p>
    </body>
    </html>

    Save the file. Open 'index.html' in your browser by double-clicking it in your file explorer. You should see a basic page with a heading and paragraph.


    3 - Adding JavaScript to HTML

    JavaScript can be added directly into HTML using a script tag. This is called inline scripting.

    Update your 'index.html' by adding a script tag at the end of the body. Here's the complete updated code:

    <!DOCTYPE html>
    <html lang="en">
    <head>
        <meta charset="UTF-8">
        <meta name="viewport" content="width=device-width, initial-scale=1.0">
        <title>Intro to JavaScript</title>
    </head>
    <body>
        <h1>Hello, JavaScript!</h1>
        <p>This page will use JavaScript.</p>
        <script>
            alert("Welcome to JavaScript!");
        </script>
    </body>
    </html>

    Save and refresh your browser. You should see an alert pop-up saying 'Welcome to JavaScript!'. This is basic JavaScript syntax: 'alert' is a function that displays a message, and the semicolon ';' ends the statement.


    4 - Using an External JavaScript File

    For better organisation, JavaScript is often put in a separate file. Create a new file in VS Code called 'script.js' in your project folder.

    Add this complete JavaScript code to 'script.js':

    console.log("Hello from script.js!");

    Now, link it to your HTML by updating 'index.html' to this complete code (remove the inline script and add a src attribute):

    <!DOCTYPE html>
    <html lang="en">
    <head>
        <meta charset="UTF-8">
        <meta name="viewport" content="width=device-width, initial-scale=1.0">
        <title>Intro to JavaScript</title>
    </head>
    <body>
        <h1>Hello, JavaScript!</h1>
        <p>This page will use JavaScript.</p>
        <script src="script.js"></script>
    </body>
    </html>
    Save both files and refresh your browser. Open the browser's developer tools (right-click > Inspect, go to Console tab). You should see 'Hello from script.js!' logged there. 'console.log' is used for debugging and outputs to the console.


    5 - Introducing Variables

    Variables store data in JavaScript. You declare them with 'let' or 'const', followed by the name and value.

    Update 'script.js' to this complete code:

    let greeting = "Hello, World!";
    console.log(greeting);
    const number = 42;
    console.log("The number is " + number);

    Here, 'let greeting' creates a variable that can change, assigning it a string. This means you can reassign a new value to it later, for example, by writing 'greeting = "New Greeting";'.

    In contrast, 'const number' creates a constant that can't change once set; attempting to reassign it, like 'number = 50;', would result in an error.

    Additionally, variables declared with 'const' must be assigned a value at the time of declaration, while 'let' allows you to declare a variable without an initial value and assign it later. The '+' concatenates strings and variables.

    Save and refresh. Check the console: you should see 'Hello, World!' and 'The number is 42'.

    Unlock the Full Learning Experience

    Get ready to embark on an incredible learning journey! Get access to this lesson and hundreds more in our Digital Skills Curriculum.

    Copyright Notice
    This lesson is copyright of DigitalSkills.org. Unauthorised use, copying or distribution is not allowed.
    🍪 Our website uses cookies to make your browsing experience better. By using our website you agree to our use of cookies. Learn more