In this lesson, you will explore the fundamentals of data structures, which are essential for organising and managing data in programming. Using MakeCode for micro:bit, you'll learn how to work with arrays to store and manipulate collections of data.
By the end of this lesson, you will:
 In computer science, data structures are ways of organising and storing data so that it can be accessed and modified efficiently. They are fundamental building blocks for writing programs, allowing you to manage collections of data in structured formats.
Think of data structures like containers in your kitchen: a cupboard organises plates, a drawer holds cutlery, and a fridge stores food items in shelves. Similarly, data structures help you store, retrieve, and manipulate data effectively.
Common data structures include arrays, lists, stacks, queues, trees, and graphs. Each has its own strengths and is suited to different tasks. For example, an array is great for storing a fixed number of similar items that you want to access quickly by their position.
In this lesson, we'll focus on basic data structures like arrays and lists, and you'll learn how to use them in code.
Understanding data structures is key to solving complex problems, as they help optimise how your programs handle information.
Arrays and lists are two fundamental data structures used to store collections of items in programming.
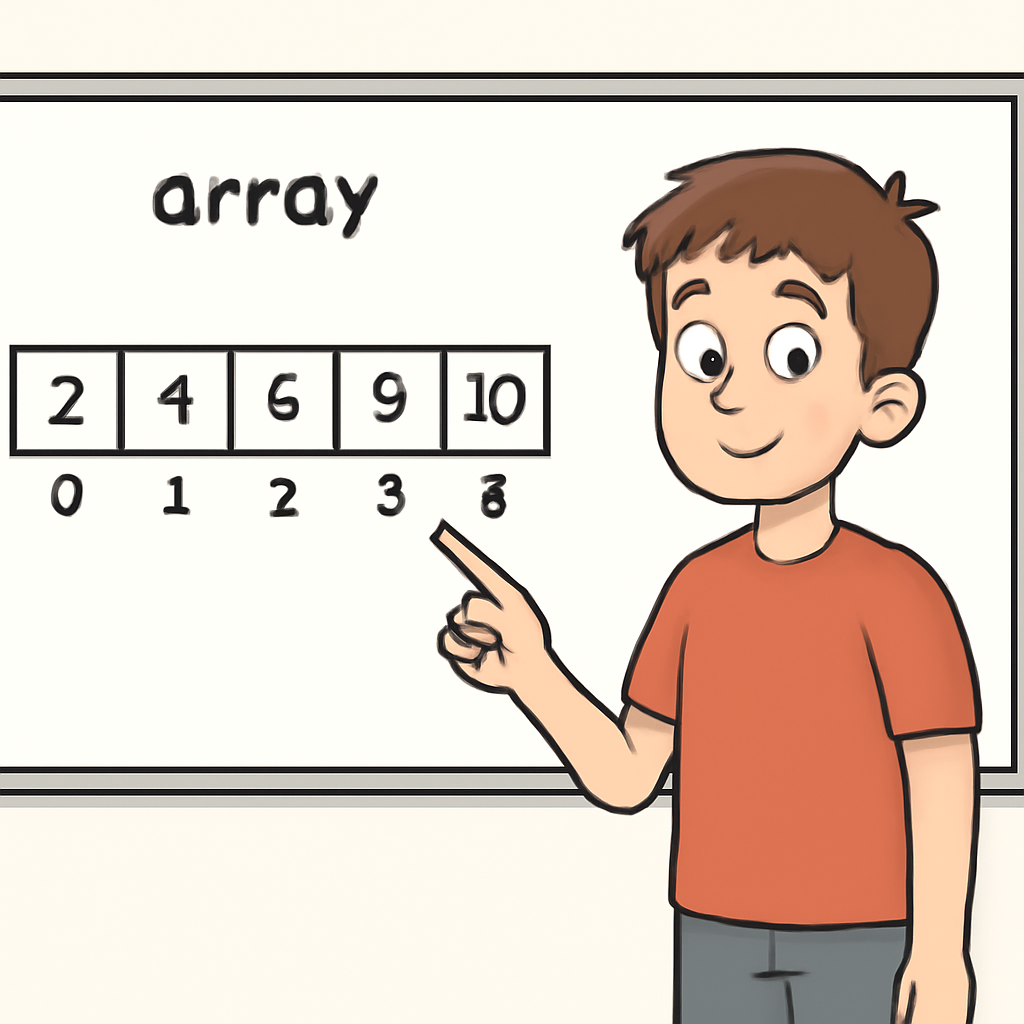
An array is an ordered collection of elements, where each element can be accessed directly by its position or index (starting from 0). Arrays are efficient for quick access to items if you know their position, but in some programming languages, their size is fixed when created, meaning you can't easily add or remove elements without creating a new array.
A list, on the other hand, is also an ordered collection, but it is typically more flexible. Lists can grow or shrink dynamically as you add or remove items. There are different types of lists, such as linked lists, which connect elements like a chain, making insertions and deletions easier without shifting other elements.
The key differences: Arrays offer fast access by index but may have fixed sizes, while lists provide easier modifications but might be slower for random access depending on the implementation.
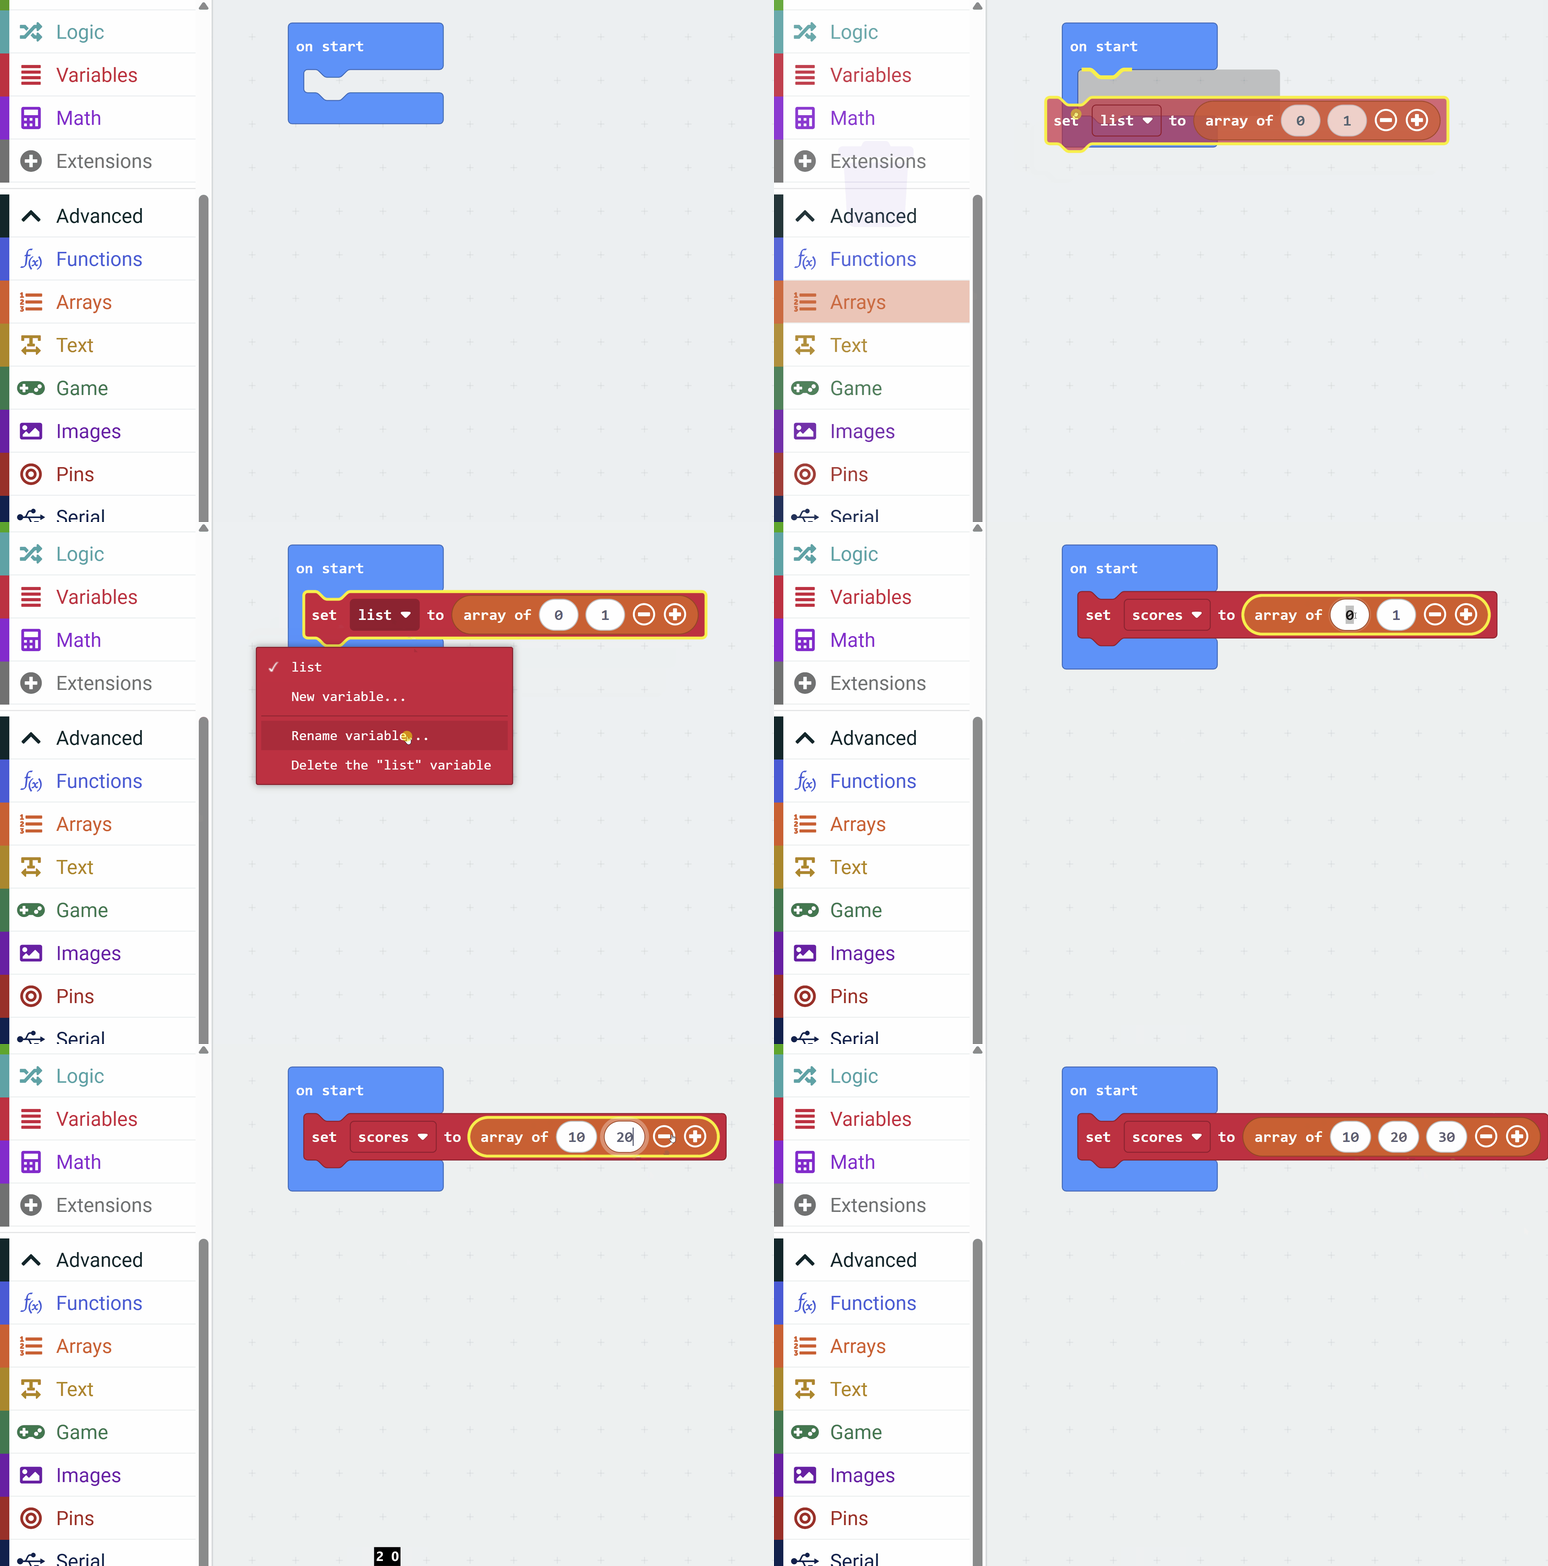
In this step, you will create a simple array in MakeCode for micro:bit. This array will store a list of numbers, which we'll use as game scores. We'll initialize it with a few values and display the number of scores to verify it's working.
Go to makecode.microbit.org and start a new project.
The purpose of this code is to declare an array called 'scores', add initial values, and show how many items are in the array using the micro:bit display.
Add the following code:
let scores: number[] = [10, 20, 30]
basic.showNumber(scores.length)
Now lets build on the array you created in the previous step by adding functionality to add new scores dynamically. We'll use the micro:bit's button A to add a new score to the array and update the display to show the new length.
The purpose of this code is to demonstrate how to add elements to an array using the push method, which appends a new item to the end of the array.
Add the following new code:
let scores: number[] = [10, 20, 30]
basic.showNumber(scores.length)
input.onButtonPressed(Button.A, function () {
    scores.push(40)
    basic.showNumber(scores.length)
})(array) add value (40) to end, increasing the length, and then displays the new length (4). 
