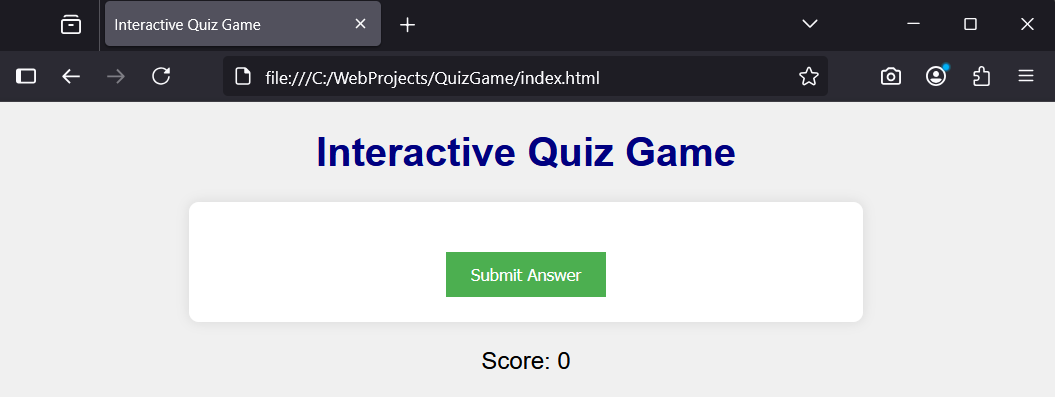
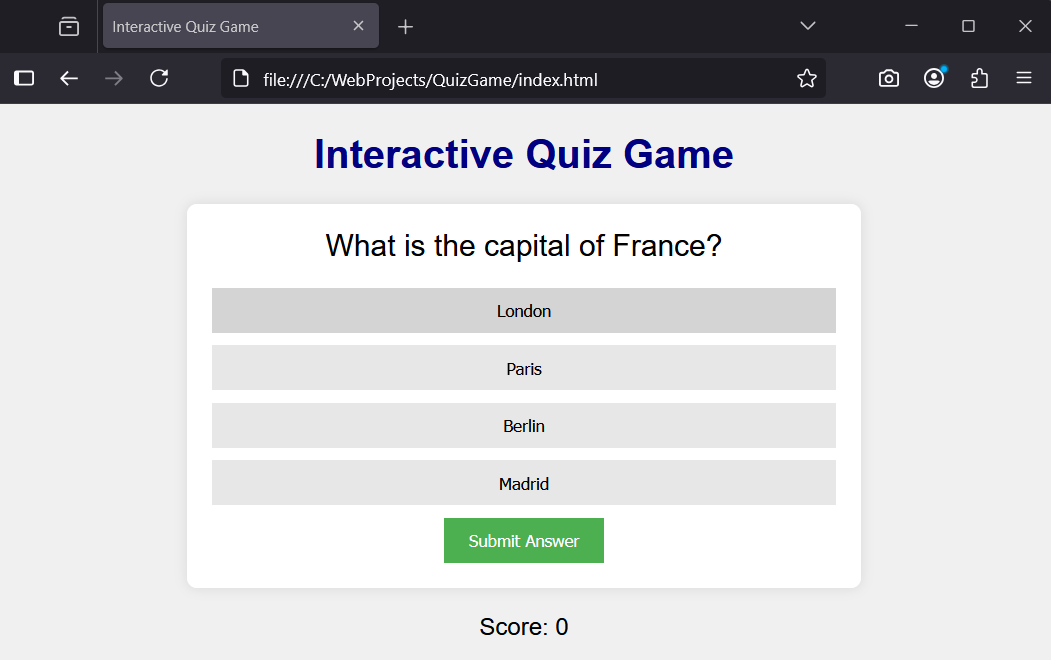
 In this lesson, you'll create your own Interactive Quiz Game using HTML, CSS, JavaScript, and jQuery.
You'll build a quiz with multiple-choice questions, check answers, display scores, and challenge yourself by adding a timer. By the end, you'll have a fully functional quiz game that you can expand further.
First, create a new workspace for this lesson in VS Code.
Open VS Code and follow these steps:
File' > 'Open Folder'.QuizGame' in your Documents folder.Now, create the basic HTML structure for your quiz game, including a section for questions, options, score display, and buttons. We'll also include jQuery via CDN for easier DOM manipulation.
Create a new file called index.html and add the following code to it:
<!DOCTYPE html>
<html lang="en">
<head>
    <meta charset="UTF-8">
    <meta name="viewport" content="width=device-width, initial-scale=1.0">
    <title>Interactive Quiz Game</title>
    <link rel="stylesheet" href="css/styles.css">
    <script src="https://code.jquery.com/jquery-3.6.0.min.js"></script>
</head>
<body>
    <h1>Interactive Quiz Game</h1>
    <div id="quiz">
        <div id="question"></div>
        <div id="options"></div>
        <button id="submit">Submit Answer</button>
    </div>
    <div id="score">Score: 0</div>
    <script src="js/script.js"></script>
</body>
</html>To make your quiz look appealing, add some CSS styles.
Create a new css folder and add a styles.css file to it. Then add the following code to styles.css:
body {
    font-family: Arial, sans-serif;
    text-align: center;
    background-color: #f0f0f0;
}

h1 {
    color: navy;
}

#quiz {
    margin: 20px auto;
    width: 60%;
    background-color: white;
    padding: 20px;
    border-radius: 8px;
    box-shadow: 0 0 10px rgba(0,0,0,0.1);
}

#question {
    font-size: 1.5em;
    margin-bottom: 20px;
}

#options button {
    display: block;
    width: 100%;
    padding: 10px;
    margin: 10px 0;
    background-color: #e7e7e7;
    border: none;
    cursor: pointer;
}

#options button:hover {
    background-color: #d4d4d4;
}

.selected{
    color: #2dd00c;
}

#submit {
    padding: 10px 20px;
    background-color: #4CAF50;
    color: white;
    border: none;
    cursor: pointer;
}

#submit:hover {
    background-color: #45a049;
}

#score {
    font-size: 1.2em;
    margin-top: 20px;
}Create a new js folder and add a script.js file to it. We'll start by defining the quiz questions and basic variables using JavaScript.
Add the following complete JavaScript code to script.js:
$(document).ready(function() {
    const quizData = [
        {
            question: "What is the capital of France?",
            options: ["London", "Paris", "Berlin", "Madrid"],
            answer: "Paris"
        },
        {
            question: "What is 2 + 2?",
            options: ["3", "4", "5", "6"],
            answer: "4"
        },
        {
            question: "What colour is the sky on a clear day?",
            options: ["Blue", "Green", "Red", "Yellow"],
            answer: "Blue"
        }
    ];

    let currentQuestion = 0;
    let score = 0;

    function loadQuestion() {
        const q = quizData[currentQuestion];
        $('#question').text(q.question);
        $('#options').empty();
        q.options.forEach(function(option, index) {
            $('#options').append('<button class="option" data-index="' + index + '">' + option + '</button>');
        });
    }

    loadQuestion();
});


