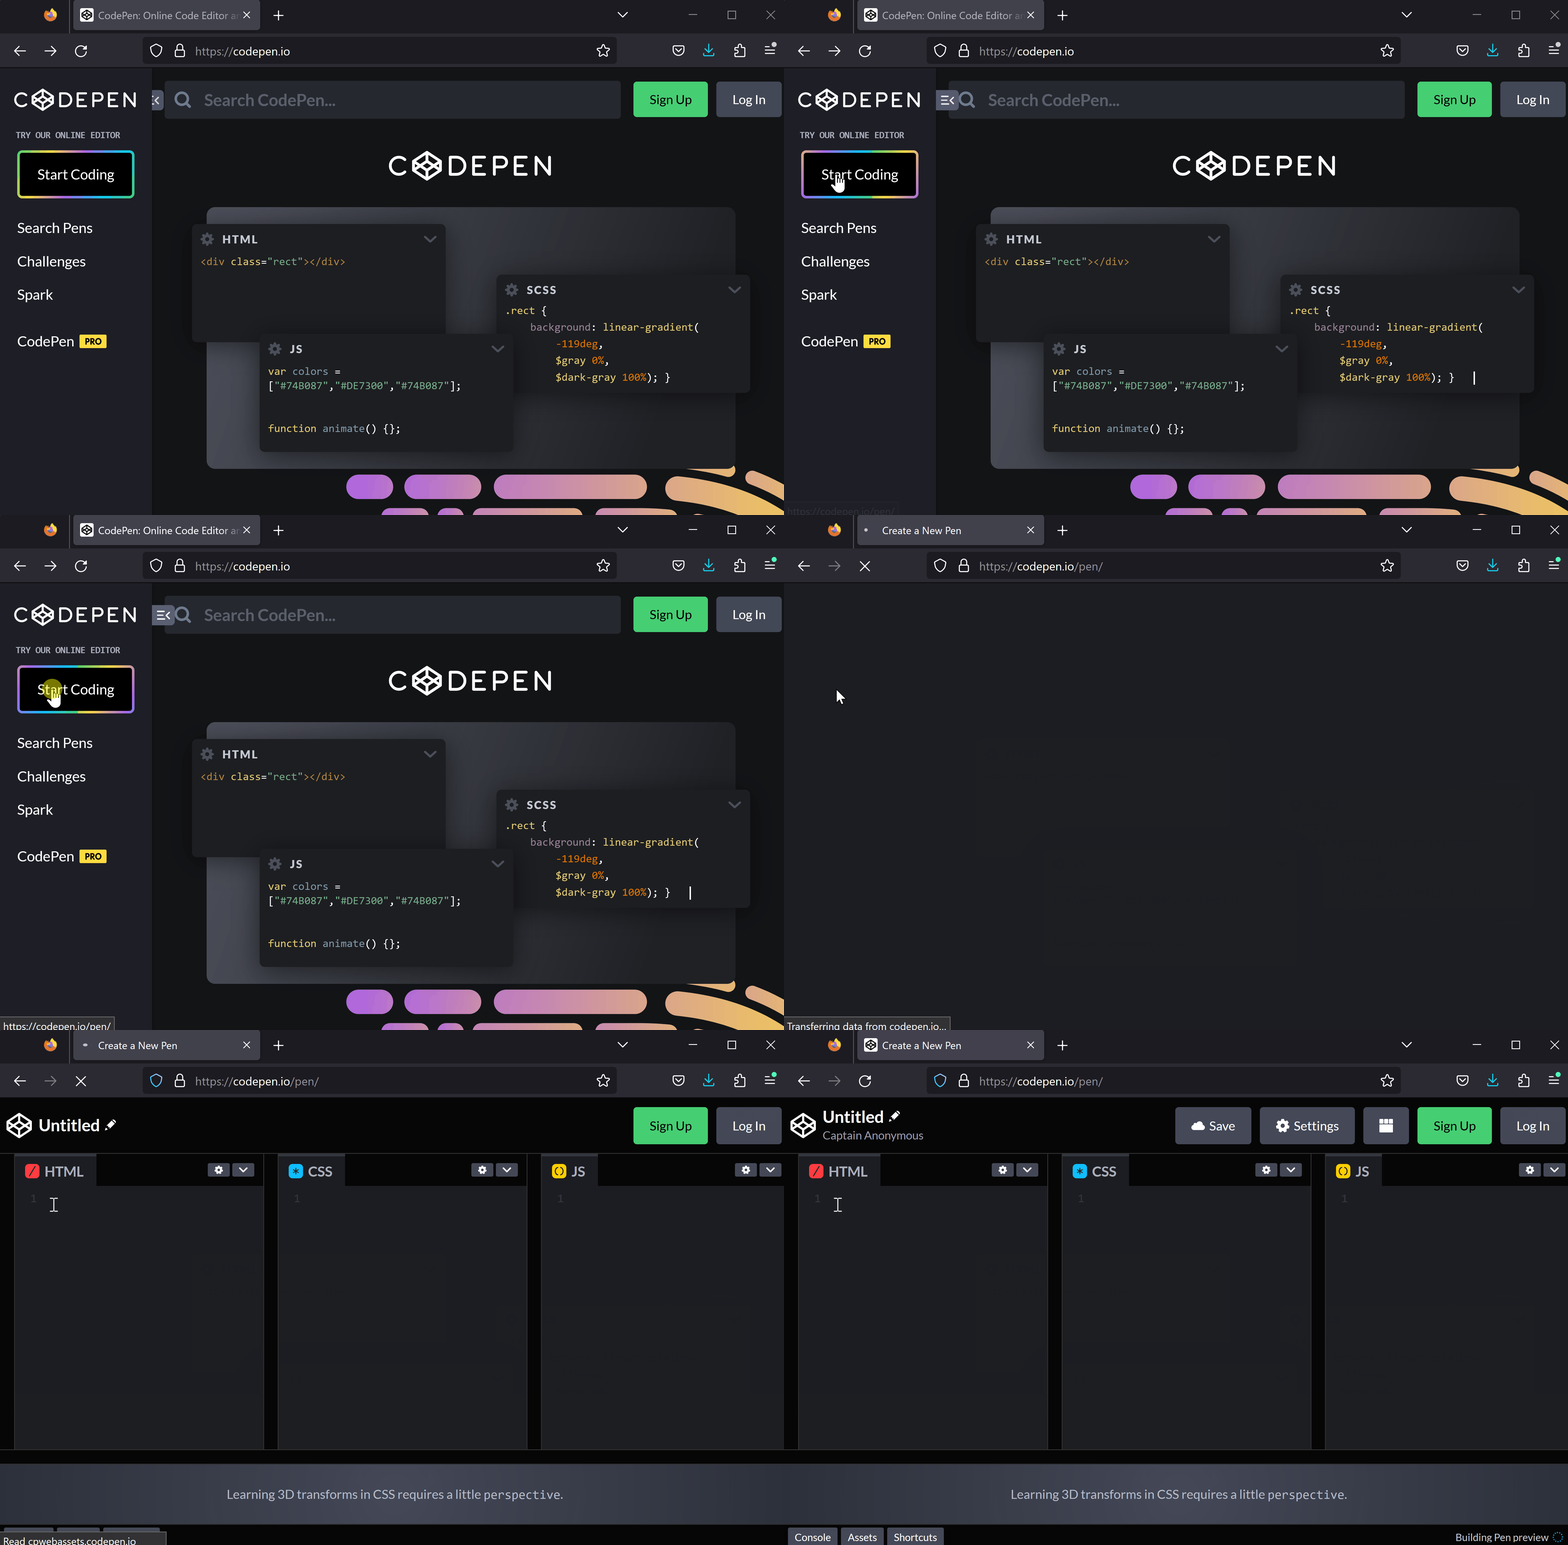
First, open CodePen by visiting https://codepen.io and create a new project.
To create a new project or 'pen' in CodePen, open the website codepen.io and:
In this step, we will add the HTML structure for our Interactive Quiz Game. Add the following HTML code to the HTML section of your CodePen:
<h1>Interactive Quiz Game</h1>
<div id='quiz'></div>
<div id='result'></div>
<div id='score'></div>
Here's a brief explanation of each element:
<h1>Interactive Quiz Game</h1>: This is the main heading of our quiz game.<div id='quiz'></div>: This div will contain the questions and answer options for our quiz.<div id='result'></div>: This div will display the result of the user's answer, whether it's correct or incorrect.<div id='score'></div>: This div will show the user's score when they complete the quiz.Now let's add some styling to our HTML elements to make them look better.
Add the following CSS code to the CSS section of your CodePen:
body {
  font-family: Arial, sans-serif;
  background-color: #f0f0f0;
  padding: 20px;
}

h1 {
  text-align: center;
}

#quiz {
  background-color: #fff;
  padding: 20px;
  border-radius: 5px;
}

#next {
  display: block;
  margin: 20px auto;
  background-color: #007bff;
  border: none;
  color: #fff;
  padding: 10px 20px;
  border-radius: 5px;
  cursor: pointer;
}

#next:hover {
  background-color: #0056b3;
}

#results {
  text-align: center;
  font-size: 24px;
  font-weight: bold;
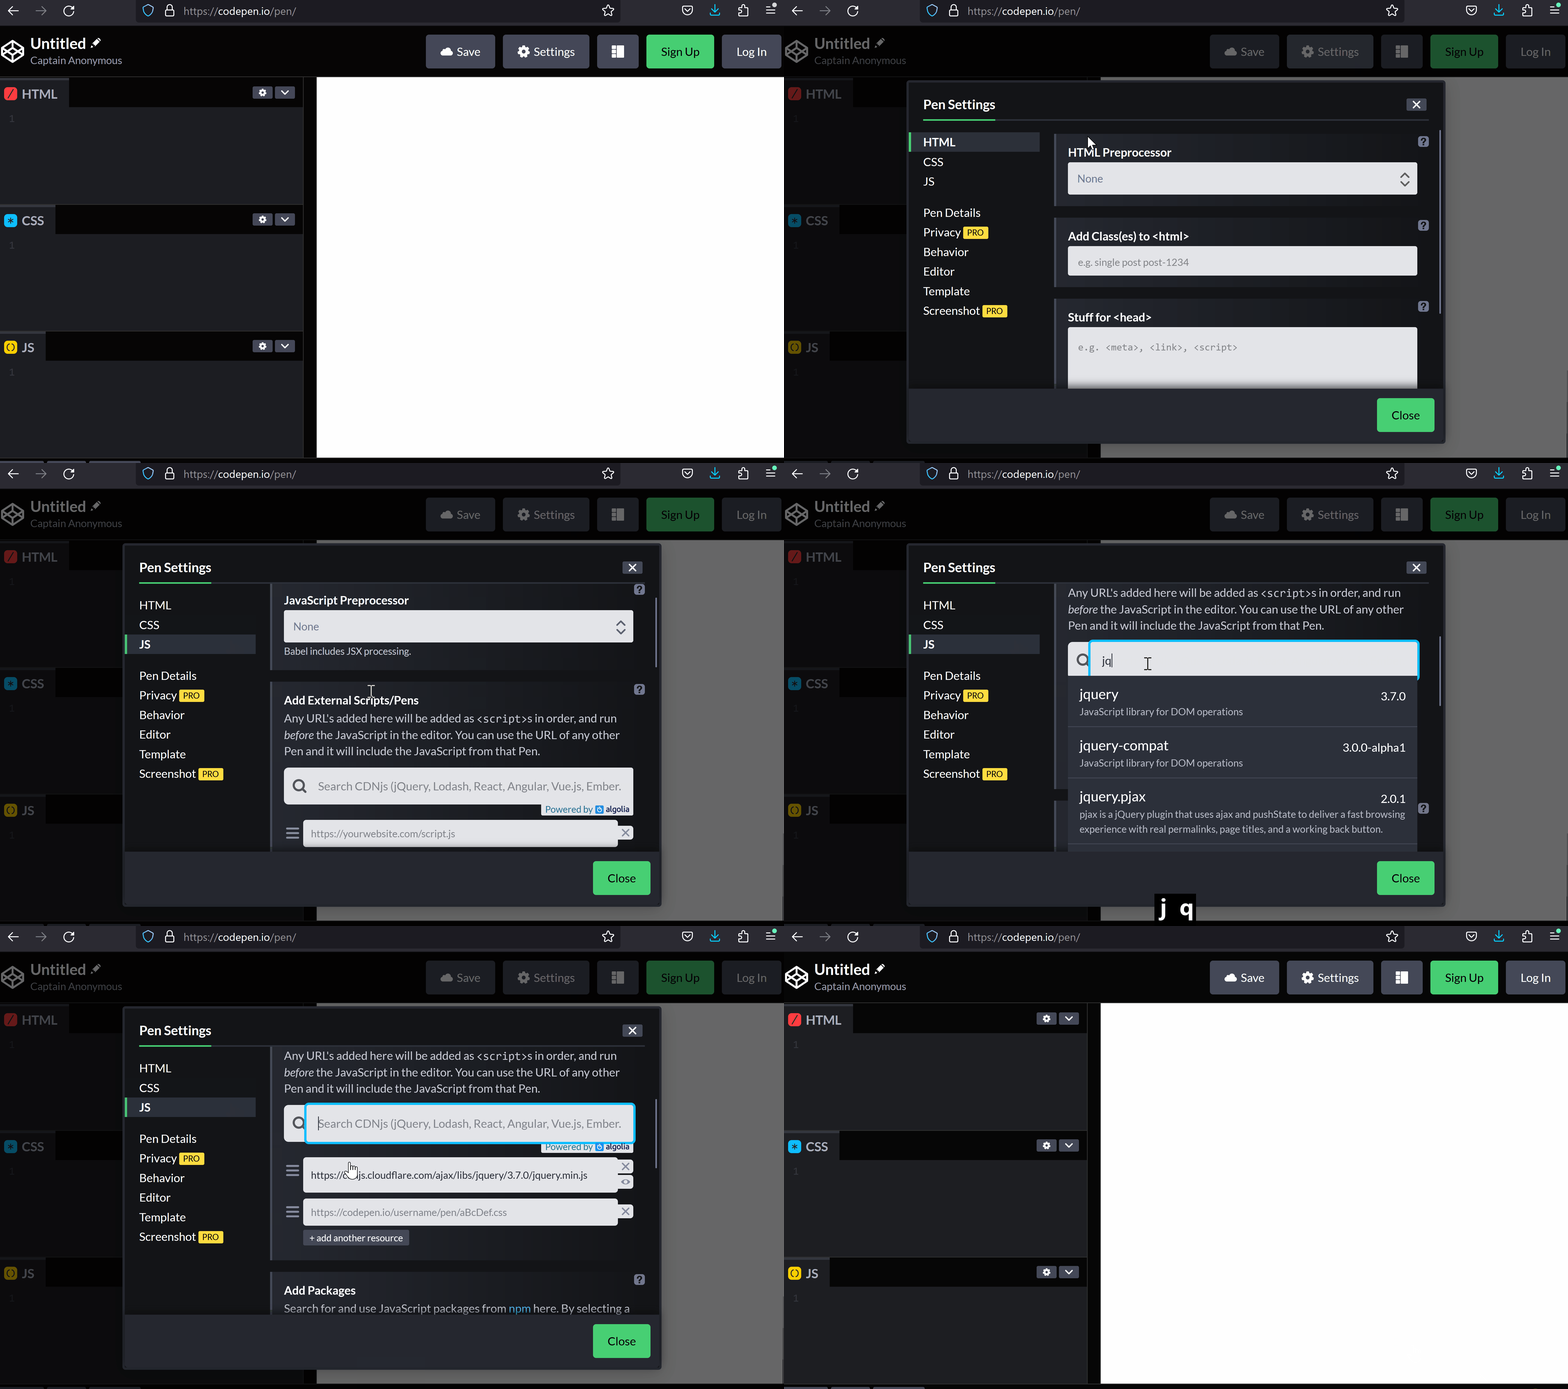
}Now, add the jQuery library to your project so you can use its features in your JavaScript code.
To add a JavaScript library to your CodePen project, follow these steps:
In this step, we will create an array of question objects. Each object contains a question, an array of possible answers, and the correct answer. This array will be used to load questions and answers dynamically in our quiz game.
Let's understand the syntax of the JavaScript array:
const is used to declare a constant variable, which means its value cannot be changed later.questions is the name of the array.{}.question, answers, and correctAnswer.answers property is an array itself, containing the possible answer choices.Add the following JavaScript code to the JavaScript section:
const questions = [
  {
    question: 'What is the capital of France?',
    answers: ['Paris', 'Berlin', 'Madrid', 'London'],
    correctAnswer: 'Paris'
  },
  {
    question: 'What is the square root of 81?',
    answers: ['9', '8', '7', '6'],
    correctAnswer: '9'
  },
  {
    question: 'What is the capital of Australia?',
    answers: ['Canberra', 'Sydney', 'Adelaide', 'Brisbane'],
    correctAnswer: 'Canberra'
  }
];
Feel free to create your own sets of questions and answers!

