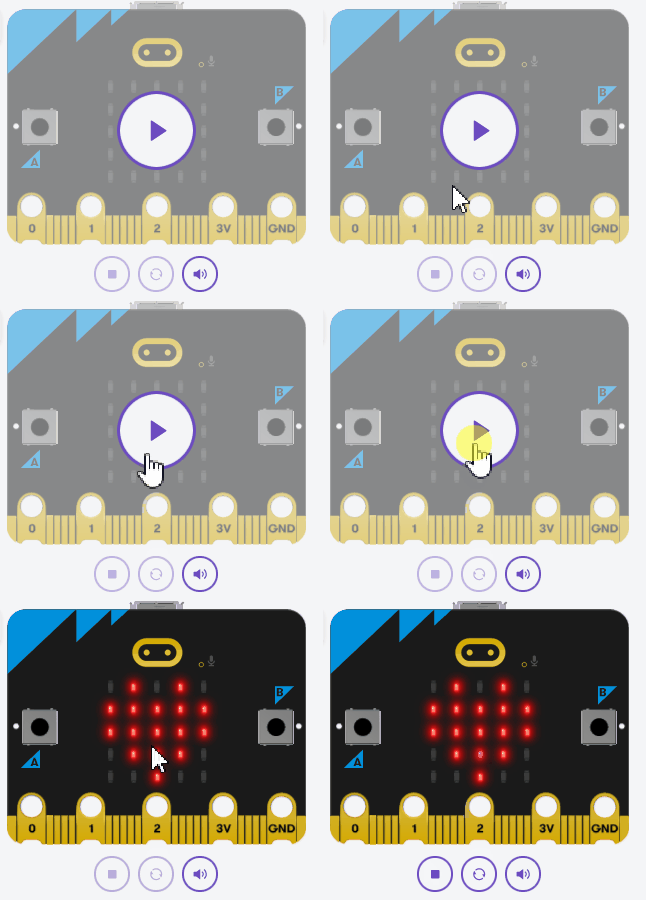
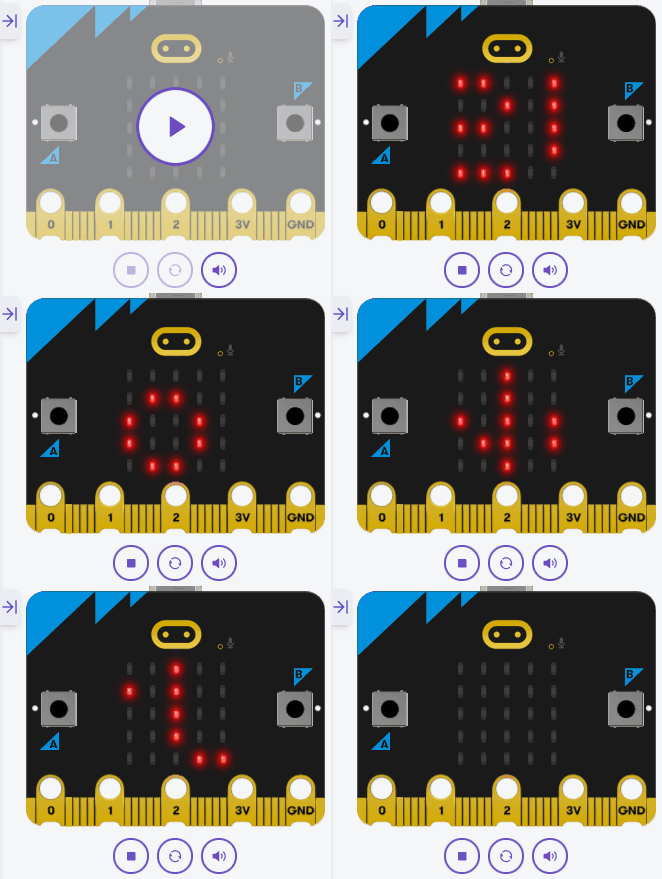
Python is a widely-used programming language known for its simplicity and readability. It was created by Guido van Rossum and first released in 1991. Python has become one of the most popular programming languages in the world, used in various fields such as web development, data analysis, artificial intelligence, and more.
Python has a large community of developers, which means you'll find plenty of resources and support as you learn. With Python, you can build websites, create games, analyse data, and even program robots.
In this lesson, you will learn the basics of Python and get familiar with the Micro:bit Python editor.
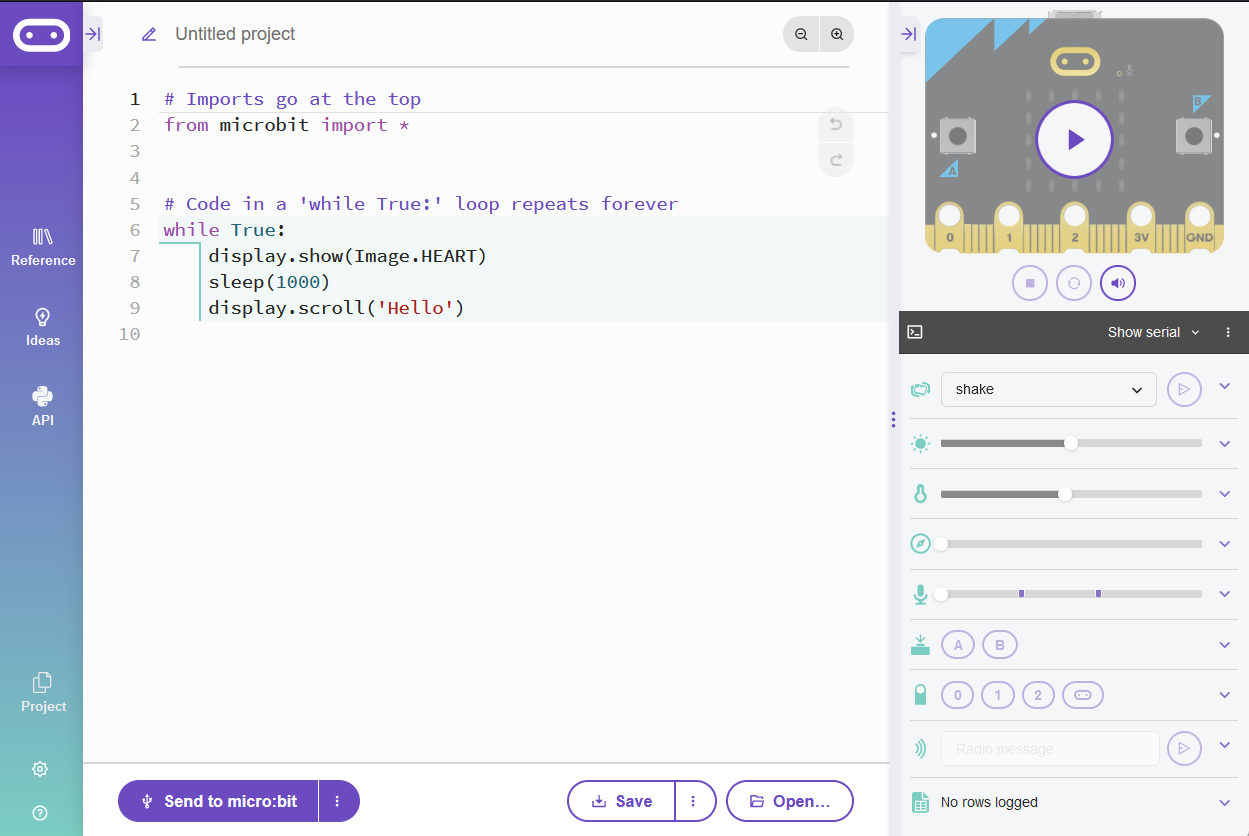
Let's start off by opening the the Micro:bit Python editor at the URL python.microbit.org. This will open up a new browser tab and show the Python code editor where you will write and test your Python code throughout this course.
When you start a new project, you might see some default code like this:
# Imports go at the top
from microbit import *

# Code in a 'while True:' loop repeats forever
while True:
    display.show(Image.HEART)
    sleep(1000)
    display.scroll('Hello')
Keep the first line of the code, which is:
from microbit import *This line is important because it imports all the necessary functions and classes from the Micro:bit library, allowing you to use them in your code. Without this line, you won't be able to access the Micro:bit's features like the display or buttons.
To create a new Python project for a Microbit, open the website python.microbit.org.
This will open the code editor with a new project. It might have some example code already added such as:
# Imports go at the top
from microbit import *

# Code in a 'while True:' loop repeats forever
while True:
    display.show(Image.HEART)
    sleep(1000)
    display.scroll('Hello')
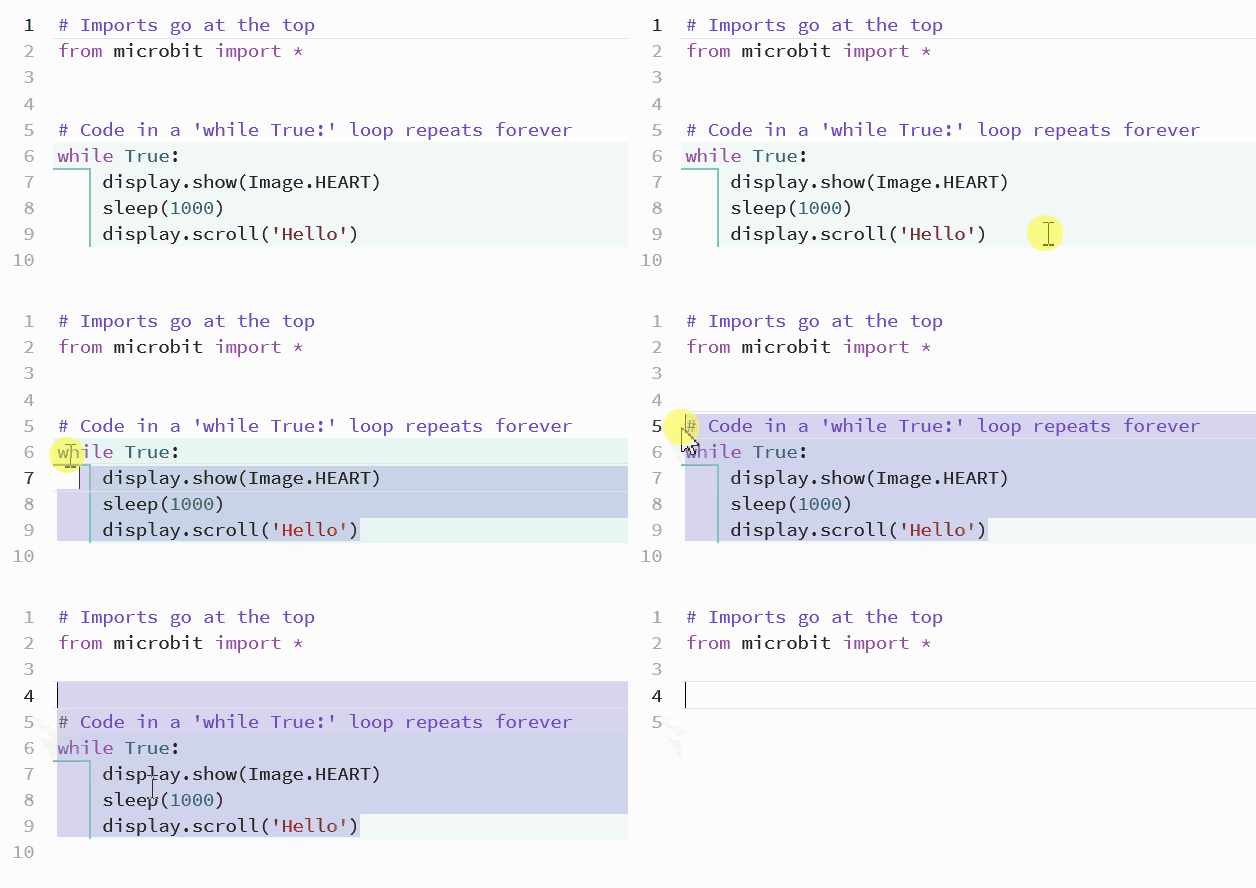
You should delete this code except for the import line that you will need. This imports the necessary libraries you will need to code a microbit.
# Imports go at the top
from microbit import *Python has a simple syntax that makes it easy to read and write.
One key feature is that Python uses indentation to define code blocks. Each level of indentation is represented by 4 spaces or a tab. This is different from other languages, such as JavaScript, that might use curly braces {}. Proper indentation is crucial because it tells Python which lines of code belong together.
Here's an example:
x = 5

if x > 0:
    display.scroll("x is positive")  # this line is indented

y = -3  # this line is NOT indented

if y < 0:
    display.scroll("y is negative")
Notice how the display.scroll statements are indented to show that they're inside the if blocks. The next lines of code after the first if block are not indented, indicating that they are not inside the first if block.
For comparison, here is what this code would look like in JavaScript, using curly braces to define the code blocks:
let x = 5;

if (x > 0) {
    console.log("x is positive");  // this line is inside the block
}

let y = -3;  // this line is outside

if (y < 0) {
    console.log("y is negative");
}
Notice how the curly braces {} enclose the code that belongs to each if statement, unlike Python's indentation.
Comments are an essential part of any programming language. They allow you to add notes and explanations to your code without affecting how the code runs. In Python, you can create comments using the # symbol. Any text after the # symbol on the same line will be considered a comment and ignored by the Python interpreter.
When we say 'ignored by the interpreter', it means that the Python interpreter, which reads and executes your code, will not consider the text after the # symbol as part of the code. It will treat it as a note or explanation, and it won't affect the execution of your program.
Here's an example:
# This is a comment
display.scroll("Hello, World!")  # This is an inline comment
Practise by adding some comments to a blank script in your editor. For example, write a comment describing what you think the code will do, even if there's no code yet.
Now, let's write your first Python program, the classic 'Hello, World!'. In the Micro:bit Python editor, type the following code:
from microbit import *

display.scroll("Hello, World!")To run your code in the python.microbit.org code editor, click on the Play button in the microbit simulator.
