HTML JavaScript CSS Computer Science
Intermediate
40 mins
Teacher/Student led
What you need:
Chromebook/Laptop/PC

Dynamic Form Validation with JavaScript

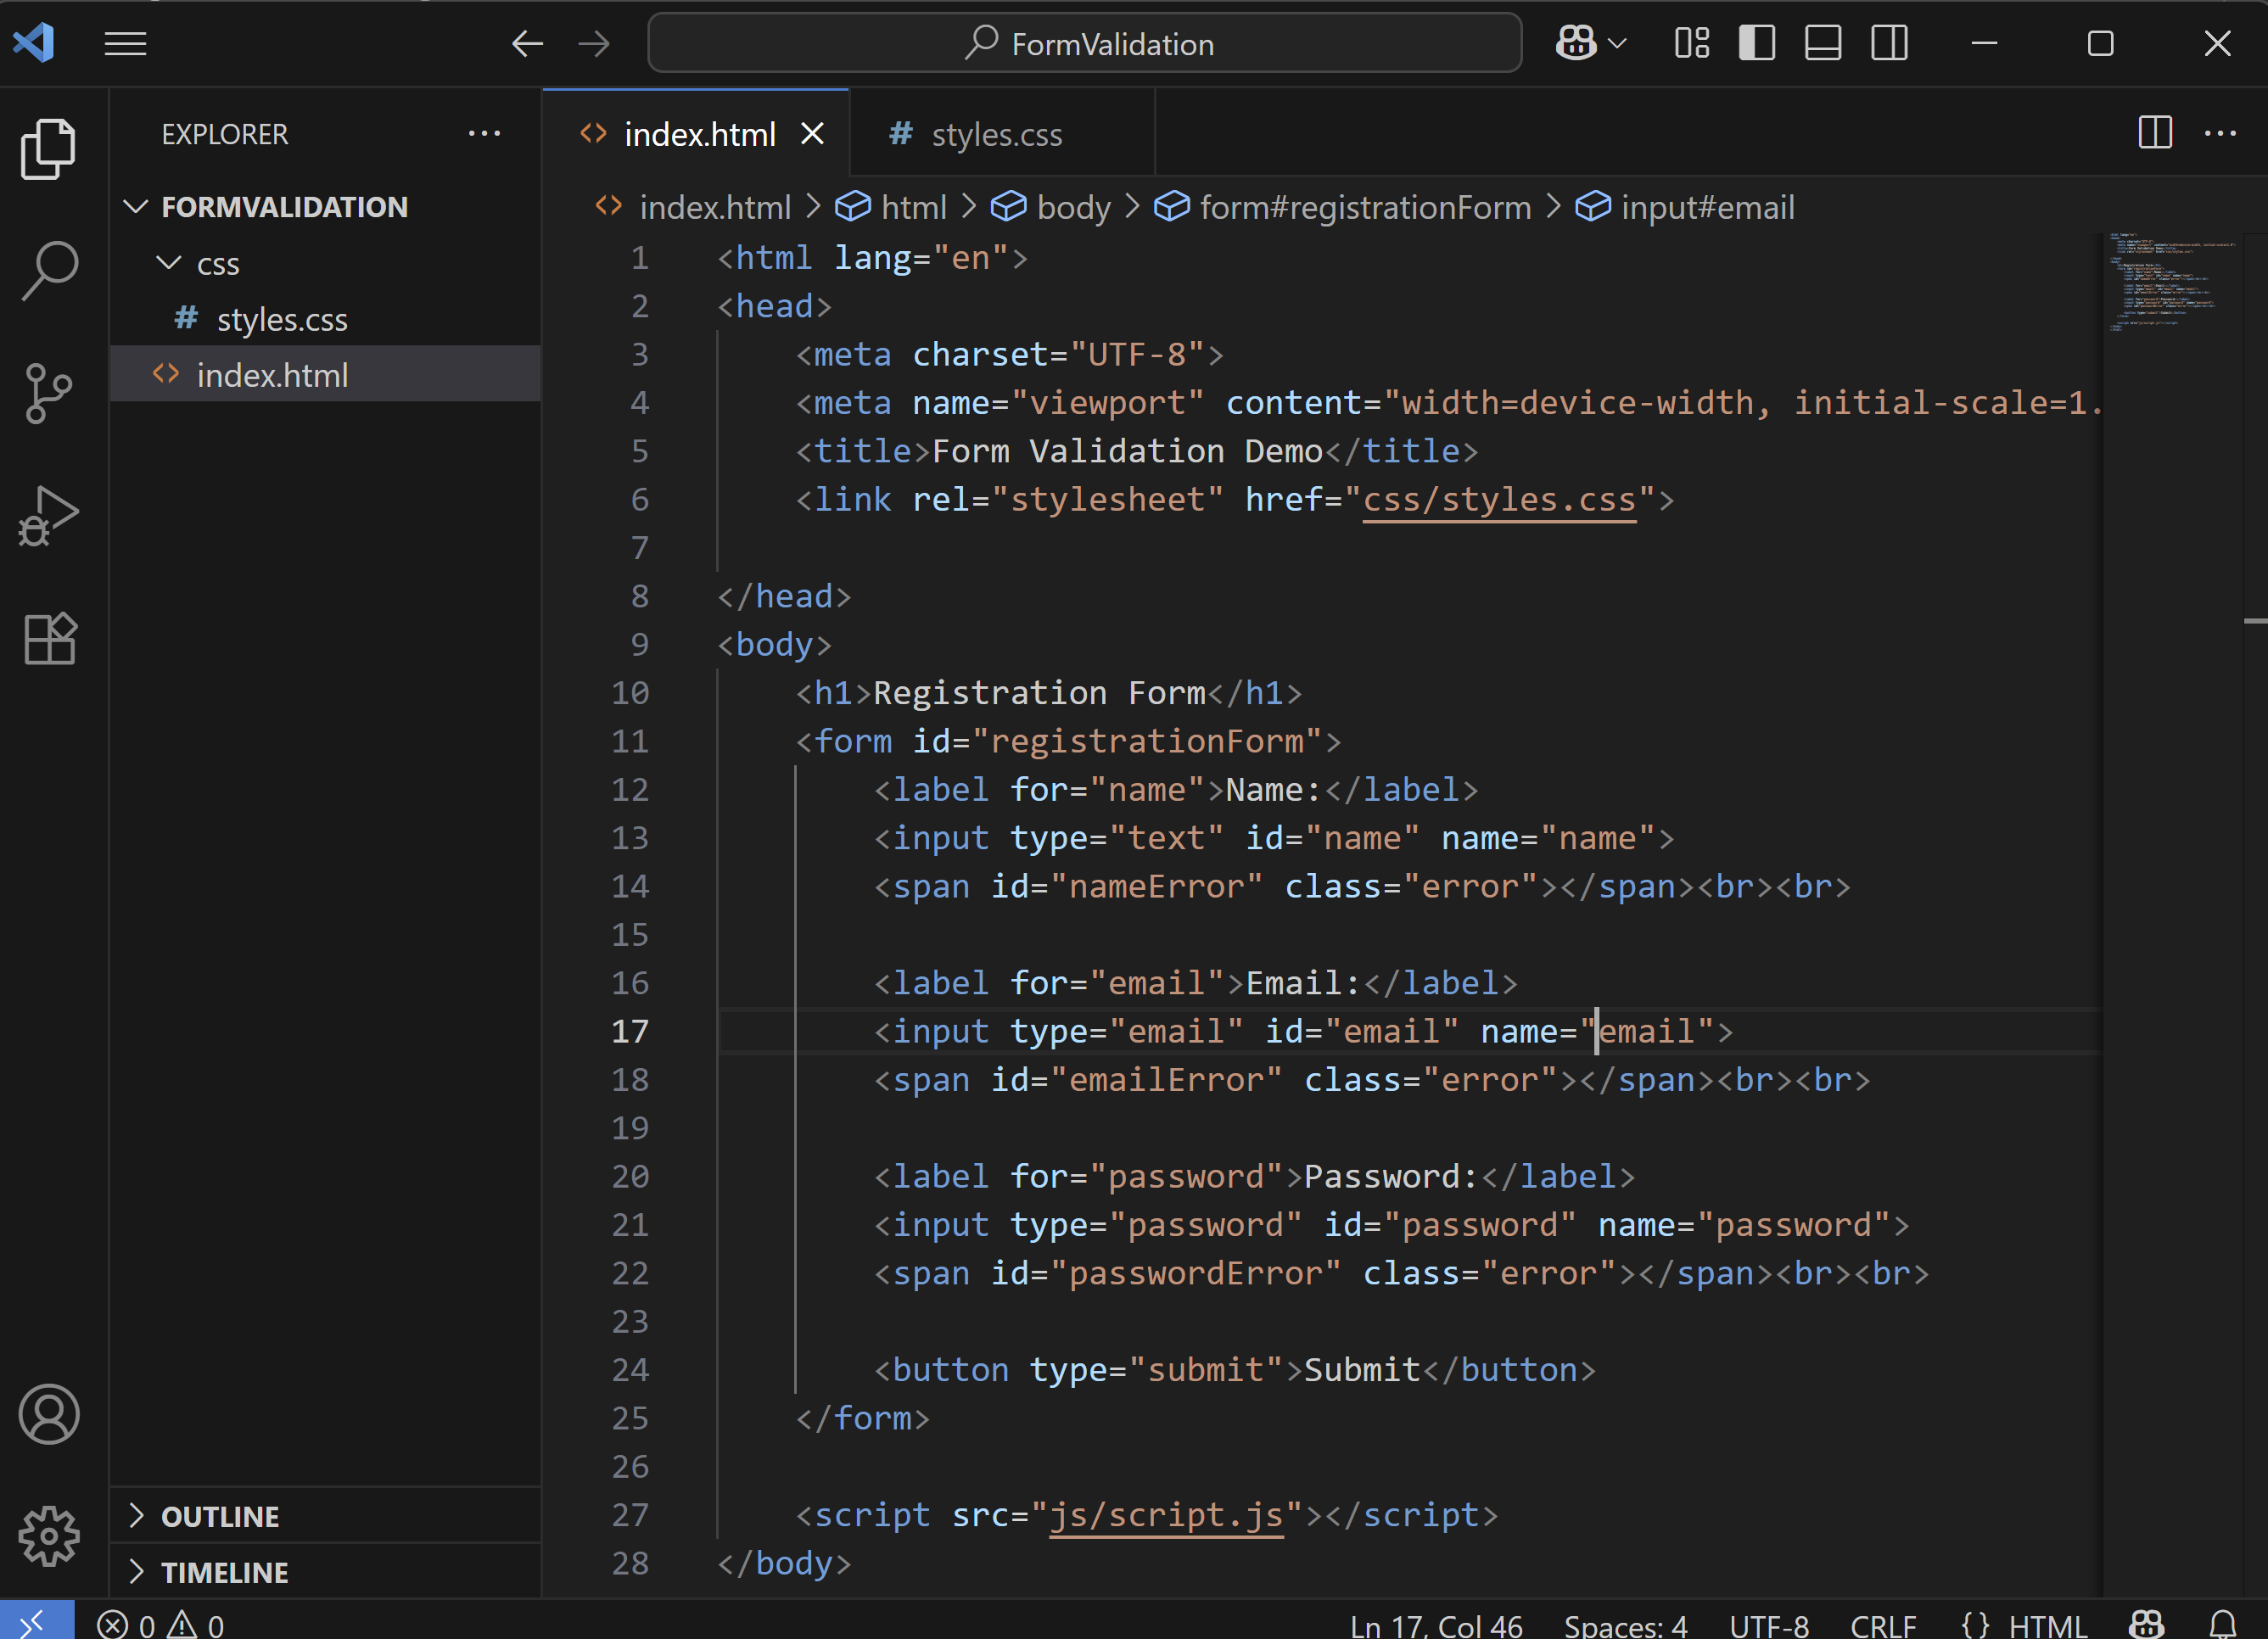
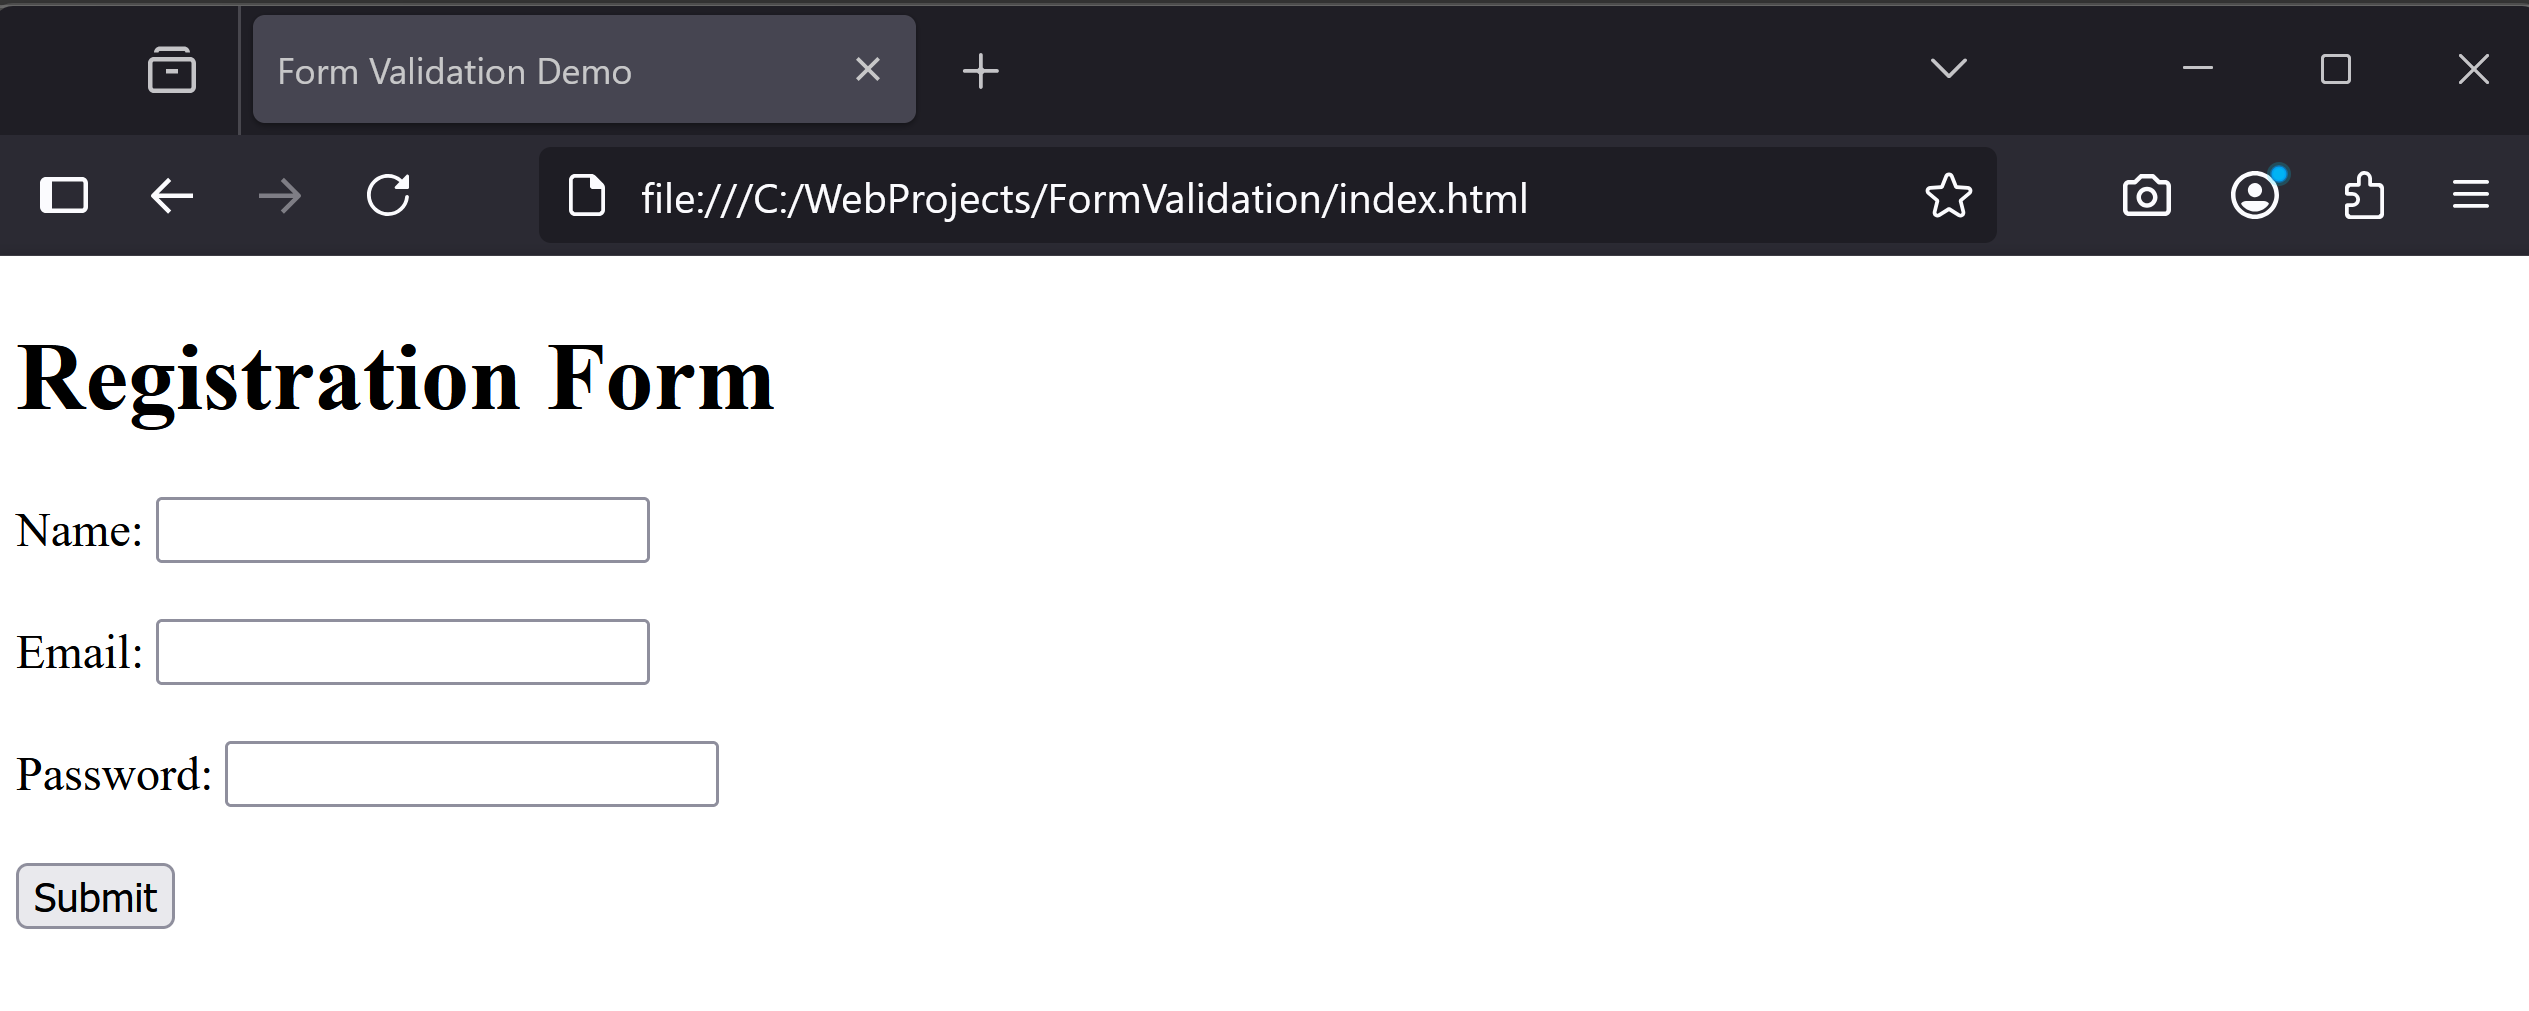
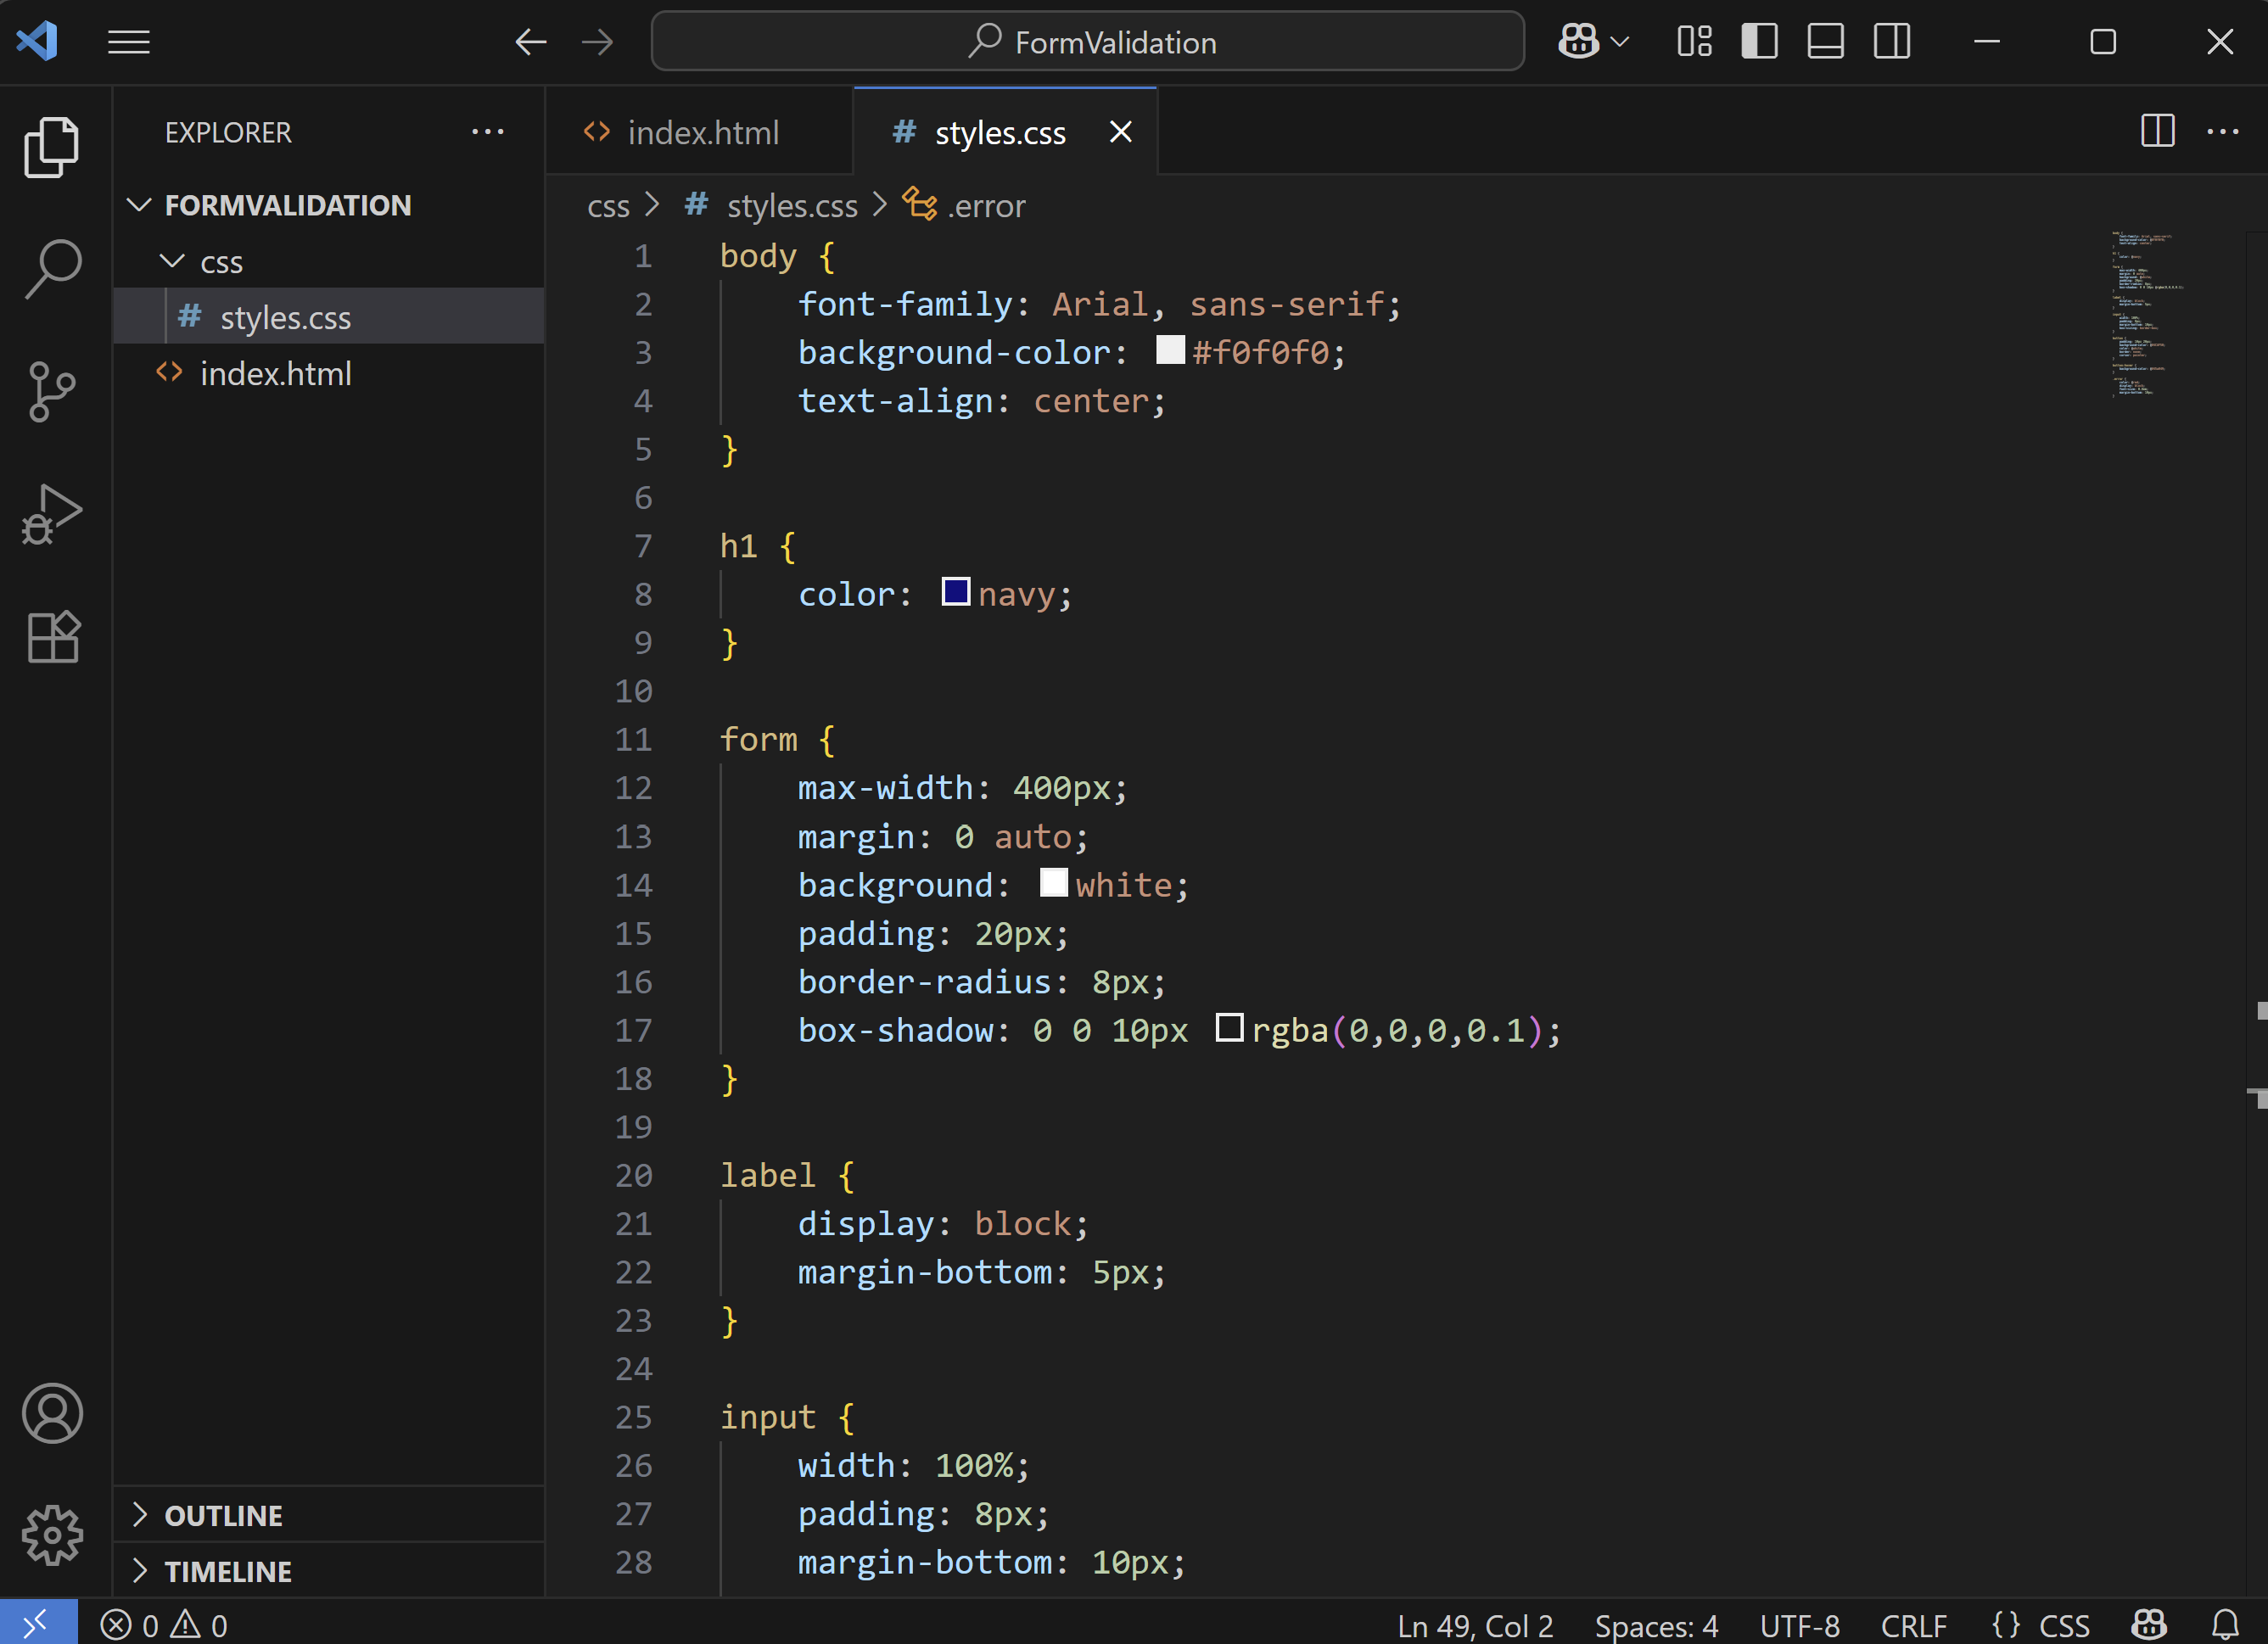
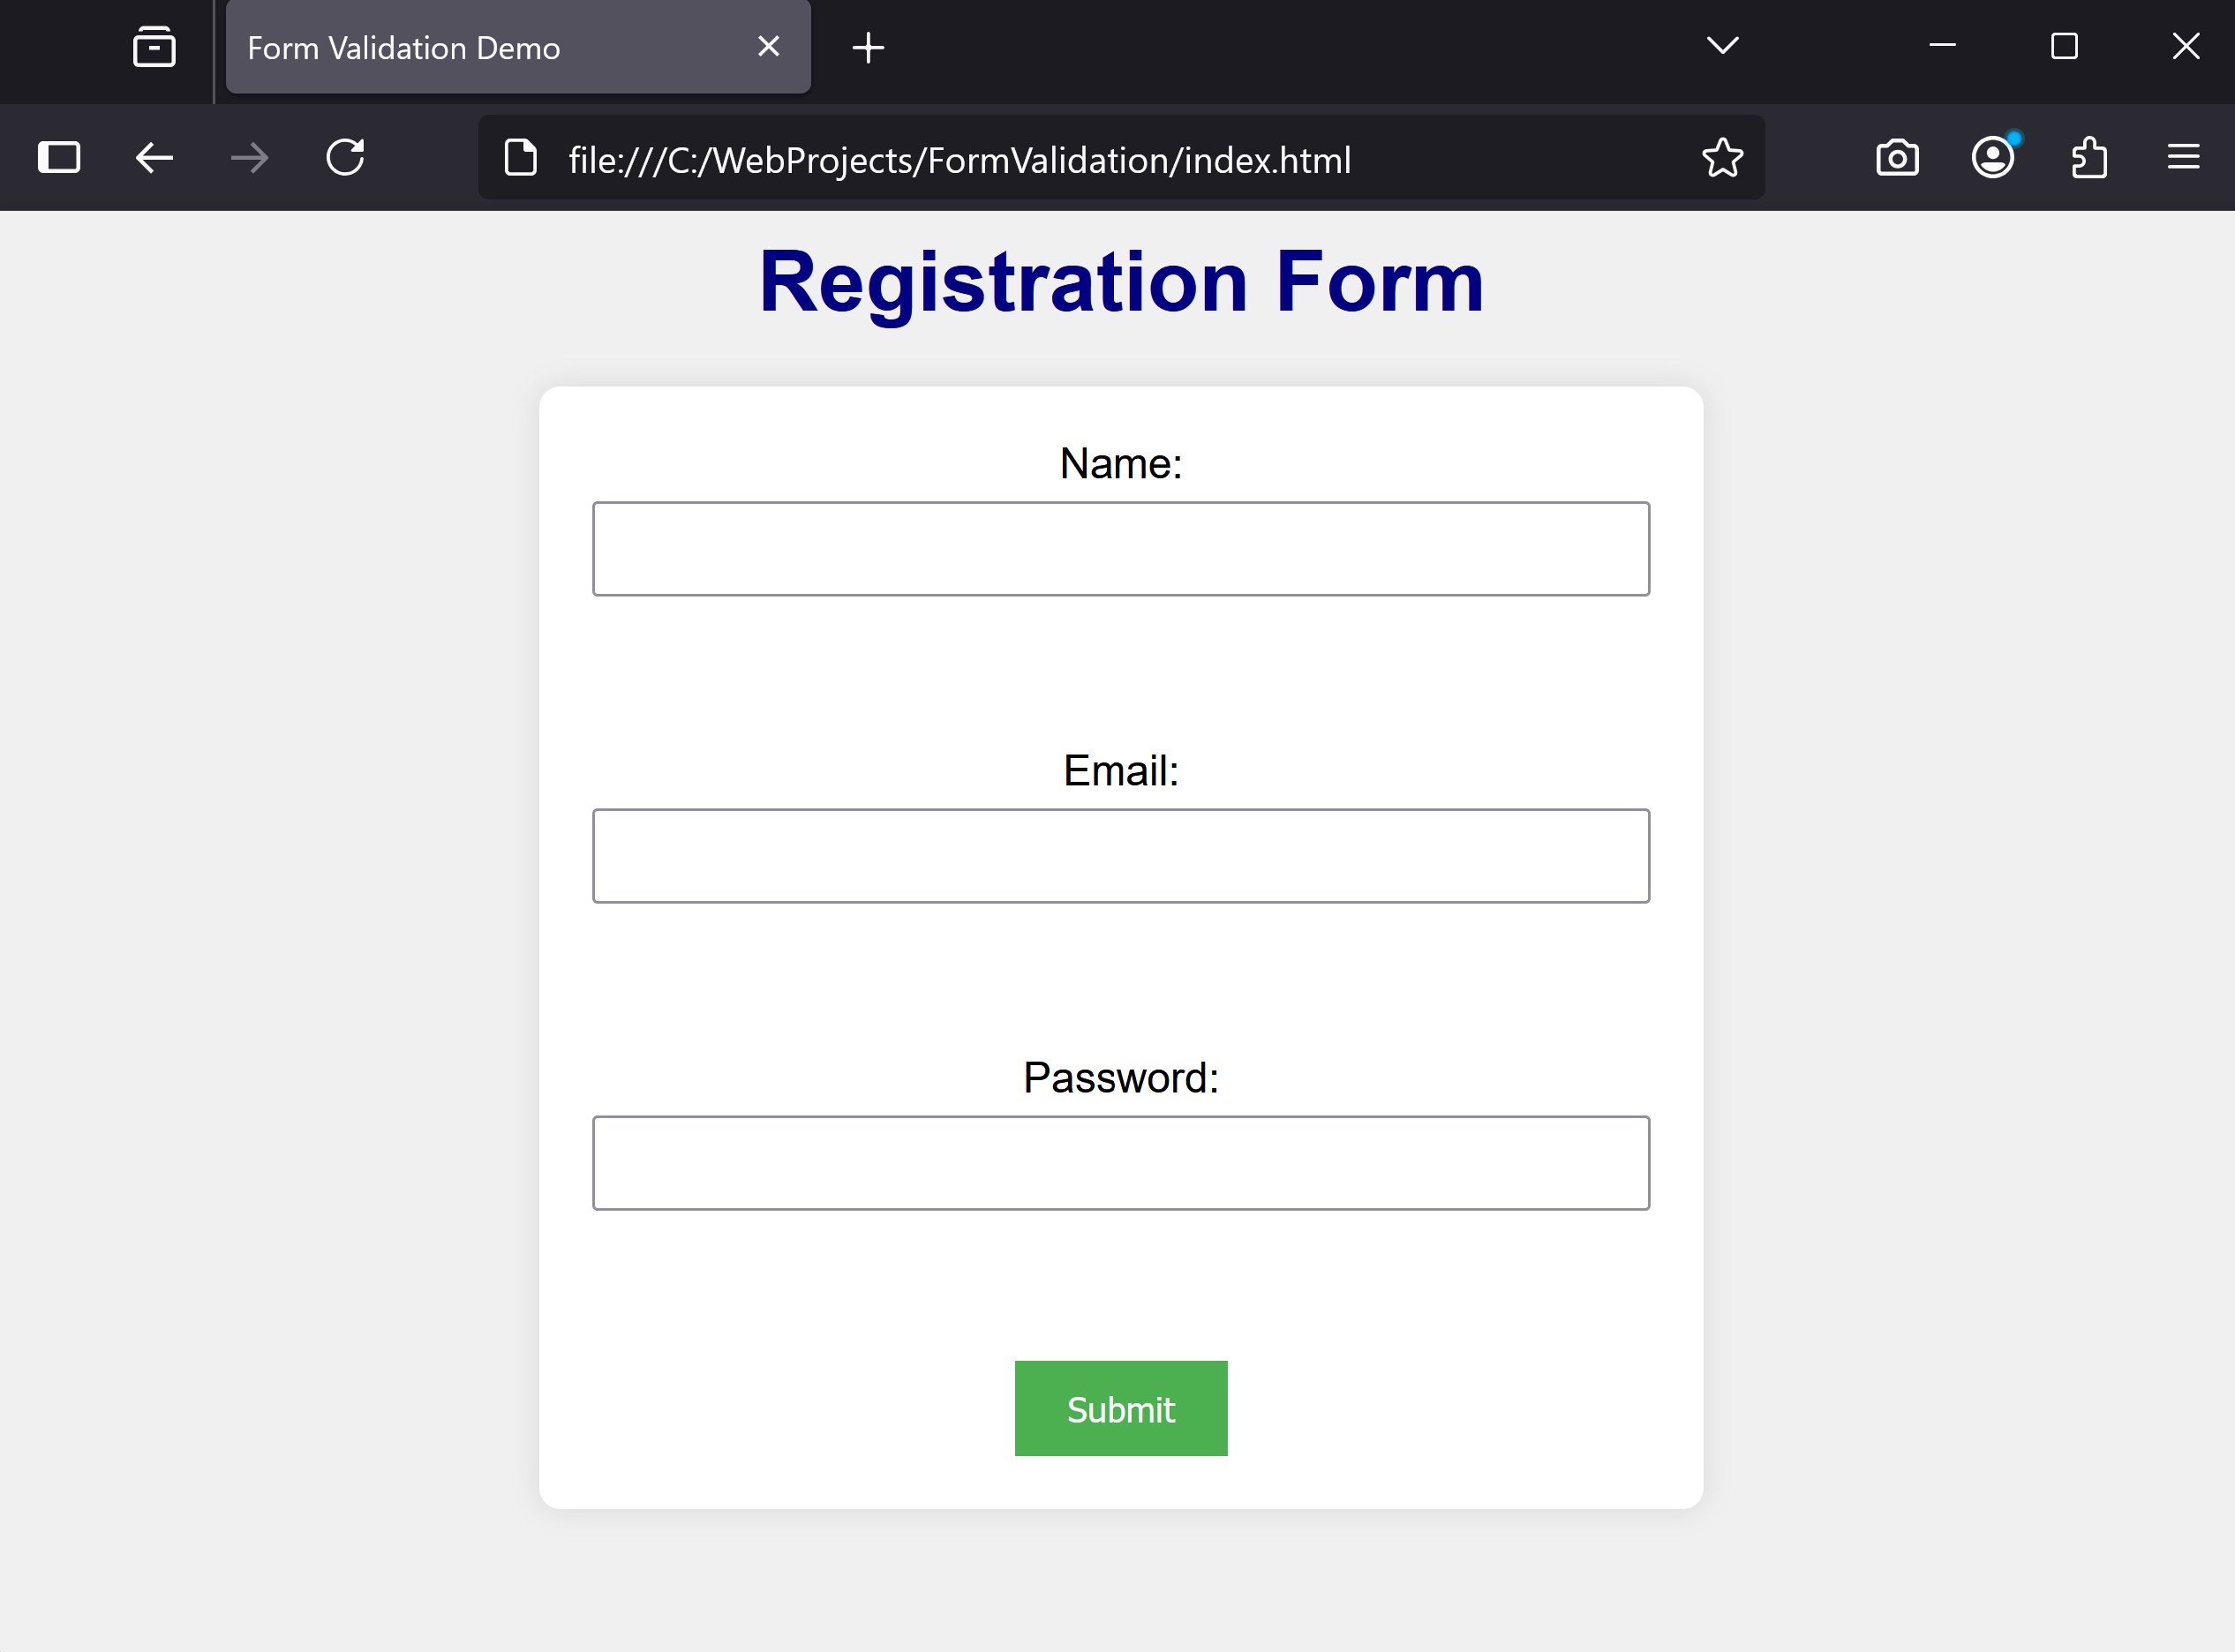
In this lesson, you'll learn to validate forms using JavaScript, ensuring users input correct data. Set up a workspace in VS Code, build a registration form, style it with CSS, and add validation for name, email, and password fields.
Learning Goals Learning Outcomes Teacher Notes

Teacher Class Feed

Load previous activity

    1 - Introduction to Form Validation

    In this lesson, you'll learn how to validate a form using JavaScript. Form validation ensures that users enter correct data before submitting, like checking if an email is valid or a password is strong. This makes web applications more reliable and user-friendly.

    You'll set up a new workspace in VS Code, create a simple registration form in HTML, style it with CSS, and add JavaScript to validate the name, email, and password fields. Finally, you'll test it and tackle a challenge to add an age field with validation.

    2 - Setting Up Your Project Folder

    First, create a new workspace for this lesson in VS Code.

    Open VS Code and follow these steps:

    1. Click 'File' > 'Open Folder'.
    2. Create a new folder on your computer, for example, name it 'FormValidation' in your Documents folder.
    3. Select that folder in VS Code to set it as your workspace.
    You should see the folder name in the Explorer pane on the left. This is where you'll add your files.
    New workspace folder for the project

    3 - Creating the HTML Form

    Now, create the basic HTML structure with a form.

    In VS Code, with your project folder open:

    1. Right-click in the Explorer pane and select 'New File'.
    2. Name it 'index.html'.
    3. The file will open in the editor.

    Add the following complete HTML code to 'index.html':

    <!DOCTYPE html>
    <html lang="en">
    <head>
        <meta charset="UTF-8">
        <meta name="viewport" content="width=device-width, initial-scale=1.0">
        <title>Form Validation Demo</title>
        <link rel="stylesheet" href="css/styles.css">
    </head>
    <body>
        <h1>Registration Form</h1>
        
        <form id="registrationForm">
            <label for="name">Name:</label>
            <input type="text" id="name" name="name">
            <span id="nameError" class="error"></span><br><br>
            
            <label for="email">Email:</label>
            <input type="email" id="email" name="email">
            <span id="emailError" class="error"></span><br><br>
            
            <label for="password">Password:</label>
            <input type="password" id="password" name="password">
            <span id="passwordError" class="error"></span><br><br>
            
            <button type="submit">Submit</button>
        </form>
        
        <script src="js/script.js"></script>
    </body>
    </html>
    Note that we have put in code for a stylesheet and JavaScript file, and added a form tag and inside that we have added 3 form elements; Name, Email and Password fields.

    For each field we have added label, input and span tags. 

    Save the file (Ctrl+S or Cmd+S). This sets up a form with fields for name, email, and password, plus error spans. To view it, double-click 'index.html' in your file explorer to open it in a web browser.

    Index.html file

    4 - Adding CSS for Styling

    To style your form, create a CSS folder and file.

    In VS Code:

    1. Right-click on your project folder in the Explorer pane and select 'New Folder'.
    2. Name it 'css'.
    3. Right-click on the 'css' folder and select 'New File'.
    4. Name it 'styles.css'.

    Add the following complete CSS code to 'styles.css':

    body {
        font-family: Arial, sans-serif;
        background-color: #f0f0f0;
        text-align: center;
    }
    
    h1 {
        color: navy;
    }
    
    form {
        max-width: 400px;
        margin: 0 auto;
        background: white;
        padding: 20px;
        border-radius: 8px;
        box-shadow: 0 0 10px rgba(0,0,0,0.1);
    }
    
    label {
        display: block;
        margin-bottom: 5px;
    }
    
    input {
        width: 100%;
        padding: 8px;
        margin-bottom: 10px;
        box-sizing: border-box;
    }
    
    button {
        padding: 10px 20px;
        background-color: #4CAF50;
        color: white;
        border: none;
        cursor: pointer;
    }
    
    button:hover {
        background-color: #45a049;
    }
    
    .error {
        color: red;
        display: block;
        font-size: 0.8em;
        margin-bottom: 10px;
    }
    Save the file. The HTML already links to this CSS. Refresh your browser to see the styled form.
    New style.css file in the css folder
    Updated form with styles applied

    5 - Adding the JavaScript File

    Next, create a folder for JavaScript and add a script file.

    In VS Code:

    1. Right-click on your project folder in the Explorer pane and select 'New Folder'.
    2. Name it 'js'.
    3. Right-click on the 'js' folder and select 'New File'.
    4. Name it 'script.js'.

    For now, leave 'script.js' empty.

    Your project is now set up with HTML, CSS, and JS linked.
    Script.js file in the js folder

    Unlock the Full Learning Experience

    Get ready to embark on an incredible learning journey! Get access to this lesson and hundreds more in our Digital Skills Curriculum.

    Copyright Notice
    This lesson is copyright of DigitalSkills.org 2017 - 2025. Unauthorised use, copying or distribution is not allowed.
    🍪 Our website uses cookies to make your browsing experience better. By using our website you agree to our use of cookies. Learn more