First, let's set up the project in CodePen.
We will be using this environment to write and test our HTML, CSS, and JavaScript code.
To create a new project or 'pen' in CodePen, open the website codepen.io and:
Now, let's create a simple form with three input fields: name, email, and password. Add the following HTML code to the HTML section of your CodePen:
<form id='myForm'>
  <label for='txtName'>Name:</label>
  <input type='text' id='txtName'><br>
  <label for='txtEmail'>Email:</label>
  <input type='email' id='txtEmail'><br>
  <label for='txtPassword'>Password:</label>
  <input type='password' id='txtPassword'><br>
  <input type='submit' value='Submit'>
</form>In this step, we will style our form using CSS to make it look more appealing. We will add some basic styles to the form elements, such as font size, padding, and margins.
Add the following CSS code:
form {
  width: 300px;
  margin: 0 auto;
}

label, input {
  display: block;
  margin-bottom: 10px;
}

input[type='submit'] {
  width: 100%;
  background-color: #4CAF50;
  color: white;
  padding: 10px;
  border: none;
  cursor: pointer;
}

input[type='submit']:hover {
  background-color: #45a049;
}
The CSS code above styles the form by setting its width, centering it on the page, and adding some spacing between the form elements. The submit button is styled with a background color, padding, and a hover effect.
Next, let's add some JavaScript code to validate our form. Click on the 'JS' tab in your CodePen and add the following code:
document.getElementById('myForm').addEventListener('submit', function(event) {
  event.preventDefault();

  // Your validation code will go here
});
This code prevents the form from submitting and allows us to add our validation code inside the event listener.
Let's start by validating the name field. We want to make sure the name is at least 3 characters long. Add the following code inside the event listener in your JavaScript:
document.getElementById('myForm').addEventListener('submit', function(event) {
  event.preventDefault();

  // add this code
  const name = document.getElementById('txtName').value;
  if (name.length < 3) {
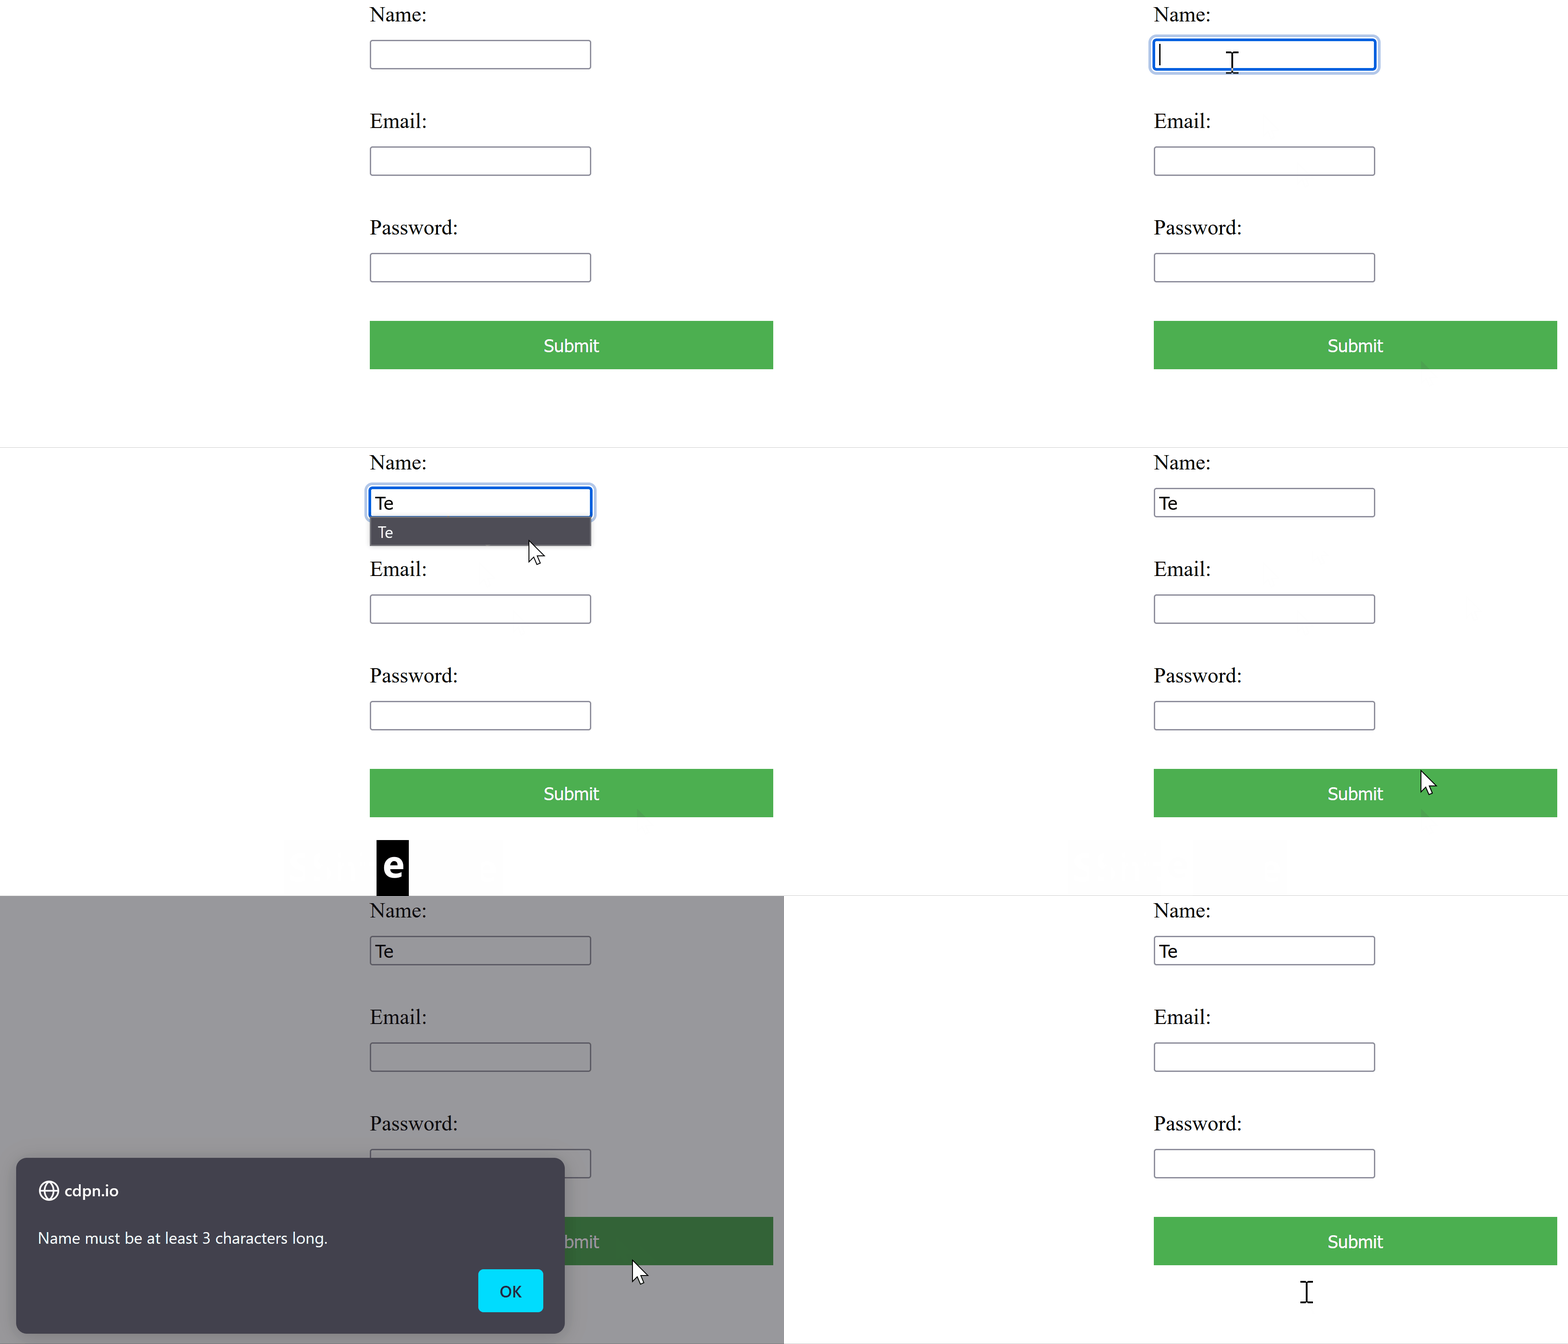
    alert('Name must be at least 3 characters long.');
    return;
  }
});
This code checks if the name is less than 3 characters long and displays an alert if it is. The return; line of code stops the execution of the function, preventing the form from being submitted if the name is too short. This ensures that the user has to enter a valid name before the form can be submitted.

