Unplugged Lesson
Beginner
40 mins
Teacher/Student led
+50 XP
What you need:
IWB/Projector/Large Screen

Drawing Robot

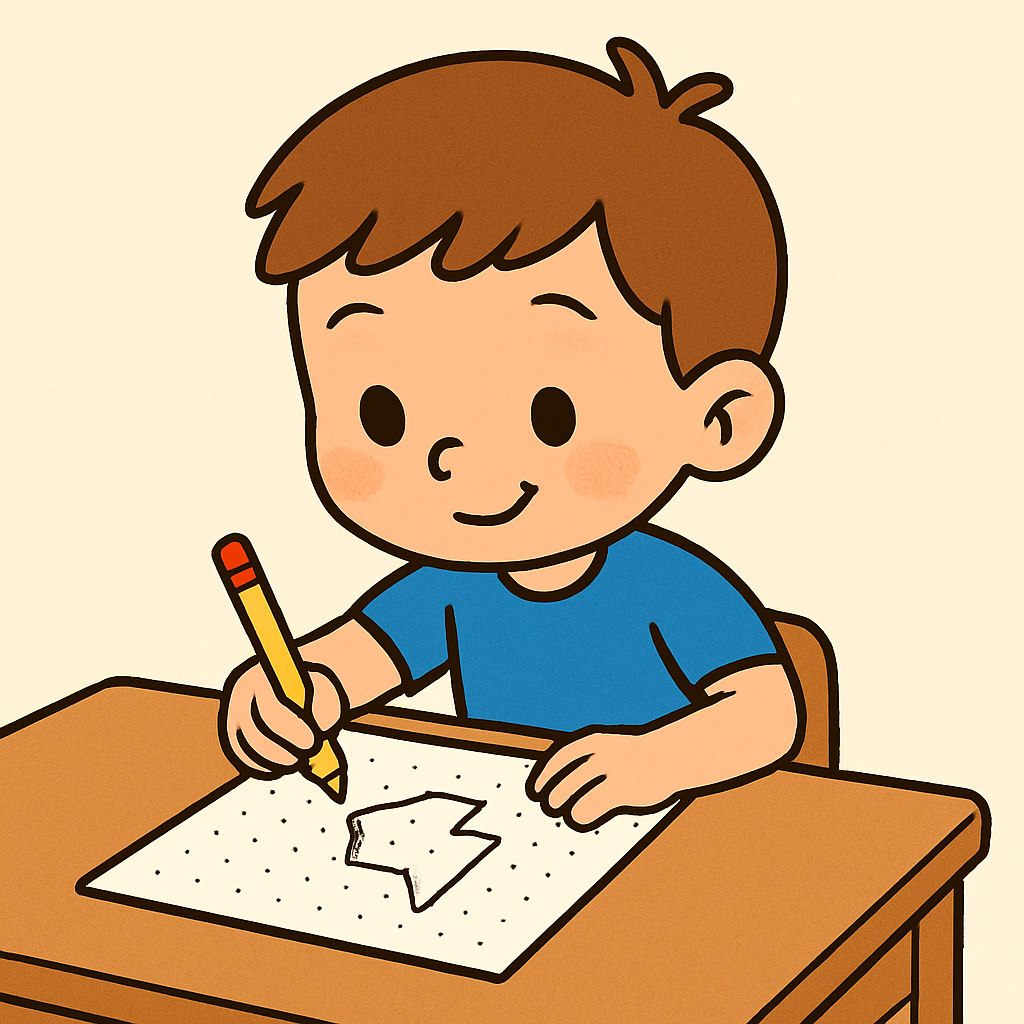
In this lesson, you'll become a robot artist, following step-by-step arrow instructions to create pictures on a dot grid. Learn sequencing by drawing lines in a specific order, understanding how each step builds the final image.
Learning Goals Learning Outcomes Teacher Notes

Teacher Class Feed

Load previous activity

    1 - Introduction

    Welcome to Lesson 2, sequencing Through Art

    Today builds on last time’s pattern following, but instead of copying a given pattern, pupils will create a picture by following steps in a specific order—seeing how changing the order changes the result.

    This promotes the core coding ideas of sequencing (order matters) and clear instructions (one action per step).

    The aim is to make algorithms feel concrete: a clear, ordered set of steps → a predictable outcome.

    Materials to Prepare:

    • Drawing Tools: Provide crayons or markers in three different colours for each student.

    • Dot Grid Worksheet: Download and print the worksheet for each student, or guide them to have a grown-up help with printing if needed.

    2 - Join the Dots

    Lead a short class chat about join-the-dots.

    Start with, “Has anyone ever done a join-the-dots picture before? Did you like it? Was it easy or a bit tricky?

    Explain that the dots hide a picture and the numbers are like the code: you go from 1 to 2 to 3 in order.

    Ask, “What happens if we skip a number or swap two numbers?” and let children notice that the picture comes out wrong.

    Tell them that each little line is one small step, and lots of correct small steps make a big picture.

    Finish by linking to coding: “Computers also follow steps in order. When we follow the numbers carefully, our picture works—just like good code.”

    3 - One Action, One Step

    Explain to the pupils they are “robot artists” who follow code exactly and that today the numbers in join-the-dots are replaced by arrows, and the picture only appears if we follow the arrows in the right order.

    Stand at the board and set the pace. Point to one arrow, say the direction out loud with the class (“right”), give two or three seconds for everyone to draw one short line to the next dot, then stop. Repeat for the next arrow. Keep the rhythm: point, say, draw, stop.

    Set the ground rule clearly: one action per step, in order—no guessing, no skipping, no extra lines. If someone makes a mistake, pause and fix the first wrong step, then continue. Emphasise that careful, step-by-step drawing is how robot artists make the picture appear.

    4 - Pencil Coding Challenge

    Now introduce the Pencil Coding Challenge.

    Tell pupils they’ll program a Pencil to reach the Star by giving clear, step-by-step instructions. Emphasise the purpose: this game trains precise sequencing—one command = one move, in order.

    Run a few quick rounds: invite pupils to suggest the next single command; enter it; watch the pencil move; then choose the next command. 


    5 - Prediction before Execution

    Show the following program on the board and ask where the dot will end up before you draw it.

    Run the arrows in order, then cycle through various other puzzles.

    Ask which picture matched their expectation and why order mattered.

    Unlock the Full Learning Experience

    Get ready to embark on an incredible learning journey! Get access to this lesson and hundreds more in our Digital Skills Curriculum.

    Copyright Notice
    This lesson is copyright of DigitalSkills.org 2017 - 2025. Unauthorised use, copying or distribution is not allowed.
    🍪 Our website uses cookies to make your browsing experience better. By using our website you agree to our use of cookies. Learn more