Let's create a Flask app that handles string data from a form.
Strings are sequences of characters, enclosed in single or double quotes, that represent text data. They can include letters, numbers, symbols, and spaces.
Examples of strings include names like 'Alice', messages such as 'Hello, World!', or any other textual information. In Flask, you often handle strings from user inputs, such as data submitted through web forms, and process them in your backend logic.
Create 'app.py' in 'FlaskDataTypes'.
Add this code:
from flask import Flask, render_template, request

app = Flask(__name__)

@app.route('/')
def home():
    return 'Welcome to Data Types in Backend!'

@app.route('/string', methods=['GET', 'POST'])
def handle_string():
    if request.method == 'POST':
        text = request.form['text']
        return f'You entered the string: {text}'
    else:
        return render_template('string_form.html')
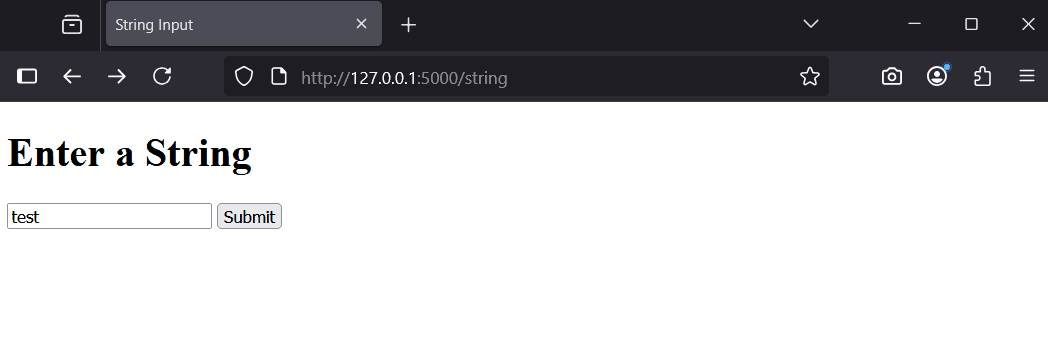
Create a 'templates' folder, and inside it, 'string_form.html' with:
<!DOCTYPE html>
<html>
<head><title>String Input</title></head>
<body>
<h1>Enter a String</h1>
<form method="post" action="/string">
    <input type="text" name="text">
    <button type="submit">Submit</button>
</form>
</body>
</html>
Note that the form's action is set to '/string', which matches the route defined in the Flask app. This ensures the form data is sent to the correct endpoint.
 Chromebooks, laptops, and PCs are crucial tools for coding and digital skills education. Chromebooks are ideal for web-based applications and collaborative projects, while laptops and PCs support a wider range of programming environments and software for more intensive tasks like software development and data analysis.
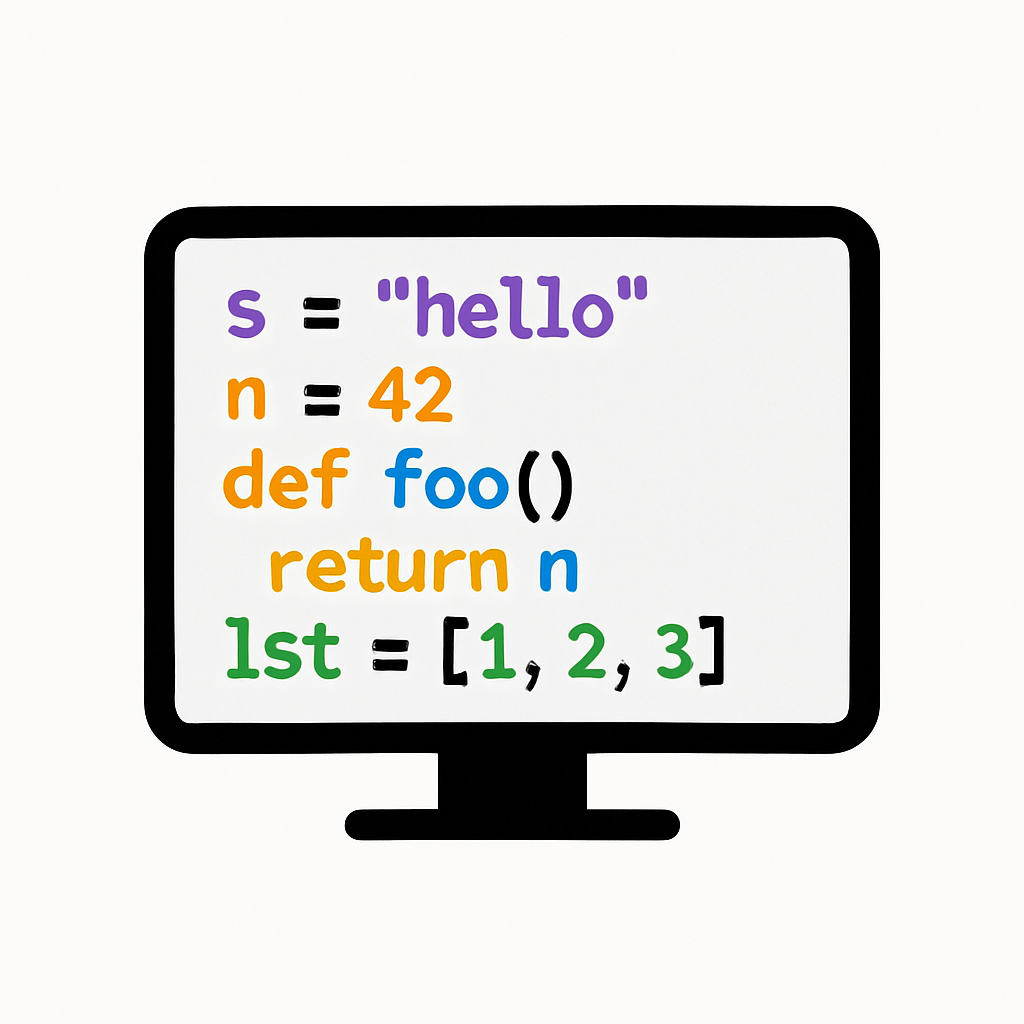 In this lesson, you'll explore common data types in Python and how to use them in Flask apps. This builds on handling requests, focusing on strings, integers, lists, and dictionaries in a backend context.