Microbit Python Computer Science
Beginner
80 mins
Teacher/Student led
What you need:
Chromebook/Laptop/PC

Control Structures

In this lesson, you'll learn the essentials of control structures for programming with the Micro:bit. Explore conditional statements and loops to make decisions and repeat actions, building interactive code through practical, step-by-step activities.
Learning Goals Learning Outcomes

Live Class Feed

This is a live feed of the latest activity by your students on this lesson. It will update in real-time as they work on the lesson.
Load previous activity

    1 - Introduction

    In this lesson on control structures, you'll explore the building blocks that allow your programs to make decisions and repeat actions, essential for creating interactive and dynamic code on the Micro:bit. Control structures like conditionals and loops will enable you to respond to inputs, process data, and build more complex programs.

    Here's what you'll be learning and doing:

    1. Understand conditional statements (if, else, elif) to make decisions based on conditions.
    2. Explore nested if statements for handling multi-layered decisions.
    3. Learn about loops (for and while) to repeat code efficiently.
    4. Discover nested loops and combining loops with conditionals for advanced control.

    2 - Understanding Conditional Statements

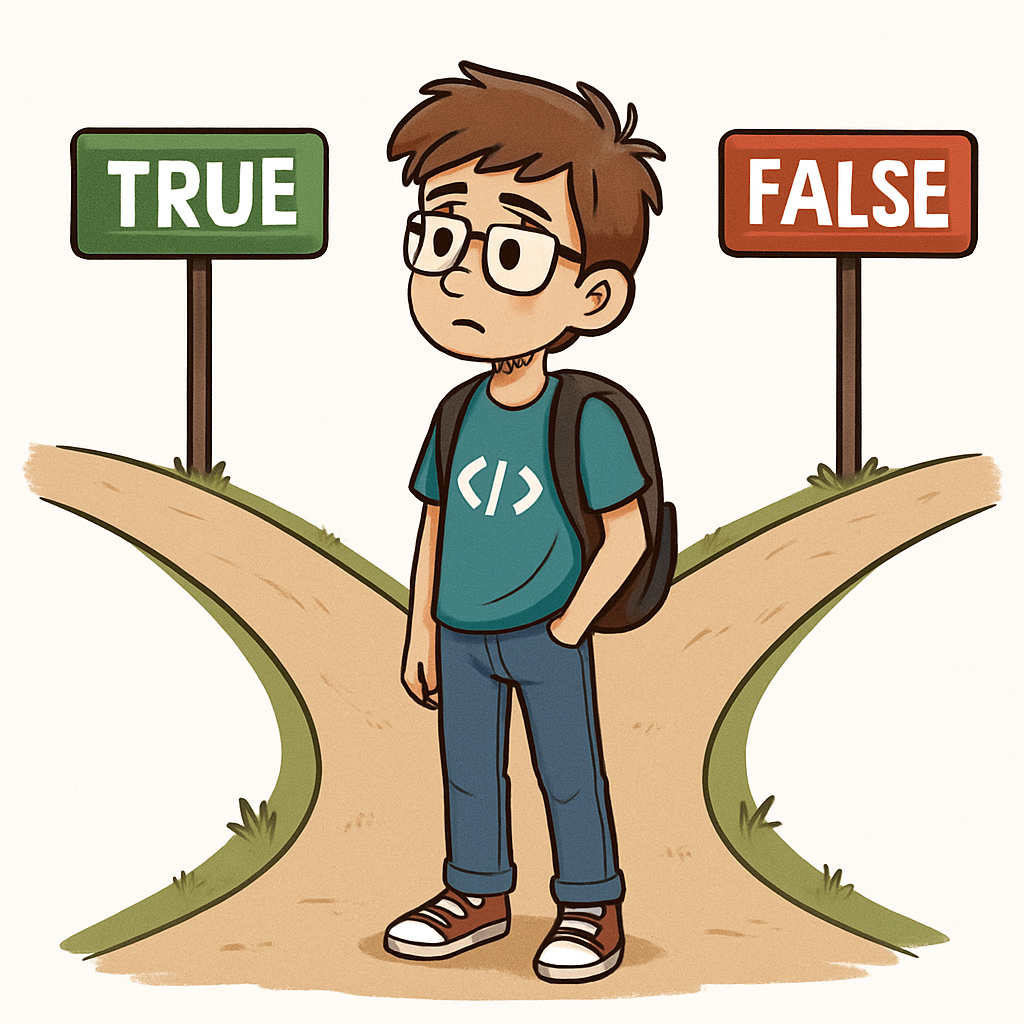
    Conditional statements are a fundamental part of programming that allow your code to make decisions. They let your program execute different blocks of code depending on whether a certain condition is true or false. This is like choosing different paths based on the situation – for example, if it's raining, you might decide to take an umbrella; otherwise, you leave it behind.

    The basic building block is the if statement. It checks a condition, and if that condition evaluates to true, the code inside the if block runs. If you want to handle the case when the condition is false, you can add an else clause. For checking multiple conditions, you can use elif (which stands for 'else if') to test additional scenarios.

    Conditions are typically built using comparison operators. Here are some common ones:

    • == (equal to)
    • != (not equal to)
    • > (greater than)
    • < (less than)
    • >= (greater than or equal to)
    • <= (less than or equal to)

    You can also combine conditions using logical operators like and (both must be true), or (at least one must be true), and not (reverses the condition).

    For instance, imagine you're programming a Micro:bit to monitor temperature. You might write code to check if the temperature is above 30 degrees to display a 'Hot' warning, or between 20 and 30 for 'Warm', and below 20 for 'Cool'. This kind of decision-making makes your programs interactive and responsive.

    Think about a real-life decision you make daily, like what to wear based on the weather. How could you express that as an if-elif-else structure? In the next steps, we'll put this into practice with actual code.

    3 - Simple If Statement

    This simple if statement is like a gatekeeper – it only lets the code through if the condition is met. They are the foundation of making decisions in your code. In this step, we'll create a program that checks if a temperature variable is greater than 20 and, if it is, scrolls the message 'Warm' on the display. If the condition isn't met, nothing happens – that's how a basic if works.

    We'll start by importing the Micro:bit library, setting a variable, and then using the if statement to check the condition. Remember, indentation is key in Python – the code inside the if must be indented (usually by 4 spaces or by pressing the tab key).

    Add the following complete code to your editor:

    from microbit import *
    
    temperature = 25
    
    if temperature > 20:
        display.scroll("Warm")

    Here's a quick breakdown:

    • from microbit import *: This imports everything from the Micro:bit module so we can use functions like display.scroll.
    • temperature = 25: We create a variable called temperature and set it to 25.
    • if temperature > 20:: This checks if temperature is greater than 20. If true, the indented code runs.
    • display.scroll("Warm"): If the condition is true, this scrolls 'Warm' on the LED display.
    Now, run your code. You should see 'Warm' scrolling across the Micro:bit display because 25 is indeed greater than 20, making the condition true.
    Let's experiment to understand it better. Change the value of temperature to 15 and run the code again. Nothing should appear on the display because 15 is not greater than 20, so the condition is false and the code inside the if doesn't run. Try other values like 20, 21, or 10 to see exactly when the message displays. What happens if you use == instead of > in the condition? Test it out and observe.

    4 - If-Else Statement

    Building on the simple if statement, we can add an else clause to handle what happens when the condition is false. This is like having a plan B – if the first condition isn't met, the code in the else block runs instead. It ensures that your program always does something, no matter the outcome of the condition.

    In this step, we'll update our temperature checker to display 'Warm' if the temperature is greater than 20, and 'Cool' otherwise. This makes the program more complete, as it provides feedback in both cases.

    Update your code to this complete version:

    from microbit import *
    
    temperature = 25
    
    if temperature > 20:
        display.scroll("Warm")
    else:
        display.scroll("Cool")

    Here's a quick breakdown:

    • temperature = 25: Sets the temperature variable.
    • if temperature > 20:: Checks if temperature is greater than 20.
    • display.scroll("Warm"): Runs if the condition is true.
    • else:: This block runs if the if condition is false.
    • display.scroll("Cool"): Scrolls 'Cool' when the condition isn't met.
    Now, run your code. You should see 'Warm' scrolling because 25 is greater than 20. Change the temperature to 15 and run again – this time, 'Cool' should appear since the condition is false.
    Experiment to deepen your understanding. Try changing the condition to temperature < 0 and update the else to display 'Freezing'. Test with values like 25, 0, -5, or 20. What if you use >= instead of >? Observe how it affects when 'Warm' or 'Cool' displays. This will help you see how if-else covers all possibilities.

    5 - If-Elif-Else Statement

    To handle more than two possibilities, we can chain multiple conditions using elif (short for "else if"). This allows us to check additional conditions if the previous ones are false. You can have as many elif clauses as needed, and optionally end with an else to cover all other cases. This structure is perfect for scenarios with several mutually exclusive options, ensuring only one block of code runs.

    In this step, we'll enhance our temperature checker to have three categories: 'Hot' if above 30, 'Warm' if above 20 but not above 30, and 'Cool' otherwise. This builds a more nuanced decision-making process in our program.

    Update your code to this complete version:

    from microbit import *
    
    temperature = 25
    
    if temperature > 30:
        display.scroll("Hot")
    elif temperature > 20:
        display.scroll("Warm")
    else:
        display.scroll("Cool")

    Here's a quick breakdown:

    • temperature = 25: Sets the temperature variable.
    • if temperature > 30:: Checks if temperature is greater than 30.
    • display.scroll("Hot"): Runs if the first condition is true.
    • elif temperature > 20:: If the if is false, this checks if greater than 20.
    • display.scroll("Warm"): Runs if the elif is true.
    • else:: This block runs if all previous conditions are false.
    • display.scroll("Cool"): Scrolls 'Cool' for all other cases.
    Now, run your code. You should see 'Warm' scrolling because 25 is greater than 20 but not greater than 30. Change the temperature to 35 and run again – 'Hot' should appear since it's greater than 30. Try 10 to see 'Cool' as it doesn't meet either condition.
    Experiment to deepen your understanding. Add another elif before the else, like elif temperature <= 0: display.scroll("Freezing"). Remember the order matters – conditions are checked sequentially, and only the first true one executes. Test with values like -5, 0, 15, 25, 32, or 20. What happens if you rearrange the conditions? Observe how it affects the output.

    Unlock the Full Learning Experience

    Get ready to embark on an incredible learning journey! Get access to this lesson and hundreds more in our Digital Skills Curriculum.

    Copyright Notice
    This lesson is copyright of DigitalSkills.org. Unauthorised use, copying or distribution is not allowed.
    🍪 Our website uses cookies to make your browsing experience better. By using our website you agree to our use of cookies. Learn more