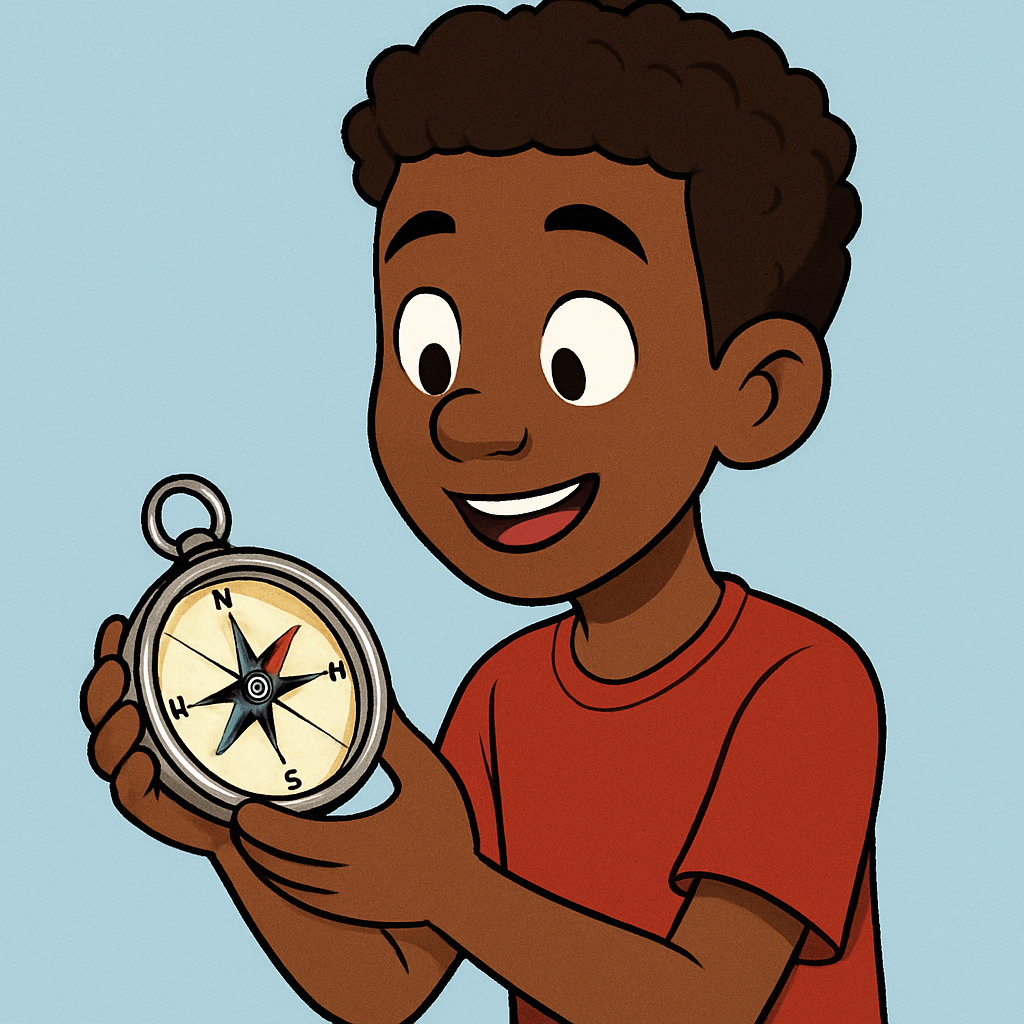
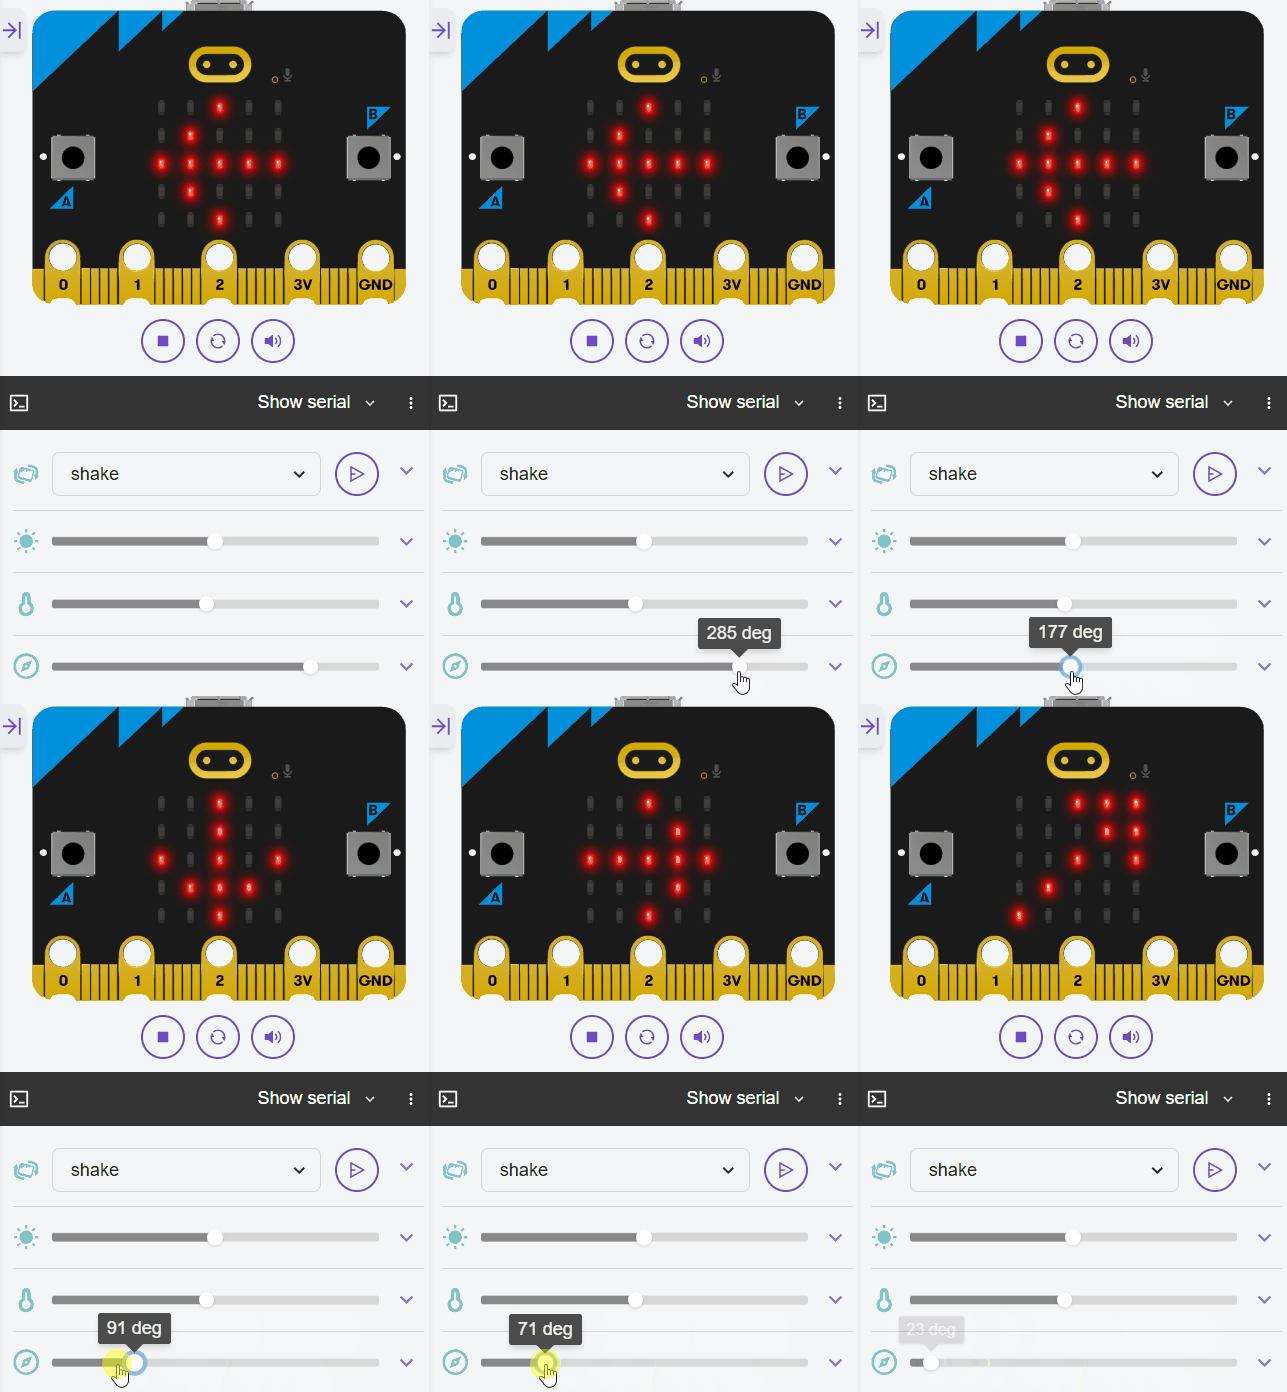
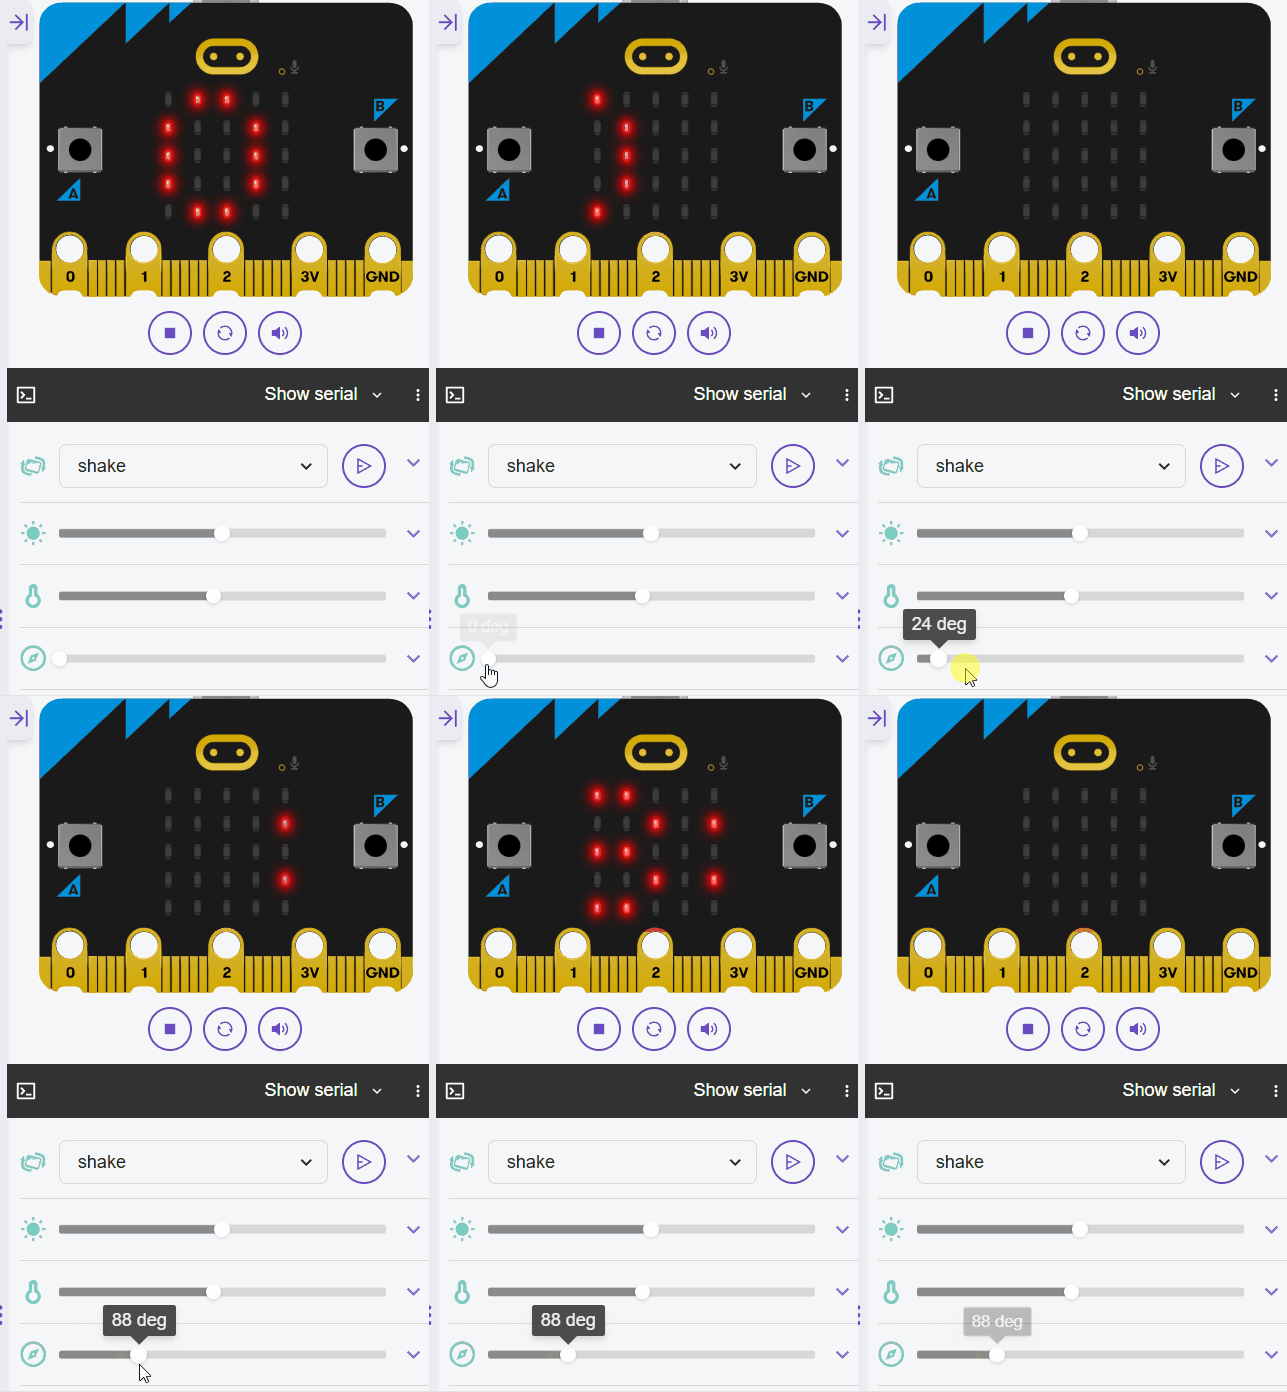
 In this lesson, you'll create a digital compass using your Micro:bit's built-in magnetometer. The compass will point north and display directional arrows on the LED grid. You'll learn to calibrate the compass using functions, map headings to arrow images stored in a tuple, and use control structures like if-elif statements. We'll also reinforce string manipulation for error messages and use lists for direction data.
By the end of this lesson, your Micro:bit will act as a portable compass. Open the Micro:bit Python editor at python.microbit.org and start a new project.
Start by importing the necessary modules. We'll need the microbit module to access the hardware, including the compass.
Add the following complete code to your editor:
from microbit import *Before using the compass, it needs calibration. We'll create a function to handle this and display a message. Functions help organise code and make it reusable. We'll use string manipulation to create an error message if calibration fails.
Update your code to the following complete version:
from microbit import *

def calibrate_compass():
    compass.calibrate()
    display.scroll("Calibrated")

calibrate_compass()if not compass.is_calibrated(): display.scroll('Error: Try again').Now, let's get the compass heading (0-359 degrees, where 0 is north) and display it. We'll use a loop to continuously update it.
Update your code to this complete version:
from microbit import *

def calibrate_compass():
    compass.calibrate()
    #display.scroll("Calibrated") #Note: comment this out

calibrate_compass()

while True:
    heading = compass.heading()
    display.scroll(str(heading))
sleep(500)str() for display, reinforcing string manipulation. The while True loop makes it continuous.We'll use a list for direction names and a tuple for arrow images. Tuples are immutable, perfect for fixed data like images. We'll map headings to 8 directions.
Update your code to this complete version:
from microbit import *

directions = ["N", "NE", "E", "SE", "S", "SW", "W", "NW"]

arrows = (
    Image.ARROW_N,
    Image.ARROW_NE,
    Image.ARROW_E,
    Image.ARROW_SE,
    Image.ARROW_S,
    Image.ARROW_SW,
    Image.ARROW_W,
    Image.ARROW_NW
)

def calibrate_compass():
    compass.calibrate()
    #display.scroll("Calibrated")

calibrate_compass()

while True:
    heading = compass.heading()
    display.scroll(str(heading))
    sleep(500)
