Computer Science
Beginner
240 mins
Teacher/Student led
What you need:
Chromebook/Laptop/PC

Coding Inputs, Outputs, and System Responses

In this lesson, you'll code the inputs, outputs, and system responses for your embedded system project. Follow step-by-step guidance to review your plan, set up your environment, program interactions, debug issues, and document your work for a functional prototype.
Learning Goals Learning Outcomes Teacher Notes

Teacher Class Feed

Load previous activity

    1 - Introduction

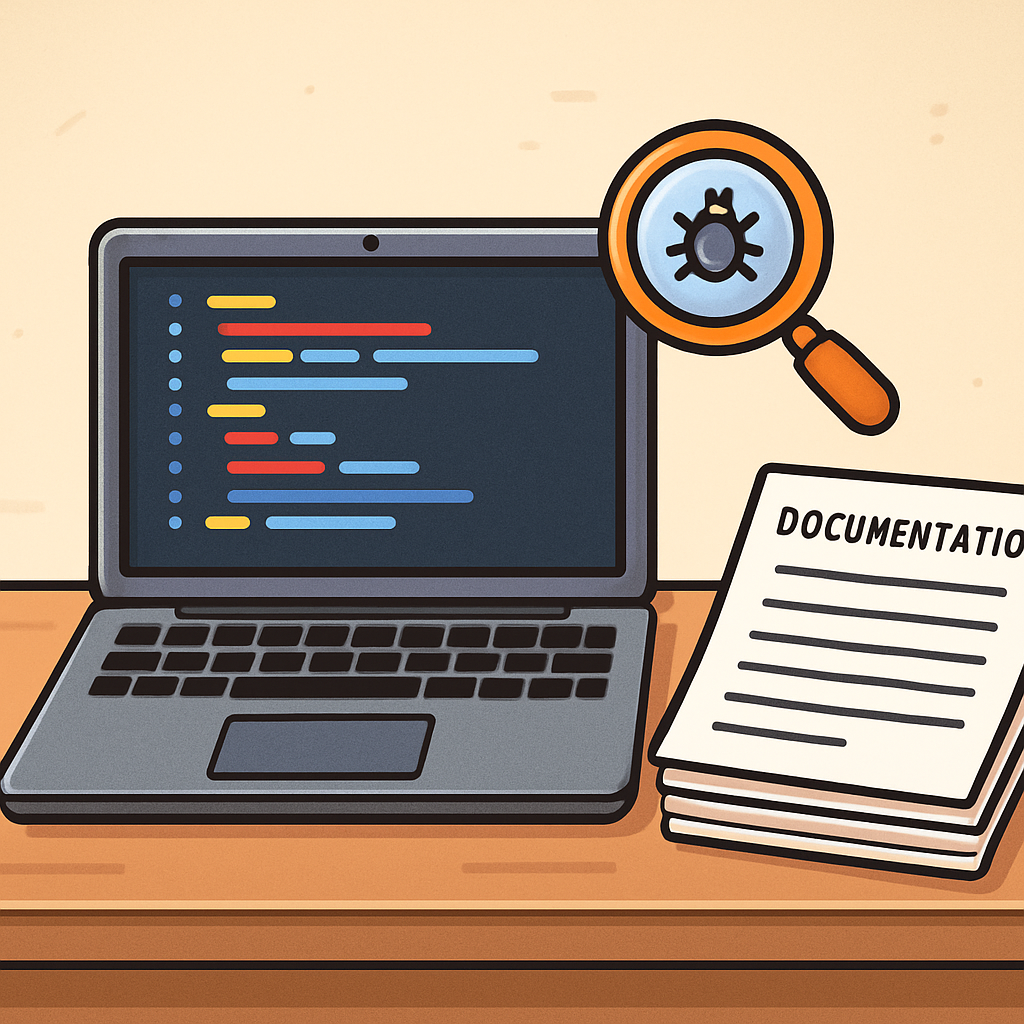
    In this lesson, you'll build on your planning from previous lessons by coding the inputs, outputs, and system responses for your embedded system project. This is where your ideas start coming to life through actual programming, turning your design into a working prototype.

    We'll guide you through reviewing your system plan, setting up your environment, coding input handling, controlling outputs, integrating them, debugging, and documenting your code. By the end, you'll have a functional embedded system that responds to real-world inputs.

    This lesson is technology-agnostic, so adapt the examples to your chosen microcontroller or embedded platform (e.g., using Python-like syntax for MicroPython). It should take about 180-240 minutes over a few sessions. 

    2 - Review System Plan

    Start by revisiting the embedded system design you created in previous lessons. This plan should outline the problem you're solving, the components involved, and how they interact.

    Key Elements to Identify:

    • Inputs: These could be sensors (e.g., temperature, light, buttons) providing data to your system. Decide if they're digital (on/off) or analogue (variable values).
    • Outputs: These might include actuators (e.g., motors, LEDs) or displays (e.g., screens showing data).
    • System Responses: How the system reacts, like turning on a light if a sensor detects motion.

    Refer back to your design documents or sketches. Ensure your plan aligns with user needs and uses abstraction to simplify complex interactions (e.g., treating a sensor as a simple 'read value' function).

    Activity: List your inputs and outputs in a table. For example:

    ComponentTypePurpose
    ButtonDigital InputTrigger action
    LEDDigital OutputIndicate status
    Temperature SensorAnalogue InputMeasure environment

    If needed, update your plan to include any new ideas.

    3 - Set Up Development Environment

    Before coding, ensure your development environment is ready for programming your embedded system.

    Steps to Follow:

    1. Install or open your Integrated Development Environment (IDE) suitable for your platform (e.g., a code editor with support for uploading to hardware).
    2. Install any necessary libraries or drivers for your microcontroller and components (e.g., sensor libraries).
    3. Connect your hardware if using physical devices, or set up a simulator for testing.
    4. Test a simple 'hello world' program, like blinking an LED, to confirm everything works.
    Tip: If using a simulator, look for online tools that mimic your hardware. This setup ties into computer systems concepts from Strand 2.

    4 - Code Basic Input Handling

    Now, write code to read data from your input devices. Focus on handling signals correctly, whether digital or analogue.

    Approach:

    • For digital inputs: Check if the input is high (on) or low (off).
    • For analogue inputs: Read a value (e.g., 0-1023) and convert it if needed (e.g., to temperature).
    • Test in a loop to continuously monitor the input.
    Exercise: Adapt this pseudocode example for a button (digital) and sensor (analogue):

    initialize input pin  // e.g., for button or sensor
    
    loop forever:
        input_value = read from input pin
        if analogue:
            converted_value = map input_value to real unit  // e.g., voltage to temperature
        print input_value  // or store it
        wait 0.5 seconds
    

    Run and test: Press the button or change the sensor condition and observe the output. Fix any reading errors.

    5 - Implement Output Control

    Next, develop code to control your output devices. Use conditions or loops to make them respond based on logic.

    Approach:

    • Set outputs high/low for digital (e.g., turn LED on/off).
    • Use loops for repeated actions (e.g., blinking).
    • Add simple conditions, like if a value exceeds a threshold.
    Exercise: Use this pseudocode for controlling an LED based on a condition:

    initialize output pin  // e.g., LED
    
    loop forever:
        if condition met:  // e.g., timer or simple check
            set output pin to high
        else:
            set output pin to low
        wait 1 second
    

    Test it: Ensure the output activates as expected.

    Unlock the Full Learning Experience

    Get ready to embark on an incredible learning journey! Get access to this lesson and hundreds more in our Digital Skills Curriculum.

    Copyright Notice
    This lesson is copyright of DigitalSkills.org 2017 - 2025. Unauthorised use, copying or distribution is not allowed.
    🍪 Our website uses cookies to make your browsing experience better. By using our website you agree to our use of cookies. Learn more