Arts Digital Art
Beginner
45 mins
Teacher/Student led
90 points
What you need:
Chromebook/Laptop/PC or iPad/Tablet

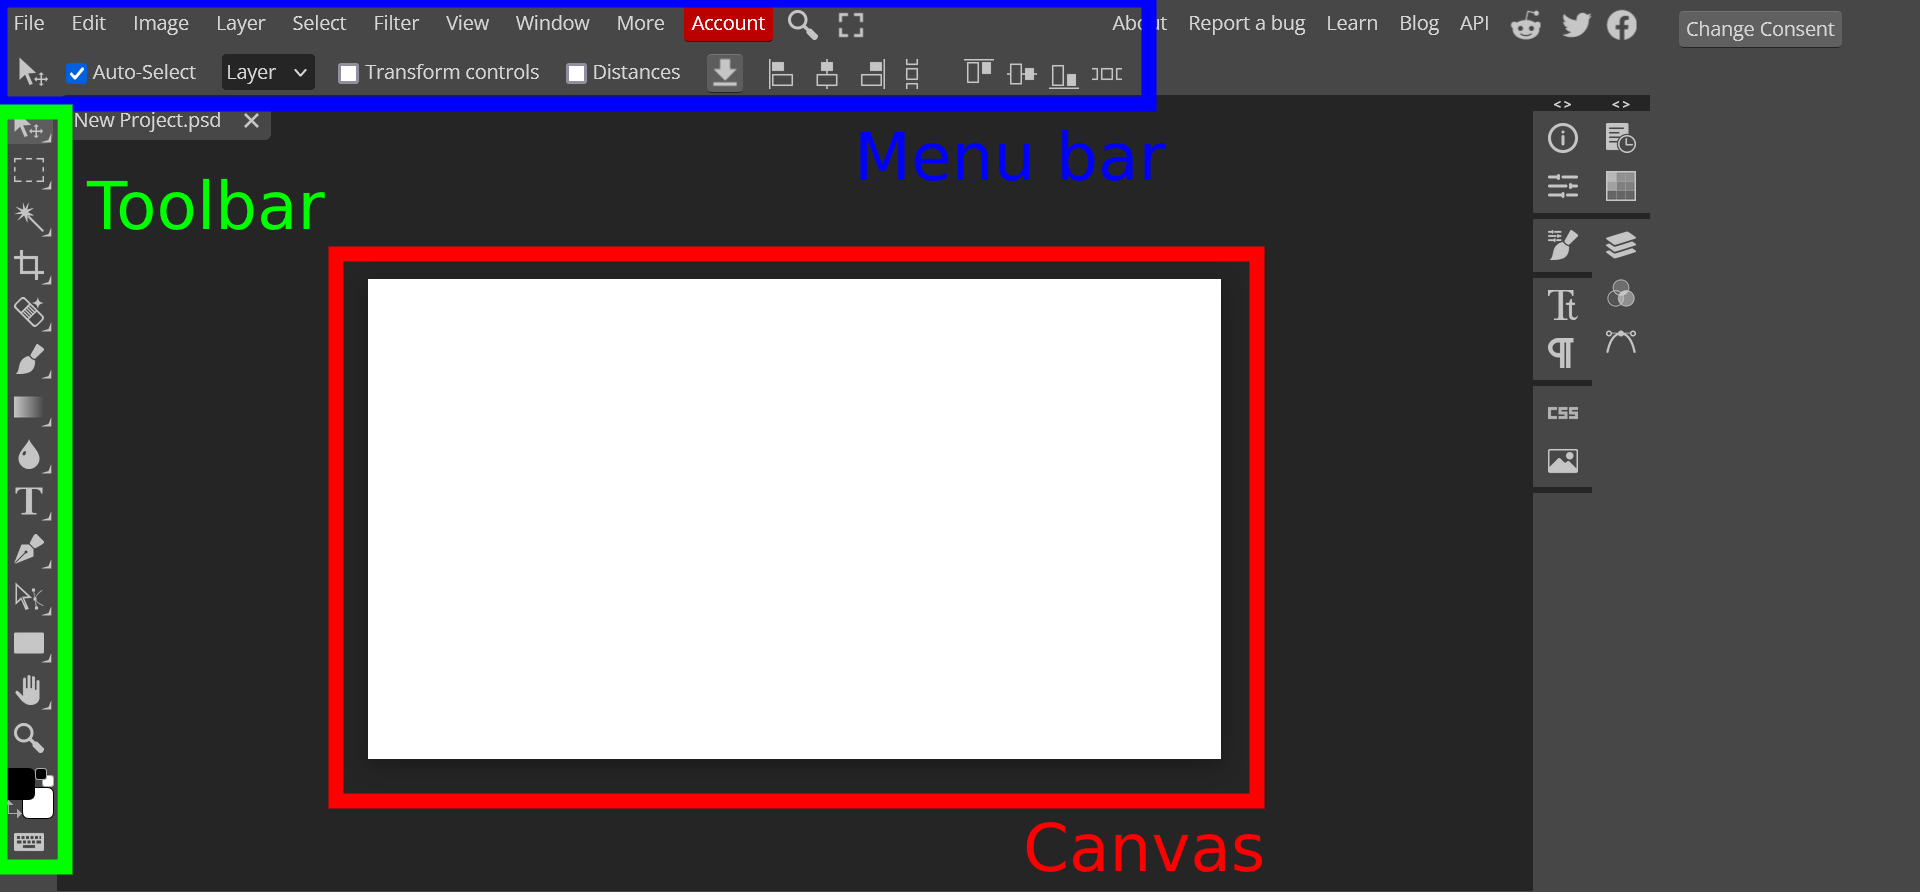
Basic Navigation and Interface

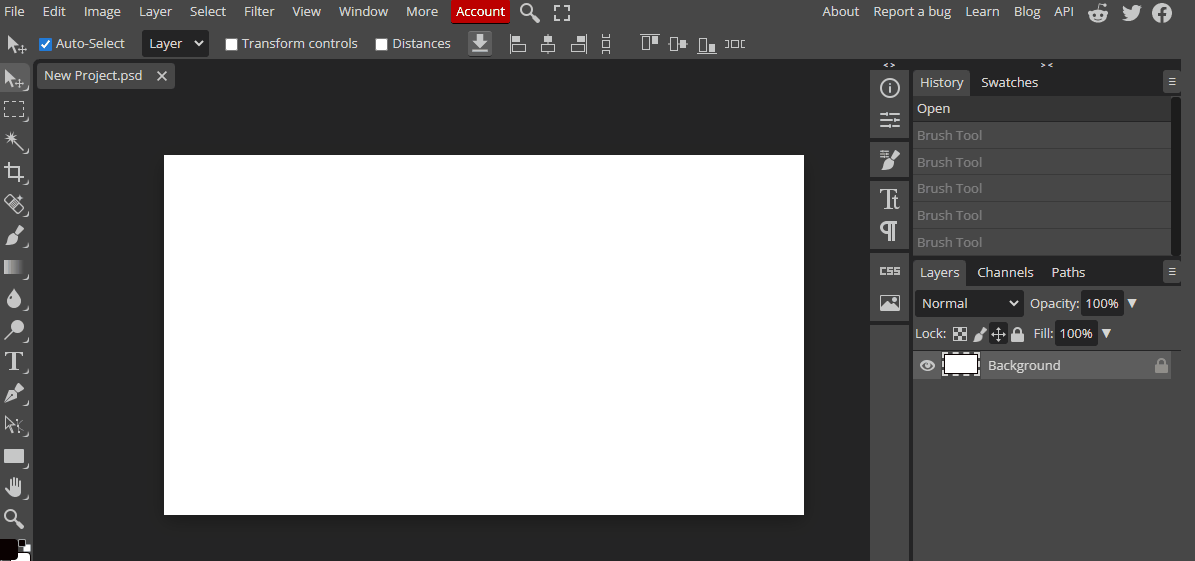
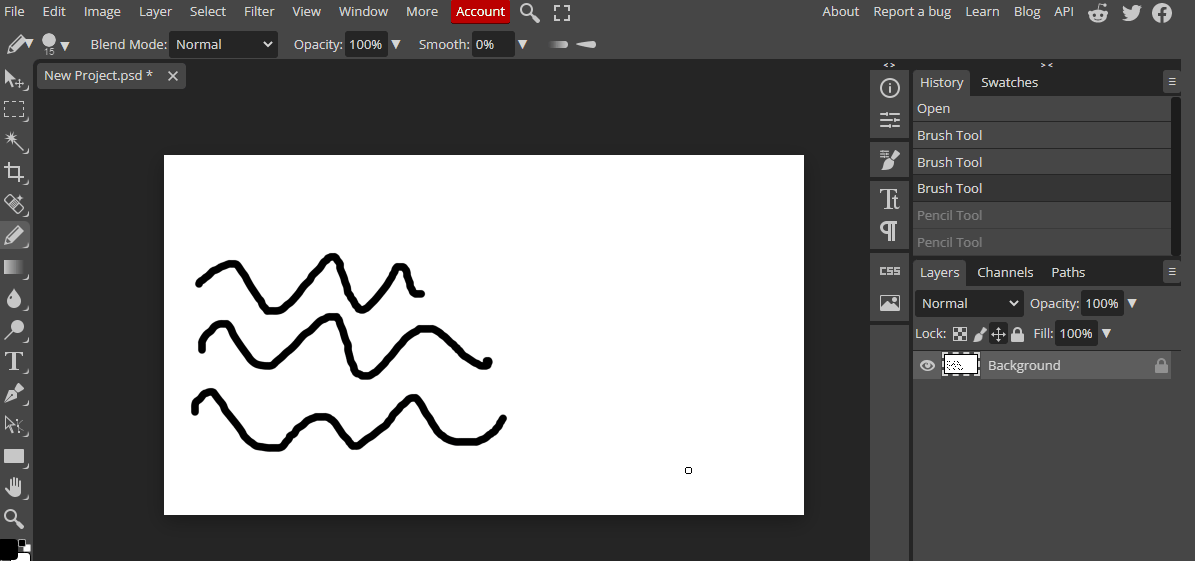
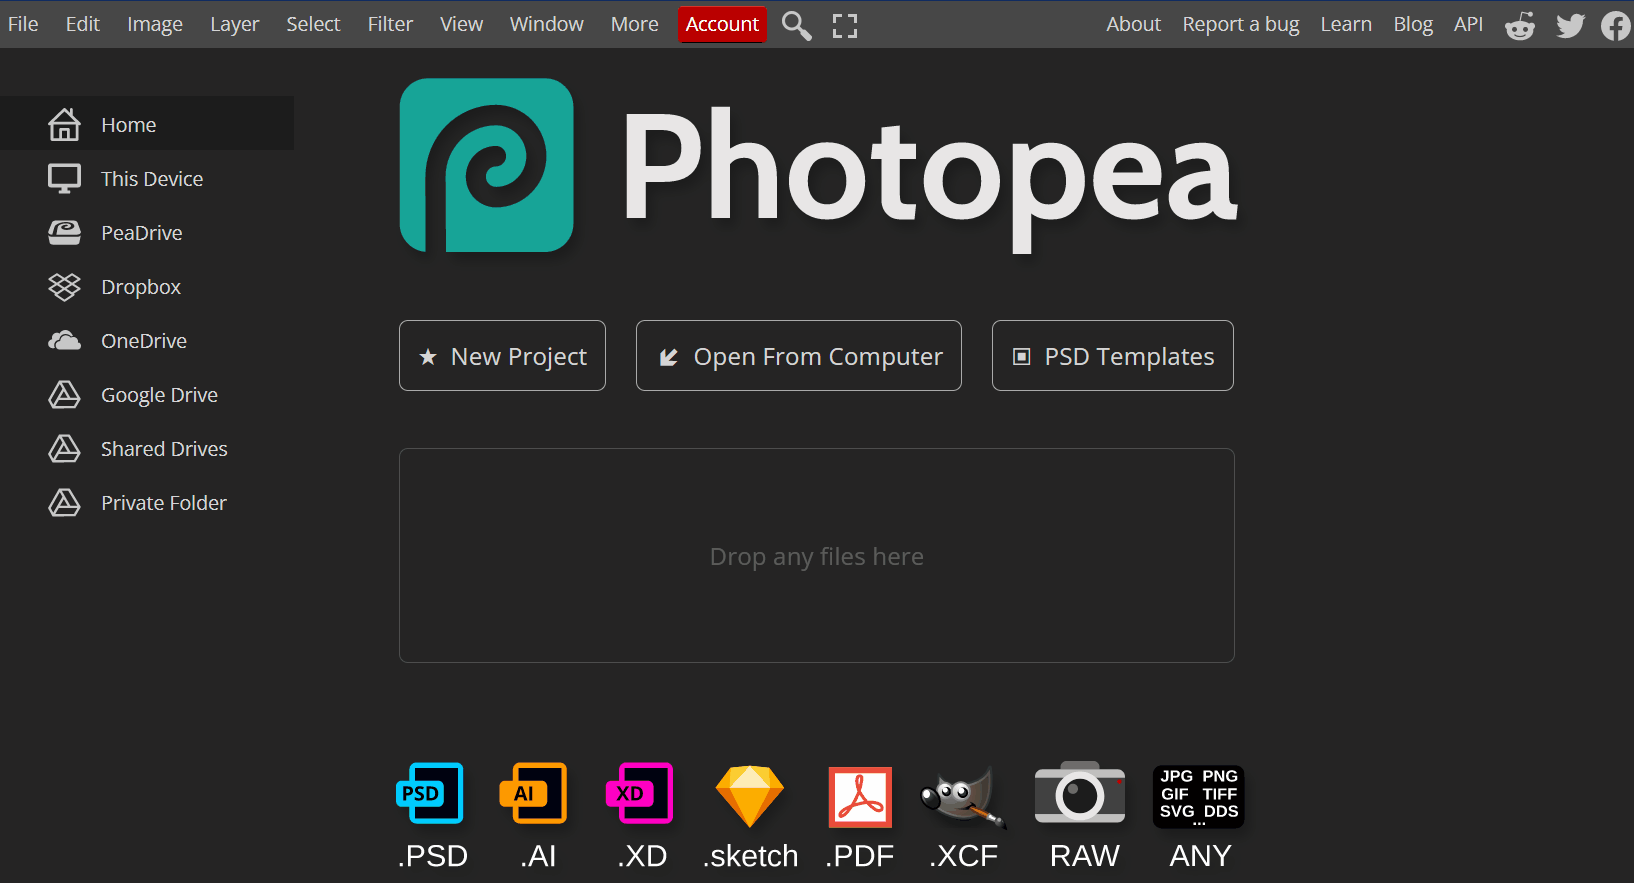
In this step-by-step lesson, you'll learn the basics of navigating digital art software. Starting with understanding the interface, you'll create a project, explore navigation tools, and use various tools like the Paint, Zoom, Hand, and Rotation tools. You'll also learn about the Layers Panel, basic features, brush settings, colour picker, layers, selection tools, and practice with exercises to enhance your skills.
Learning Goals Learning Outcomes Teacher Notes

Live Class Feed

This is a live feed of the latest activity by your students on this lesson. It will update in real-time as they work on the lesson.
Load previous activity

    1 - Understanding the Interface

    When starting with digital art software, it's essential to understand the interface. The interface is the layout and design of the software, including the location of different tools and settings.

    The interface can vary depending on the software, but most digital art software has a similar structure. It typically includes a menu bar at the top, toolbar on the left or right side, and a canvas in the middle where artists can create their artwork.


    2 - Create a new project

    Let's take a look and try out some digital software called Photopea. Open the website photopea.com and create a new project.


    3 - Introduction to Navigation Tools

    In order to create amazing digital art, you need to know how to navigate through your software with ease. In this lesson, you will learn about the essential navigation tools that will help you move around your canvas and access different features.


    4 - Use the Paint Tool

    Let's create a very simple squiggle drawing so that we have something on our canvas.

    1. Select the Brush Tool from the toolbar on the left side of the screen.
    2. Click and drag your mouse on the canvas to create a quick squiggle drawing.

    5 - Use the Zoom Tool

    Now that we have a squiggle drawing on our canvas, let's use the Zoom Tool to get a closer look at it.

    1. Click on the Zoom Tool in the toolbar on the left side of the screen.
    2. Click and drag your mouse over the squiggle drawing to zoom in on it.
    3. Hold down the Alt key (or Option key on a Mac) and use the scroll wheel on your mouse to zoom out.
    4. Double-click on the Zoom Tool to reset the zoom level to 100%.

    Unlock the Full Learning Experience

    Get ready to embark on an incredible learning journey! Get access to this lesson and hundreds more in our Digital Skills Curriculum.

    Copyright Notice
    This lesson is copyright of DigitalSkills.org. Unauthorised use, copying or distribution is not allowed.
    🍪 Our website uses cookies to make your browsing experience better. By using our website you agree to our use of cookies. Learn more