In this lesson, you'll learn the basics of working with arrays in MicroPython. You'll create a simple list, retrieve elements from the list, change elements, add new elements, and remove elements from the list. By the end of this lesson, you'll have a solid understanding of how to work with arrays in MicroPython.
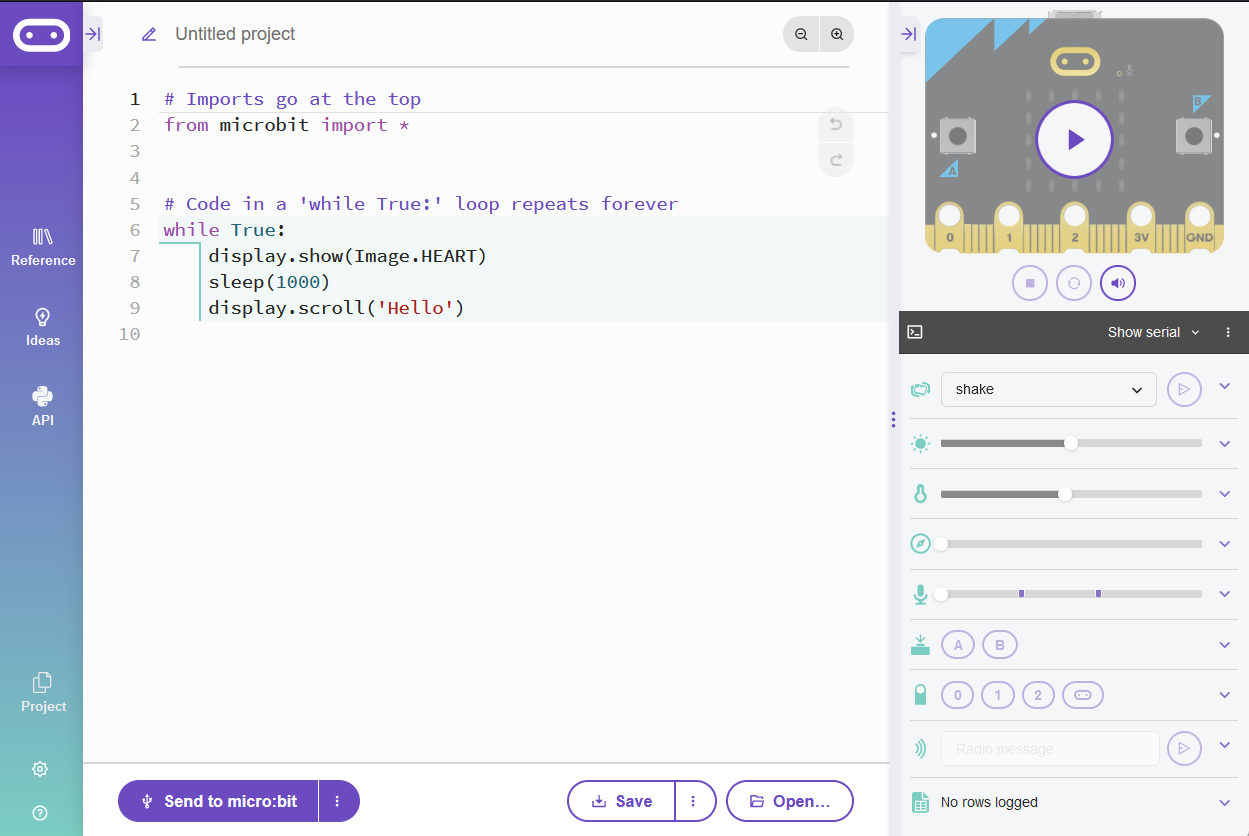
To get started, open the micro:bit Python editor at https://python.microbit.org and create a new project.
To create a new Python project for a Microbit, open the website python.microbit.org.
This will open the code editor with a new project. It might have some example code already added such as:
# Imports go at the top
from microbit import *

# Code in a 'while True:' loop repeats forever
while True:
    display.show(Image.HEART)
    sleep(1000)
    display.scroll('Hello')
You should delete this code except for the import line that you will need. This imports the necessary libraries you will need to code a microbit.
# Imports go at the top
from microbit import *An array is a collection of items, like numbers or strings, stored in a single variable. In MicroPython, arrays are often called lists. They are useful when you want to store and manipulate multiple values using a single variable.
In this lesson, we'll use the terms 'array' and 'list' interchangeably.
Lists can store different types of data, such as integers, strings, or even other lists. For example:
[1, 2, 3, 4, 5]['apple', 'banana', 'cherry'][1, 'apple', 3.14]Now, let's create a list called 'numbers' with five elements. The elements are the integers from 1 to 5. Add the following code to your editor:
from microbit import *

numbers = [1, 2, 3, 4, 5]
numbers with five elements. The elements are the integers from 1 to 5.Now, let's retrieve elements from the list using their index. Add the following new code:
from microbit import *

numbers = [1, 2, 3, 4, 5]

first_number = numbers[0]
second_number = numbers[1]

display.show(first_number)
sleep(1000)
display.show(second_number)
This code retrieves the first and second elements of the list (at index 0 and 1) and displays their values.
numbers[index_value] to retrieve different items from the list, and run your code again. e.g. numbers[3] will retrieve the forth item in the list.In this step, we will learn how to change the value of an element in a list. We will update the value of the 3rd item in our list and display the updated value on the micro:bit screen.
Update your code to the following:
from microbit import *

numbers = [1, 2, 3, 4, 5]

# show the 3rd item
display.show(numbers[2])
sleep(1000)

# change the value of the 3rd item
numbers[2] = 9

# show it again with the updated value
display.show(numbers[2])


