Makecode Arcade
Advanced
60 mins
Teacher/Student led
+160 XP
Pupils work on their own device
Finish, Test and Share
Pupils finish their Galaxy Ghosts game in MakeCode Arcade, test it against their original design brief, then share and explain one change they made along the way.
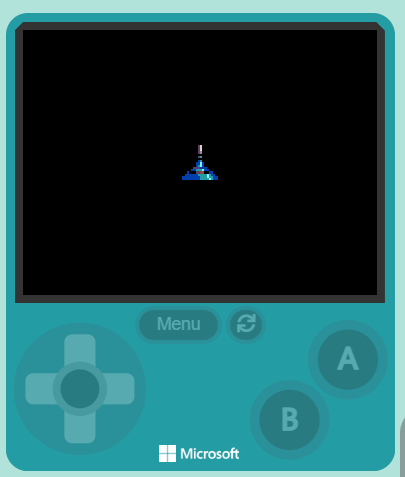
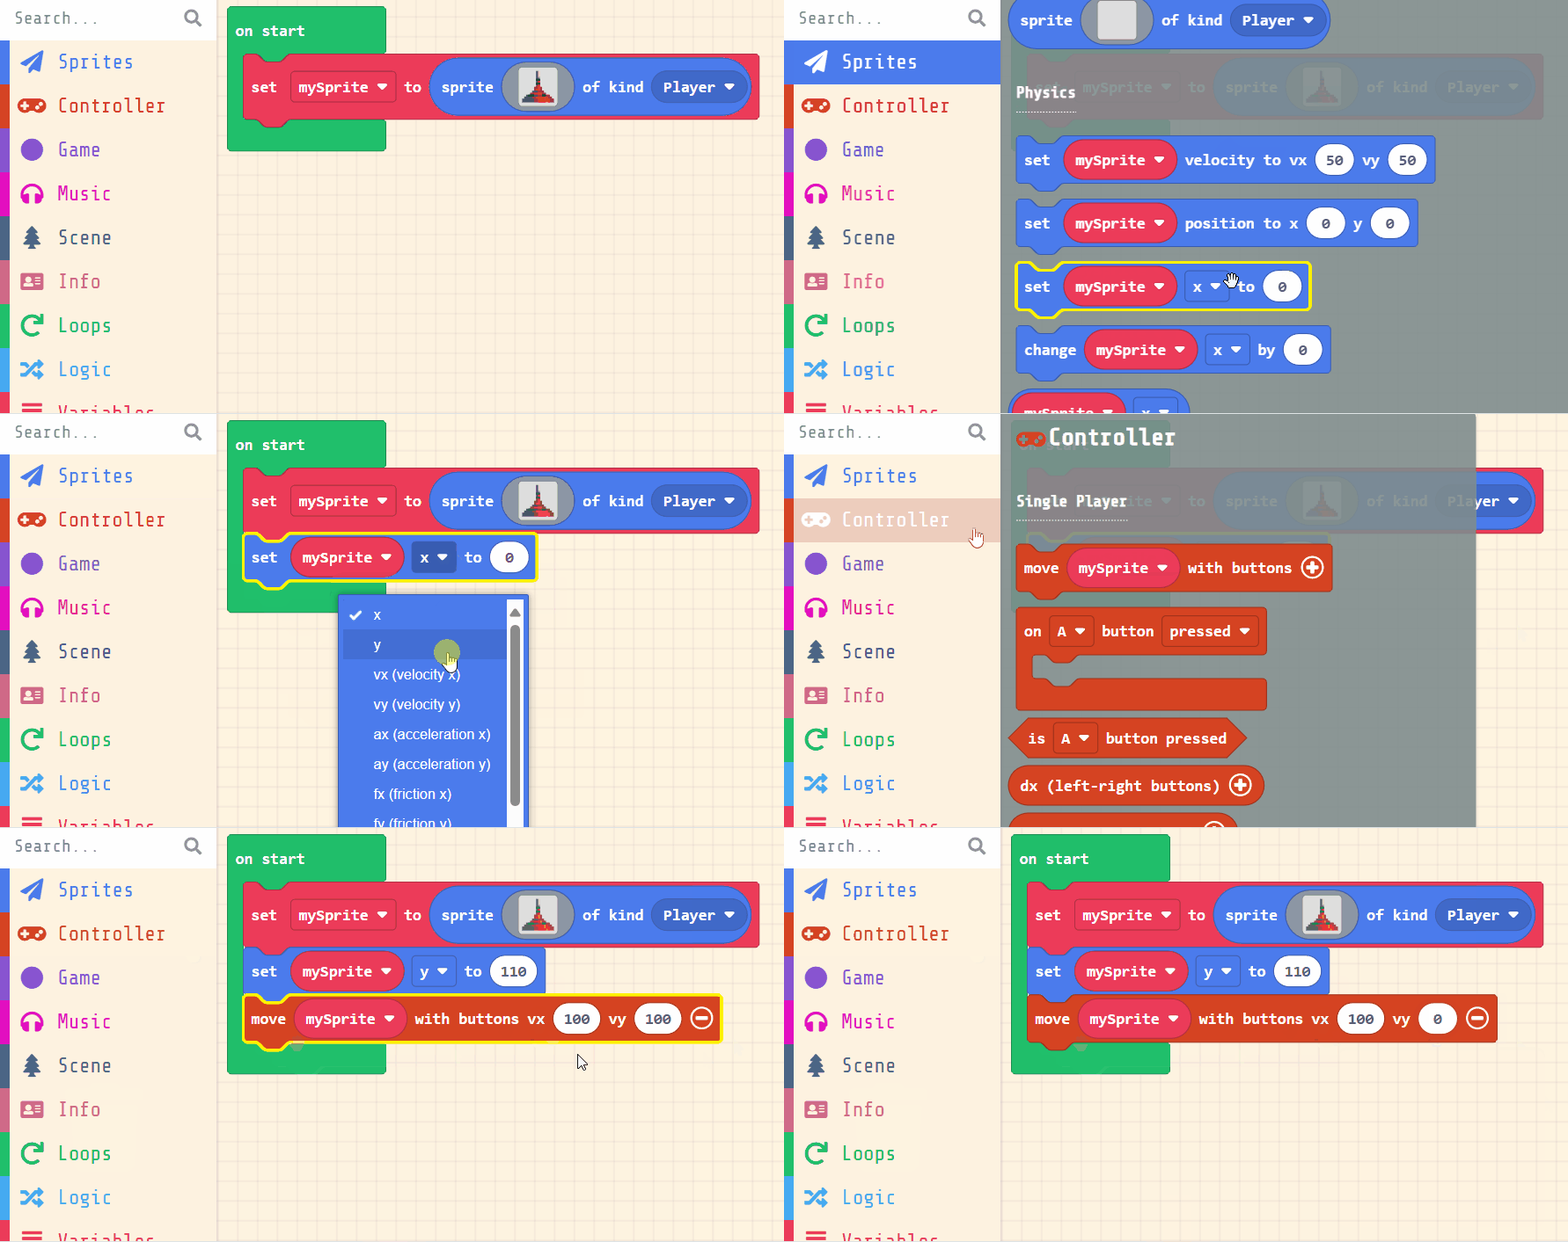
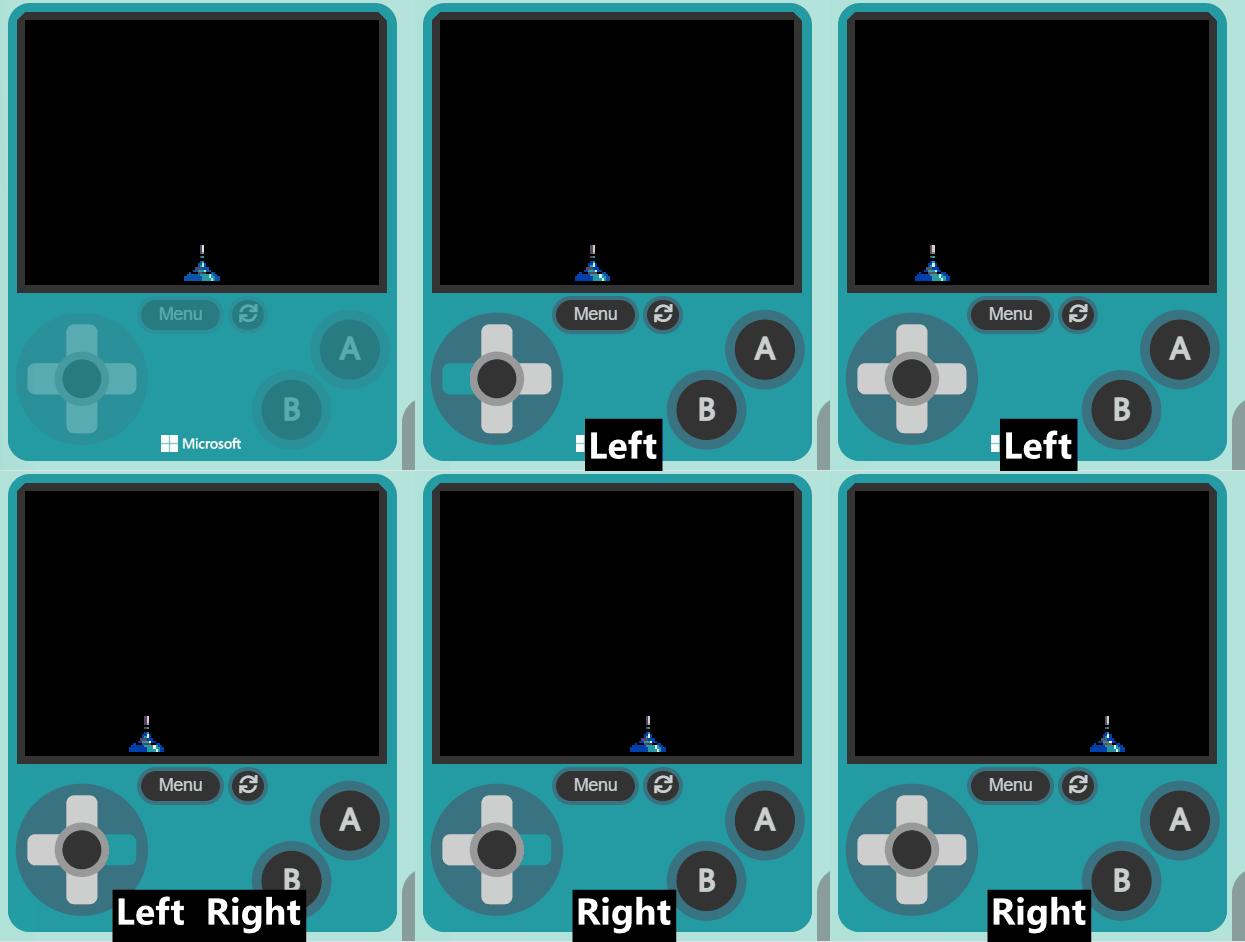
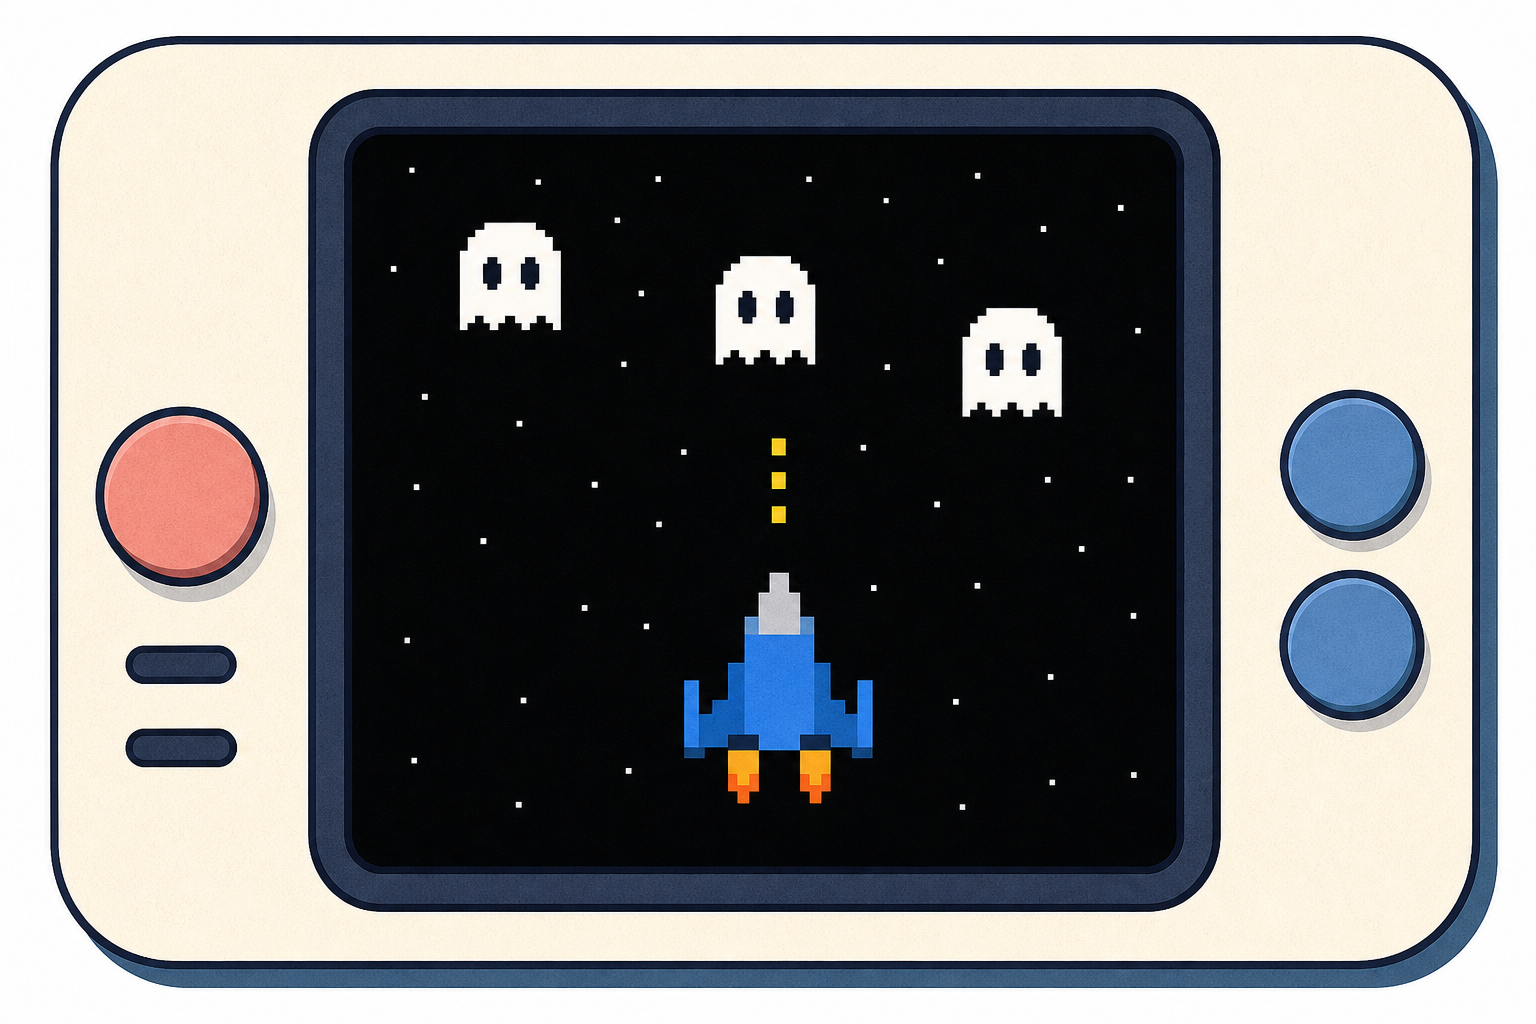 Programmers rarely finish a build in one go — they add a piece, run it, test it against their plan, and fix what does not work. That's exactly what game studios do before they release anything. Today you build the last of your three games, Galaxy Ghosts, from a new project. Before any blocks go down, you and your partner agree two things your own version should do by the end — how fast the ghosts get, say, or what happens when one crashes into you — and when the game runs you check it against those two. You also share one thing you changed along the way. Watch the board as each piece is modelled, then try it on your own device and run it to see what happens.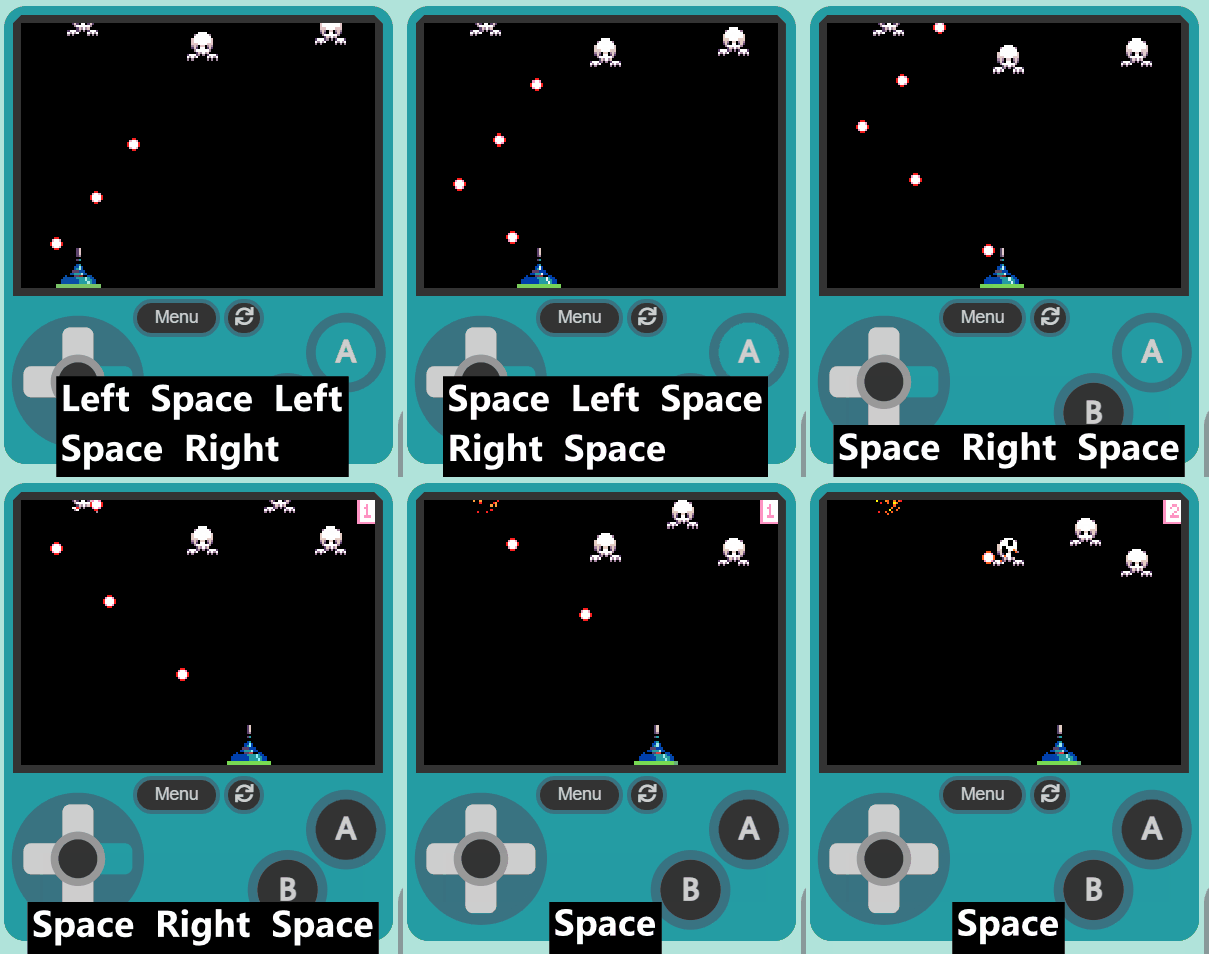

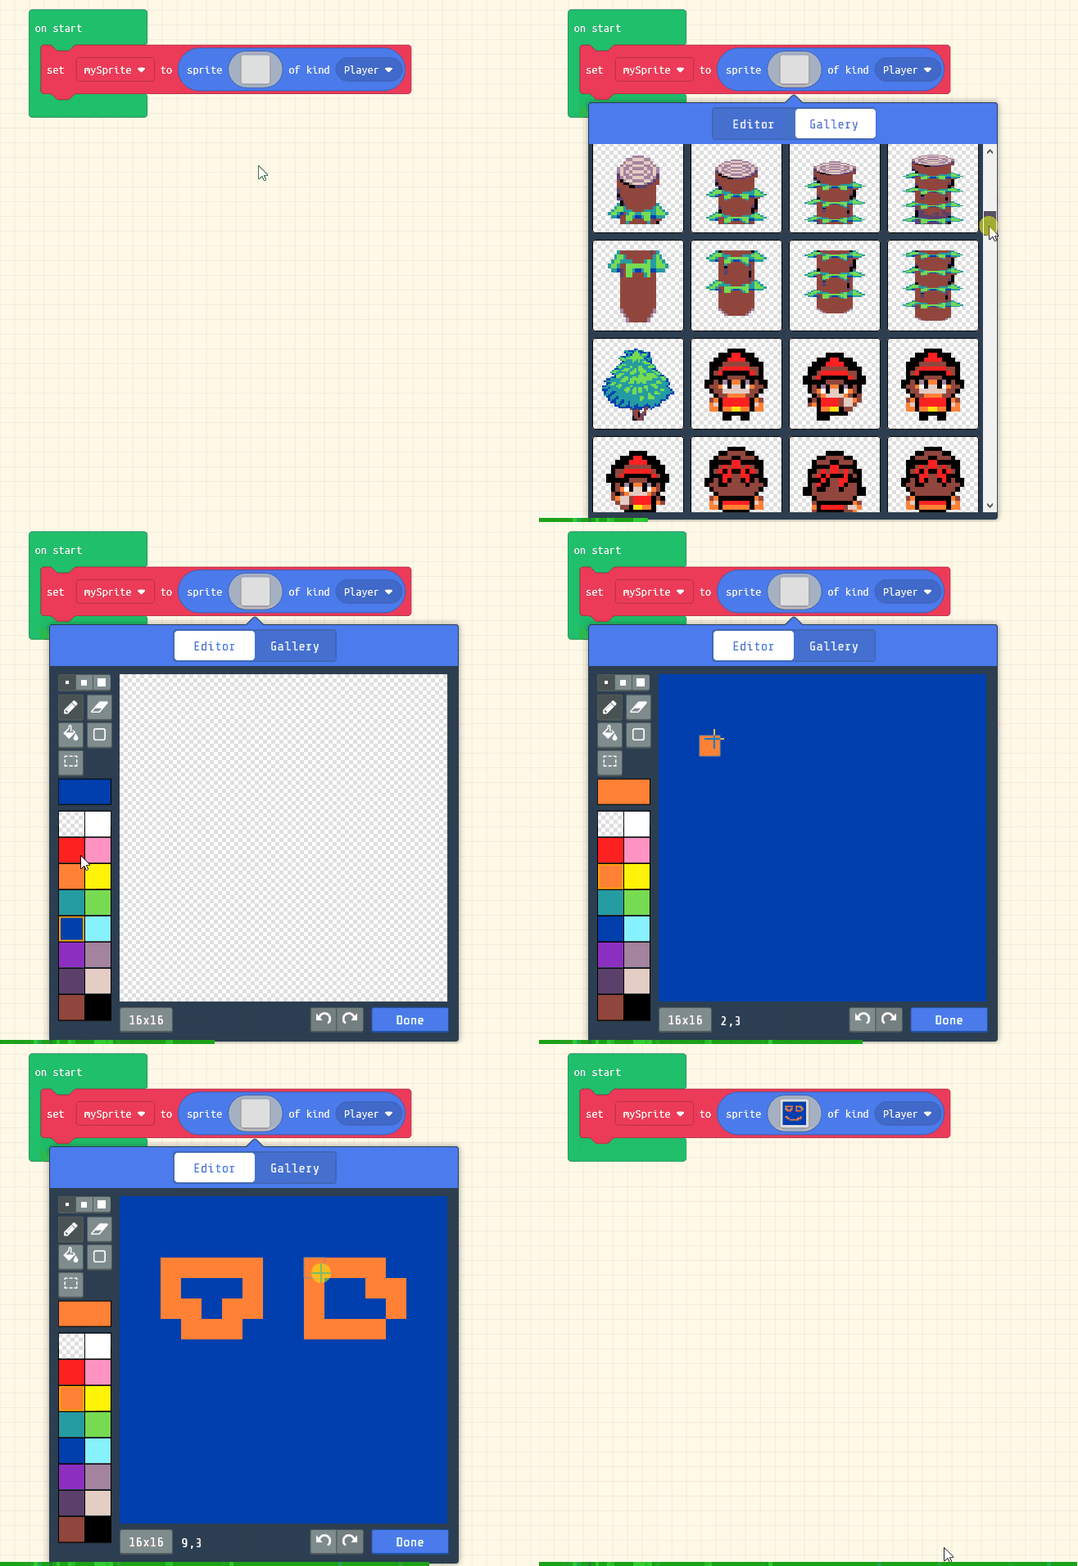
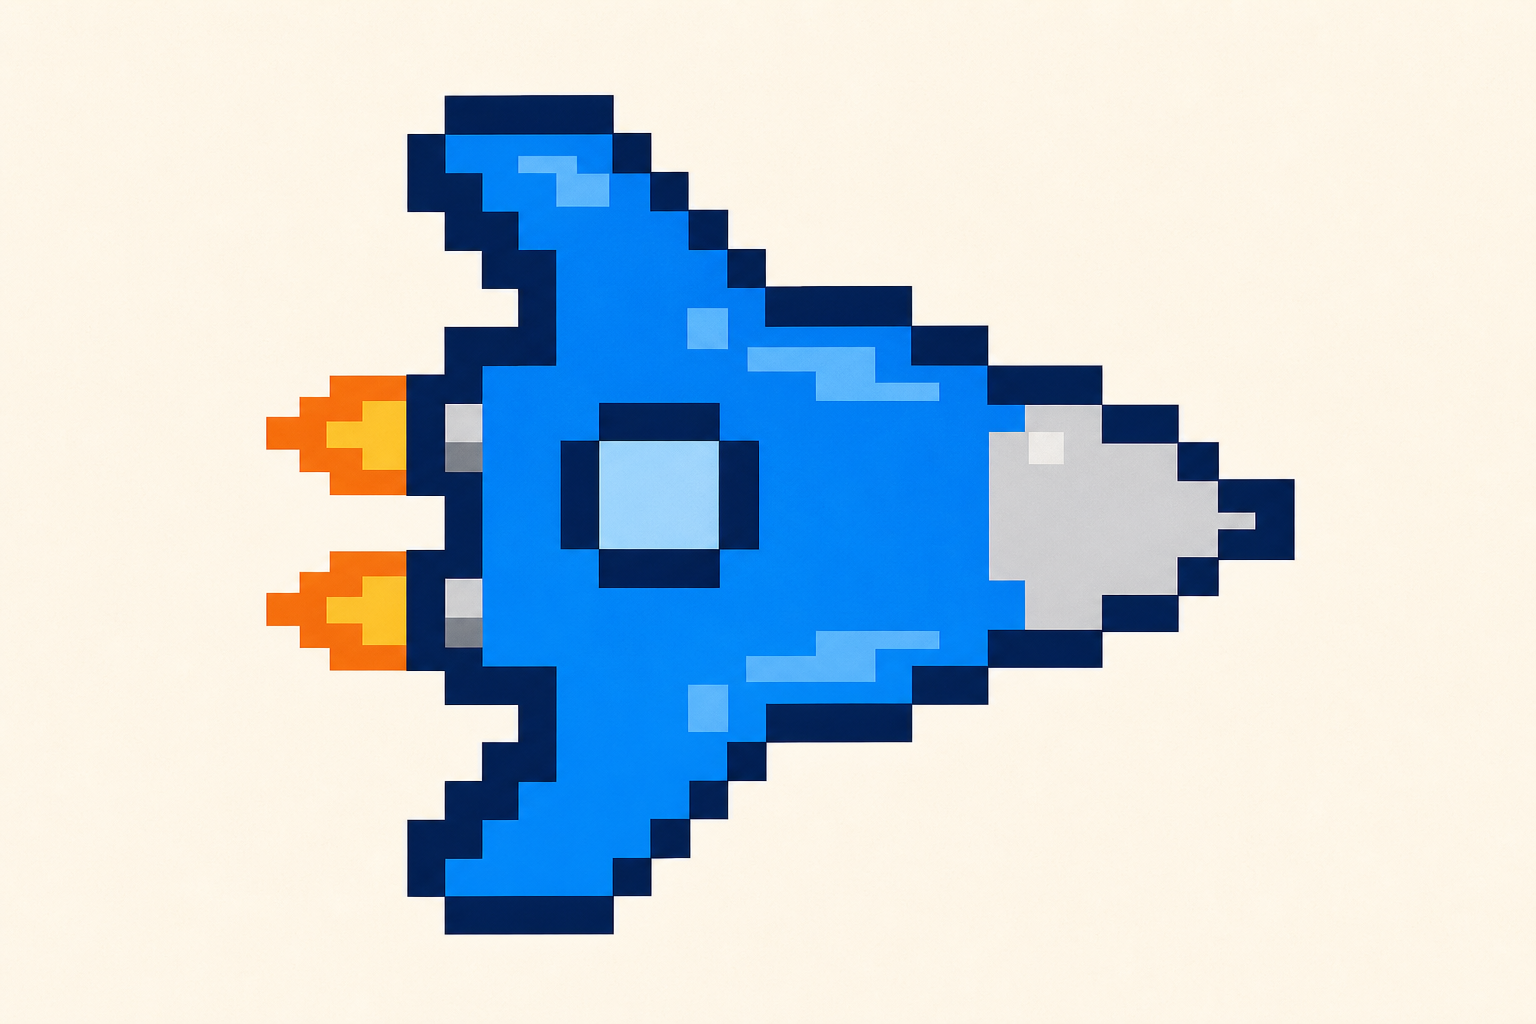 First let's create our player sprite.