In this lesson, we’re going to explore how to make our Scratch projects come alive by sending a bus through different scenes.
Imagine a city bus driving through different parts of the city—now you can bring that to life in your project! By the end of the lesson, you’ll know how to make a sprite travel across the stage and change the scene when it gets there
Open Scratch and start a new project. Go to File, then New, and give it a name you will recognise later, such as "Bus Through the City".
If you are signed in to a Scratch account, choose File then Save now before you start, and save again each time you finish a step.
Go to the Scratch website using the link below and click on the 'Create' link in the blue bar at the top.
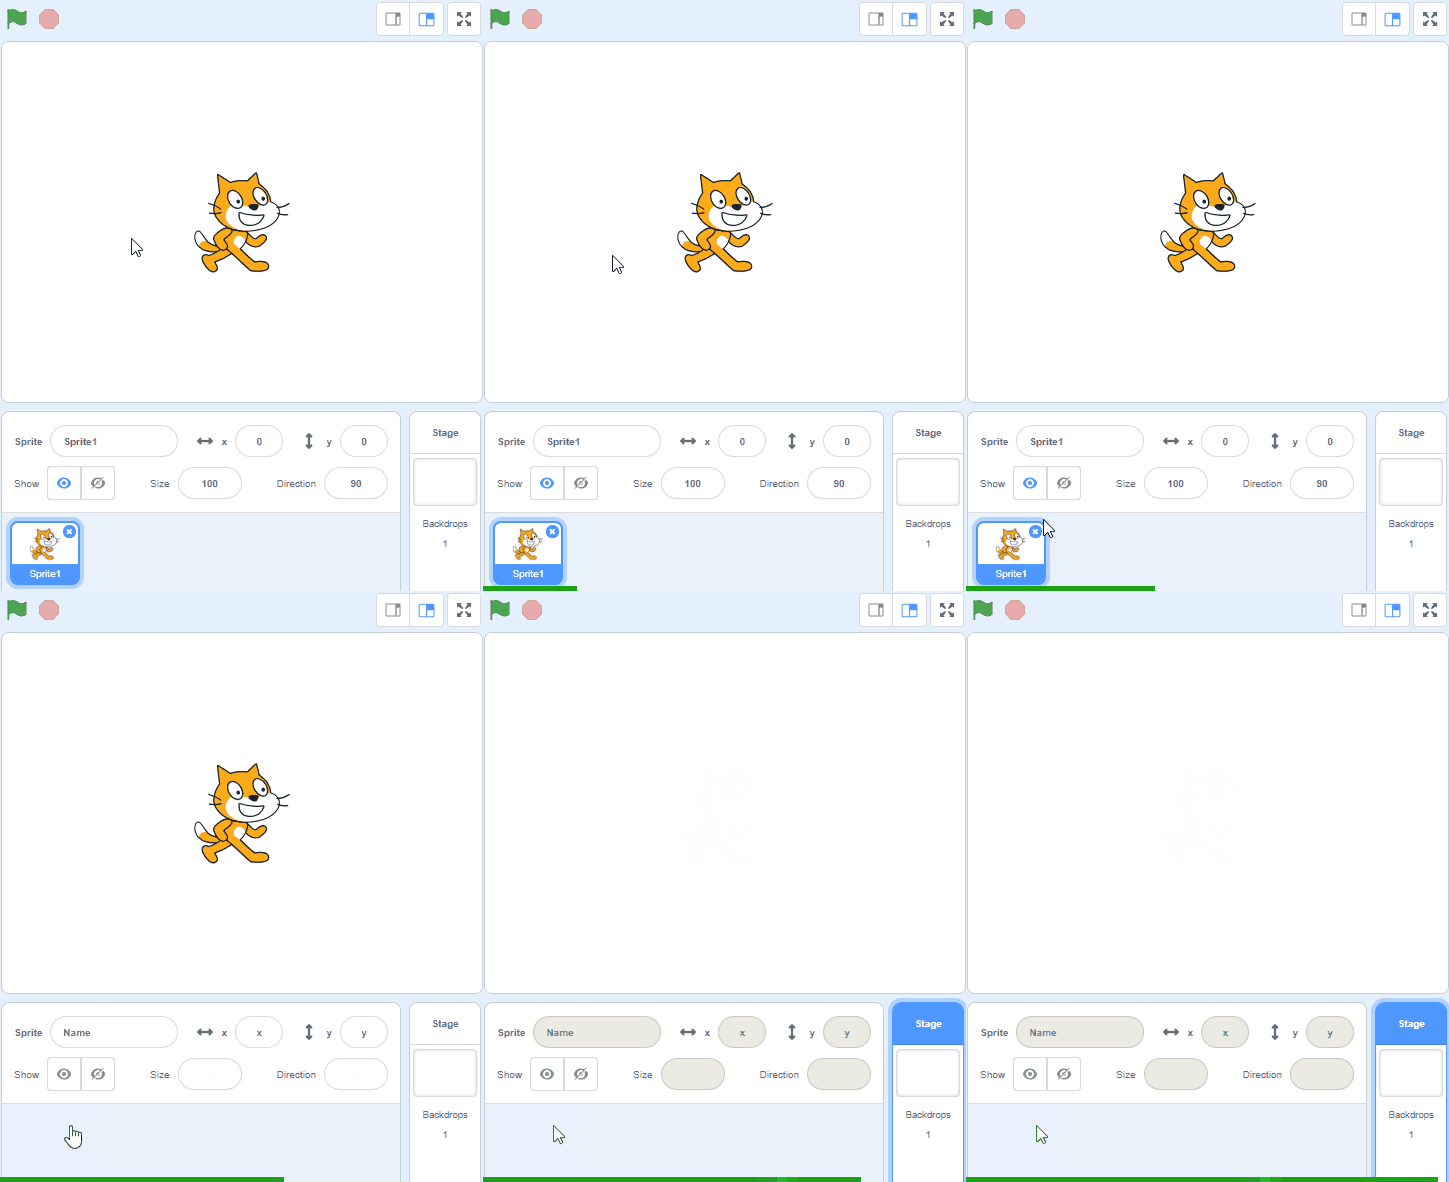
By default, each new project starts with the cat sprite already added. To delete the cat click on the x in the blue circle beside the cat in the sprite list.
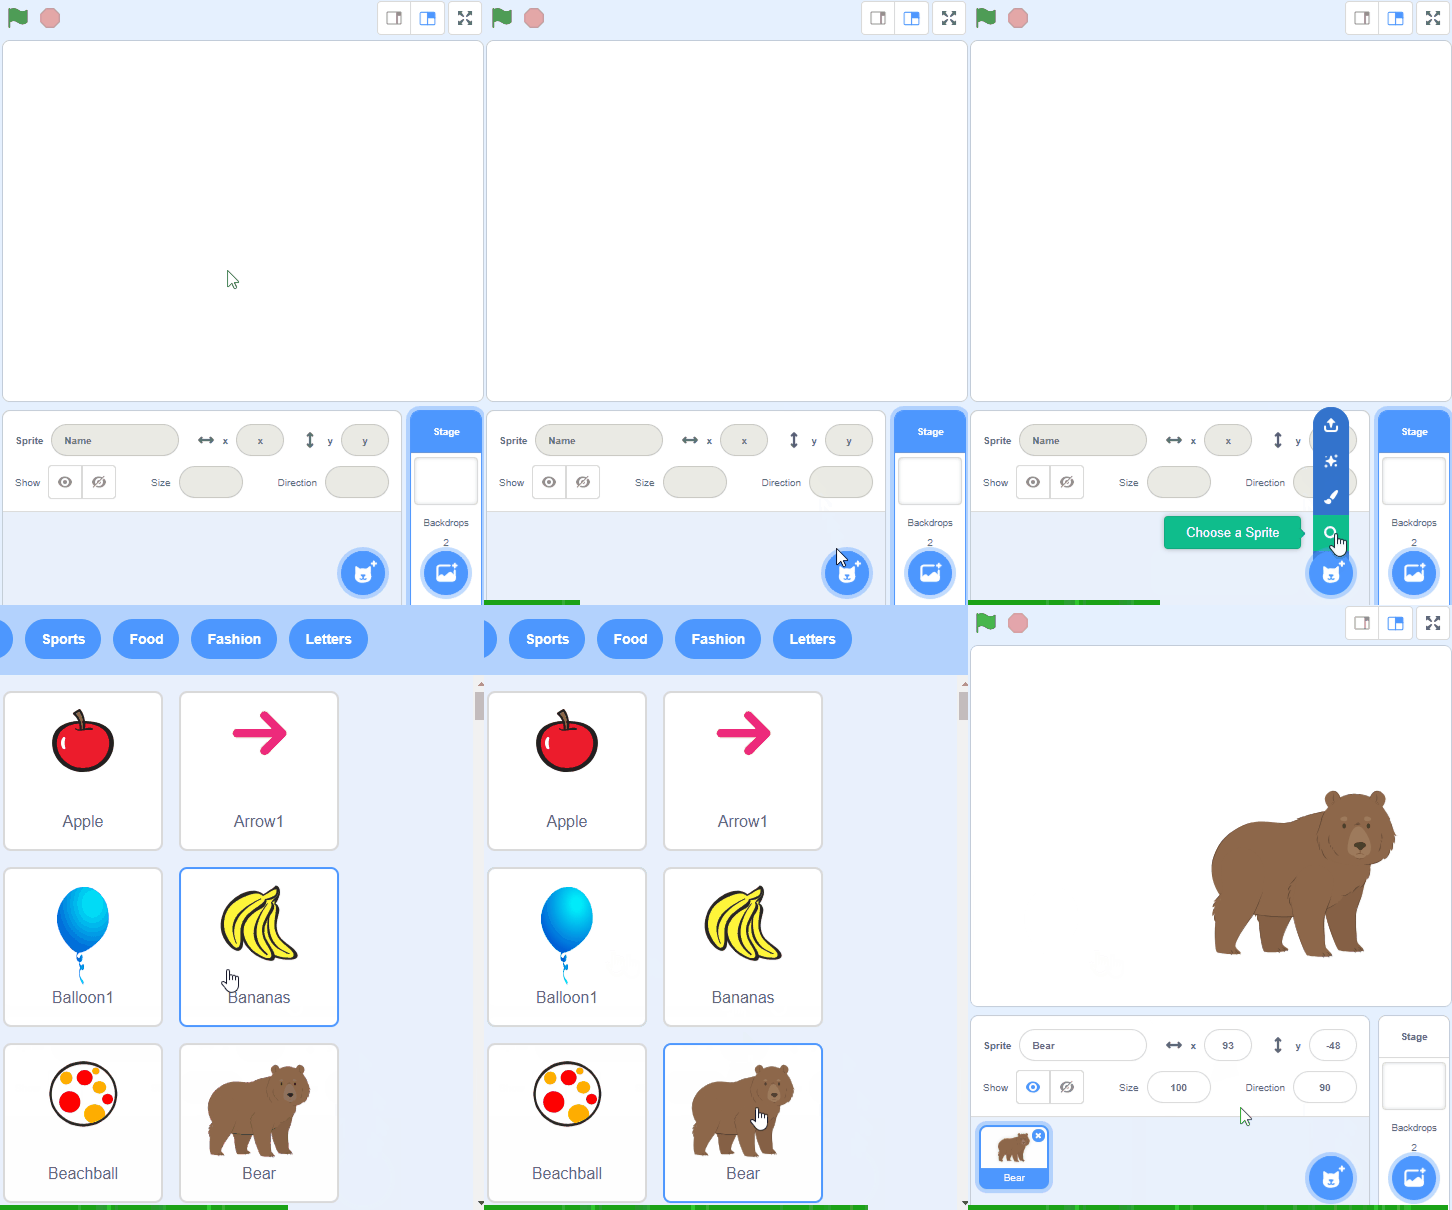
To add a sprite from the sprite library follow these steps:
You can use search box or the filter links (Animals, People, Fantasy etc) to locate your sprite.
Choose the first background from the backdrop library. Click the Choose a Backdrop button at the bottom right of the screen and pick Colorful City.
This will be where the bus begins its journey.
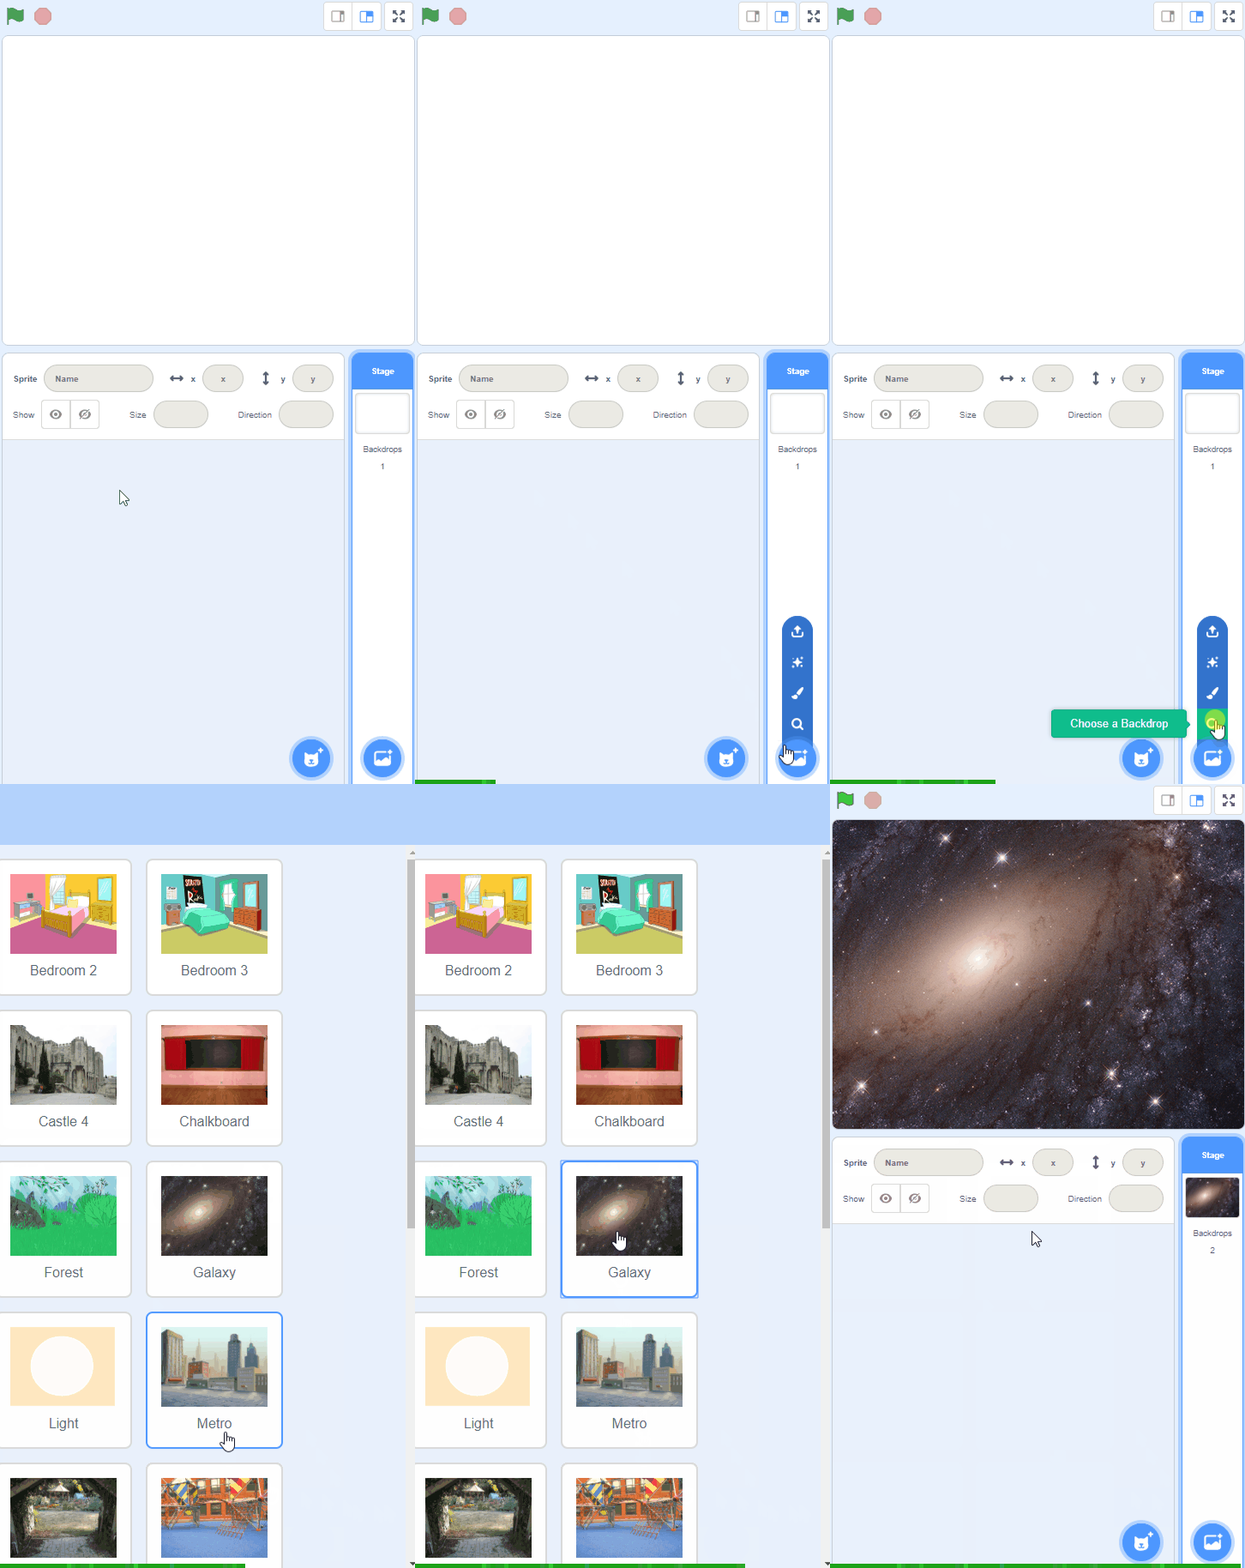
To add a backdrop from the backdrop library follow these steps:
You can use search box or the filter links (Fantasy, Music, Sports etc) to locate your backdrop.
Click on the City Bus sprite to start coding. Begin with a "when green flag clicked" block from the Events section. Underneath, add the "go to x: y:" block from the Motion section to place the bus at the starting point. Set x to -240 (the left edge of the stage) and y to -100 (near the bottom, on the road).
when green flag clicked
go to x:[-240] y:[-100]
You're previewing this lesson. Get full access to this lesson and hundreds more — each one ready to teach, with interactive activities, printable resources and pupil progress tracking built in.