Microbit
Robotics & Engineering
Sensors & Circuits
Advanced
60 mins
Teacher/Student led
+65 XP
 Chromebooks, laptops, and PCs are crucial tools for coding and digital skills education. Chromebooks are ideal for web-based applications and collaborative projects, while laptops and PCs support a wider range of programming environments and software for more intensive tasks like software development and data analysis.


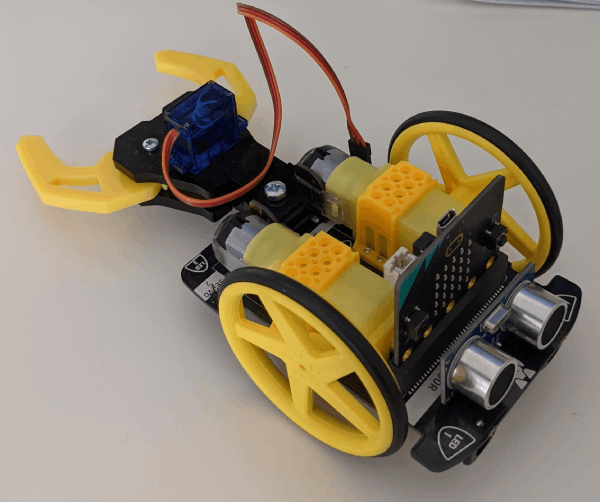
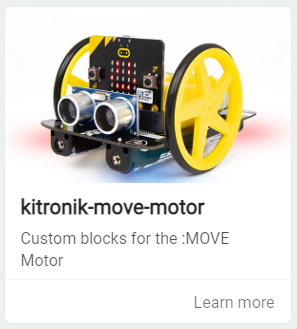
Robot Car Claw
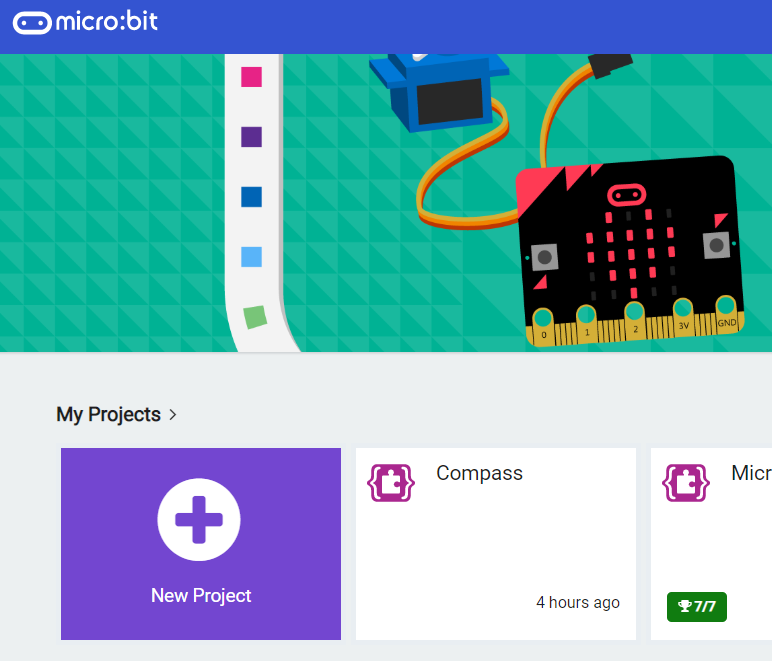
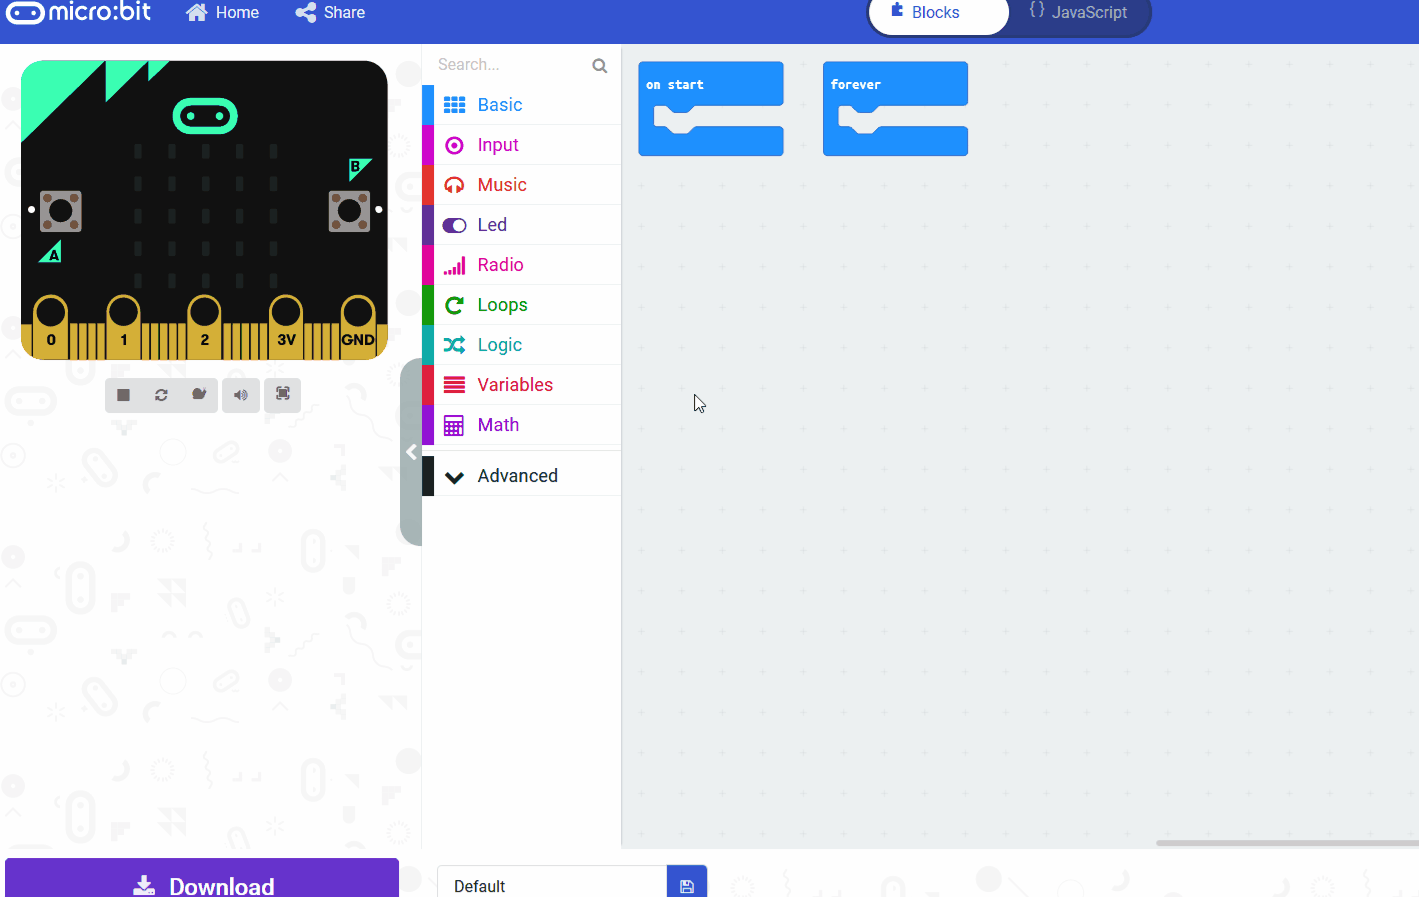
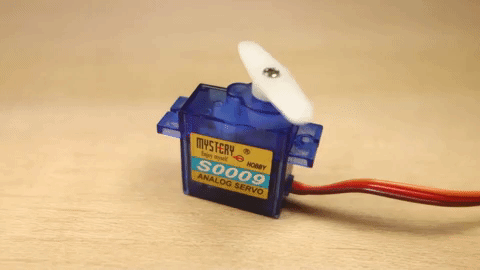
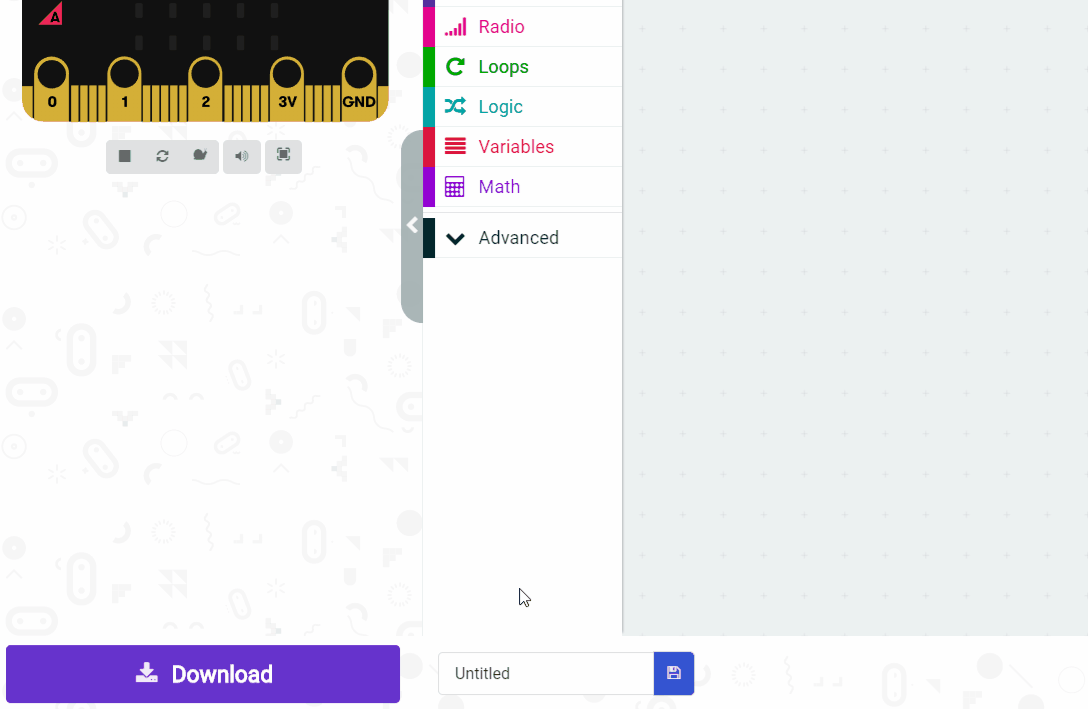
In this step-by-step lesson, you'll learn how to program a Robot Car Claw. Starting with setting up your Move Motor Car, you'll create a new project on the Microbit website, add the necessary extension, and understand how servos work. You'll then program the claw to close and open, and adjust the claw's grip. Finally, you'll be encouraged to explore other ways to program and use the claw.