MakeCode Arcade is a fun and easy-to-use tool that lets us create our own arcade games. It's like a digital playground where we can build and play games right in our web browser.
With MakeCode, we can use colourful blocks to build our games, just like Scratch.
If you have a small handheld gaming computer like the BrainPad or GameGo, you can even put the games you make onto it and play them anywhere!
Imagine the MakeCode Arcade code editor as a magical toolbox. It's a lot like the Microbit and Scratch editors you might have used before. Here's what it has:
Let's create our first project!
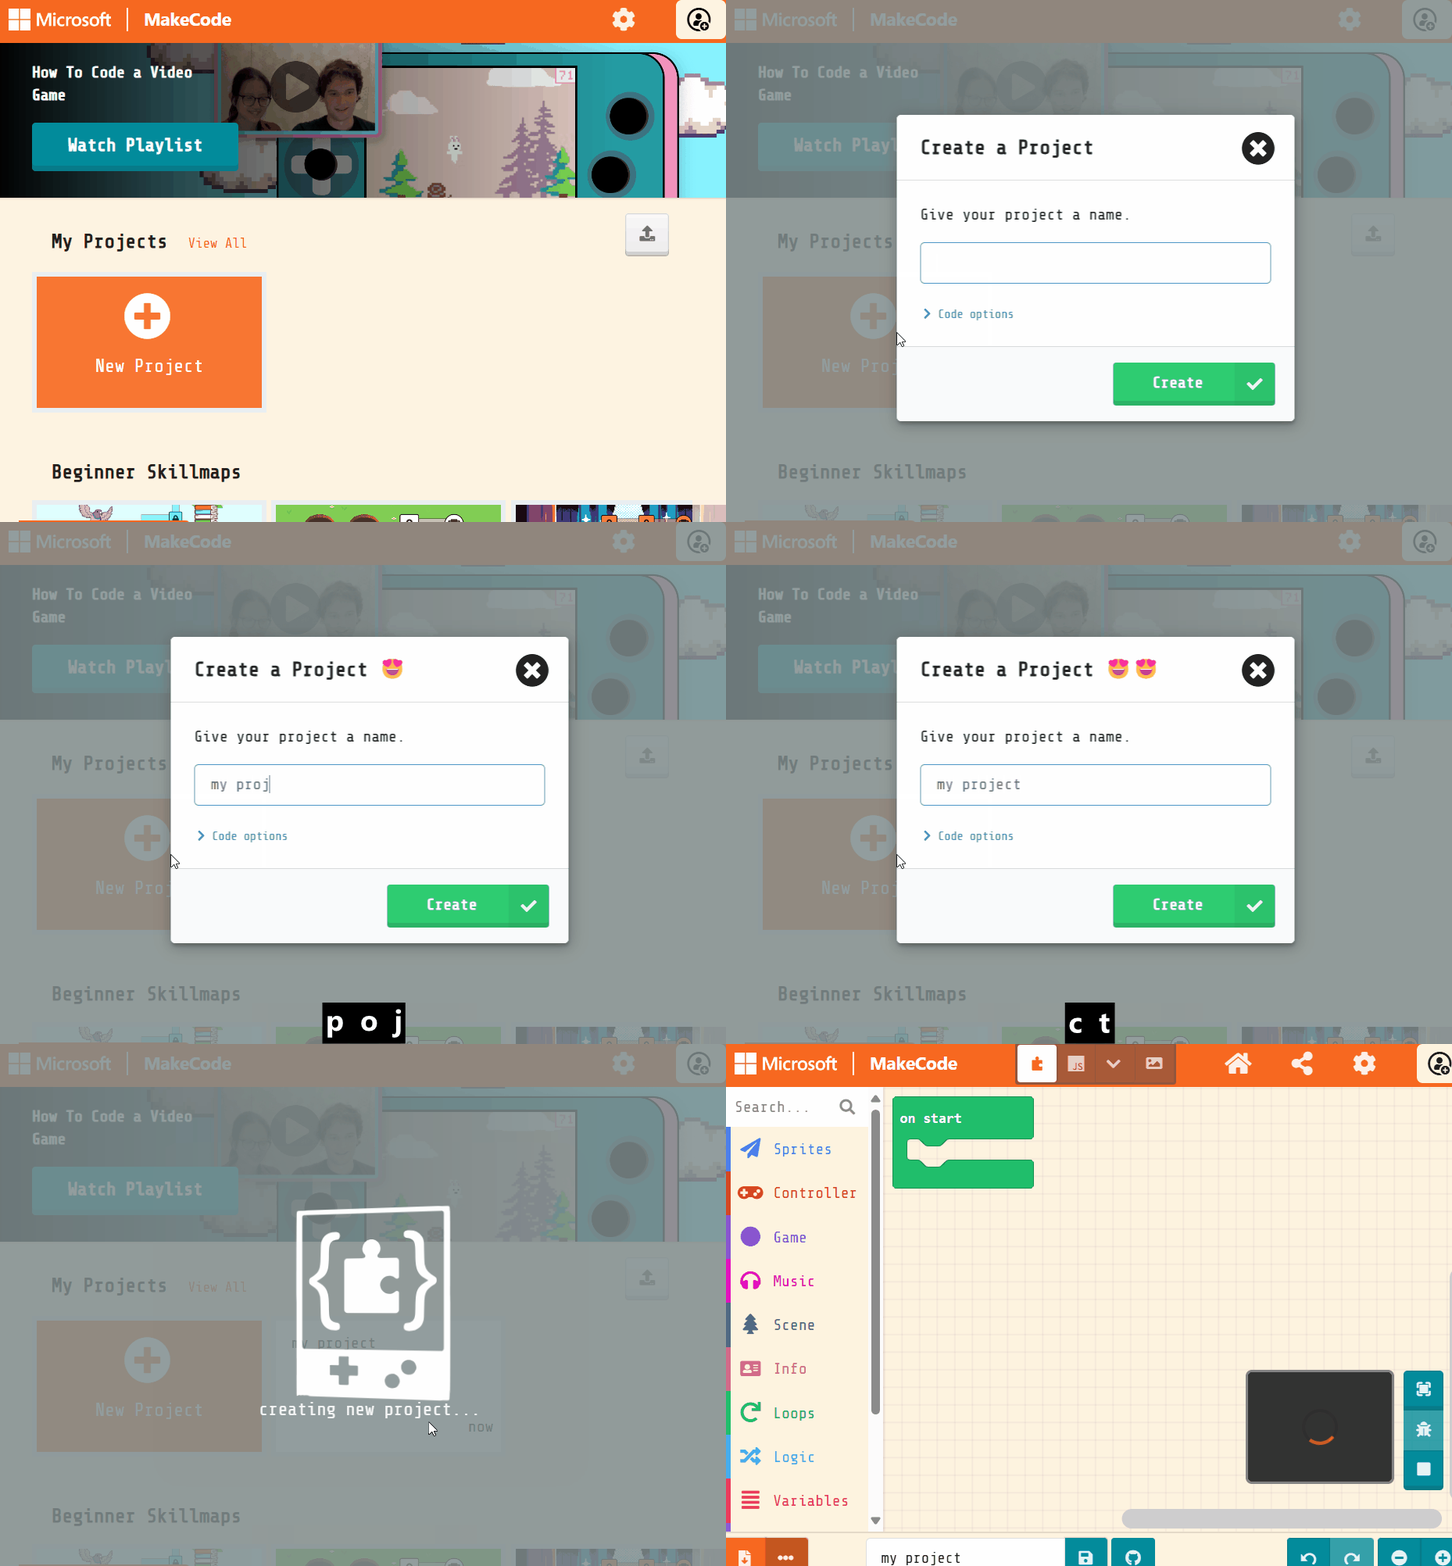
Go to the Arcade MakeCode website and create a new project. You can call your project anything you want!
Create a new Arcade project using the makecode.com website.
Let's create a sprite for our game. Add the following code:
let mySprite = sprites.create(img`
    . . . . . . . . . . . . . . . .
    . . . . . . . . . . . . . . . .
    . . . . . . . . . . . . . . . .
    . . . . . . . . . . . . . . . .
    . . . . . . . . . . . . . . . .
    . . . . . . . . . . . . . . . .
    . . . . . . . . . . . . . . . .
    . . . . . . . . . . . . . . . .
    . . . . . . . . . . . . . . . .
    . . . . . . . . . . . . . . . .
    . . . . . . . . . . . . . . . .
    . . . . . . . . . . . . . . . .
    . . . . . . . . . . . . . . . .
    . . . . . . . . . . . . . . . .
    . . . . . . . . . . . . . . . .
    . . . . . . . . . . . . . . . .
    `, SpriteKind.Player)
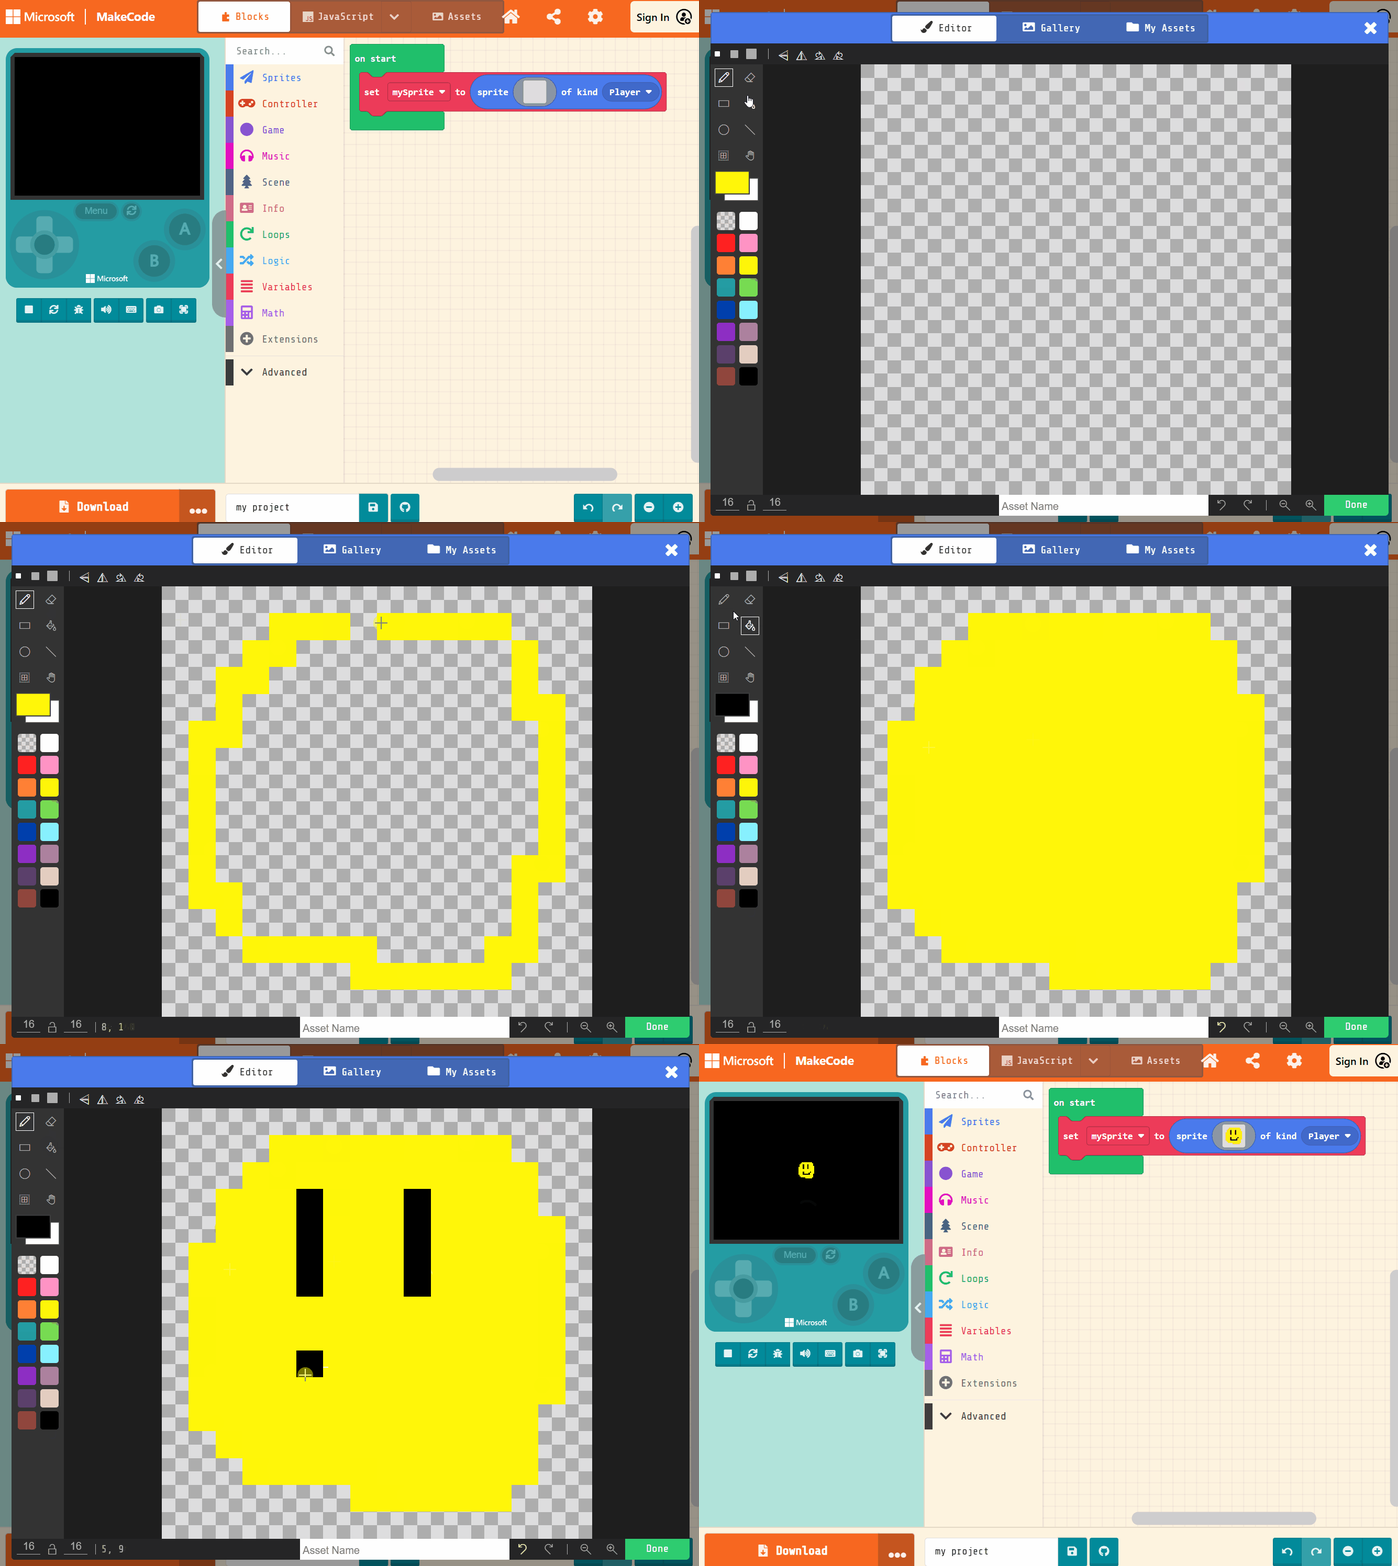
Click on the gray box in the sprite block to open the Editor. You can choose a sprite from the Gallery or you can paint your own sprite using the Editor.
Now let's design our character!
Click on the grey box in the code block, this will open up the Sprite Editor.
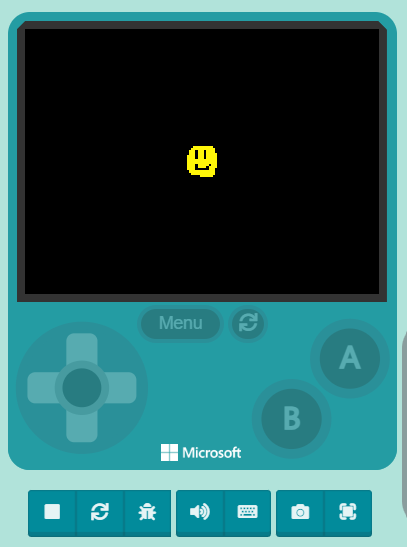
Use the tools to paint your own character and when you're done click on the green Done button at the bottom right of the screen. You will then see your sprite in the simulator!
.png)
.jpg)


